My kids have teacher appreciation this week at their school and I fully believe that our teachers need all the love and support we can give them!! So a little extra something, even if it is small, means so much....and even more if it is handmade!! So I made these fun treat bags filled with a little something for the teachers all made from scrapbook supplies!!

Here is a detailed video on how to make these fun treat bags!
I filled these fun little treat bags with some treats the teachers could keep in their desks and not get yucky, so some tea bags, hard candies, and chocolates...plus a few loose flowers for fun.

Each treat bag is made from a section of 12x12 paper from the American Crafts Pink Paislee Confetti Wishes collection cut down to 8x8 inches and folded into a cone (to learn how please see the video). I used the Xyron Mega runner to help keep the two side stuck together. It is amazing how a little strip of glue works wonders!!

To hold the cone together to keep all the yummy treats I punched holes using the W R Memory Keepers Big Bite in the top flap and tied it with some matching colored ribbon complete with a cute little tag that complements each cone treat bag.

The tags are made using the American Crafts Bazzill cardstock papers that match the collections and the stickers and chipboard elements from the American Crafts Pink Paislee Confetti Wishes collection. Some of the stickers and chipboard stuck out on the sides and were still sticky. Super easy fix, just get out your Xyron Adhesive Eraser and it removes the sticky from the backs of the stickers that you no longer want sticky. It is like magic!

I just love this American Crafts Pink Paislee Confetti Wishes collection because not only is it filled with amazing tropical papers, but it also works perfect for birthdays. I did not use any of the "birthday" elements for this project (you know I will at some point), but I am totally in love with the tropical papers and parrots!!!

The fun thing about these DIY treat bags is you can put what ever you like inside them and make them any colors you want!! Just switch out the stickers and embellishments on the tags and you have cute little birthday treat cones!!

What would you make for a teacher appreciation gift?

Do you want to see the whole Confetti Wishes Collection, check out my unboxing video!!
Supplies Used
Interested in the supplies I used in this project? Most are listed below and some are affiliate links, which generates a me little commission (at not extra cost to you at all) when you click on the link and make a purchase. Affiliate and product disclosure can be found here.
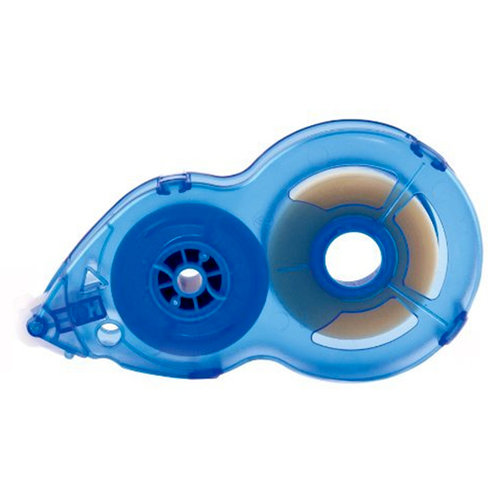 Xyron Mega Runner Refil Shop at: SB | AZ |
 Fiskars Scissors Shop at: AZ | LFL (UK) |
 Cuttlebug Shop at: AZ |
 Cuttlebug Plate C Shop at: SB | AZ |
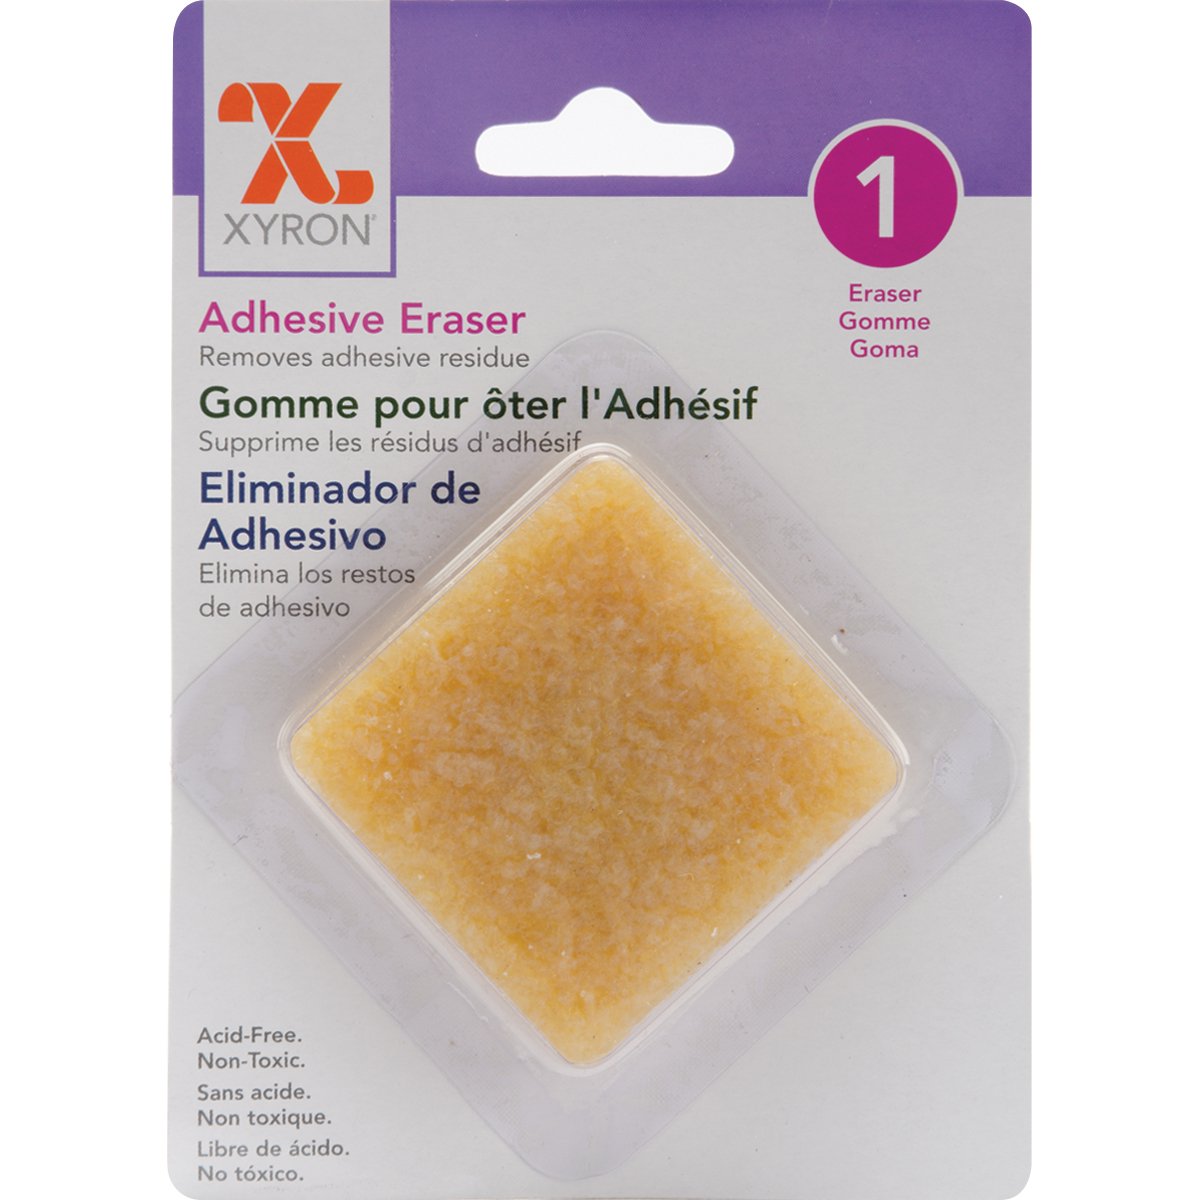 Xyron Adhesive Eraser Shop at: AZ |
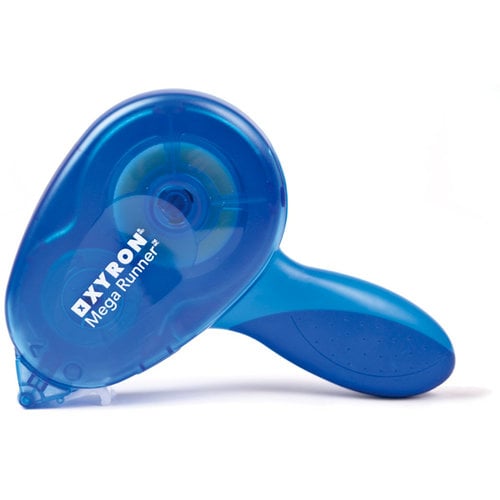 Xyron Mega Runner Shop at: SB |
 Big Bite Shop at: SB | AZ |
 Prima Plain Flowers Shop at: SB | AZ |
 Tag Nesting Dies Shop at: SB |
 Cardstock Printer Paper Shop at: AZ |
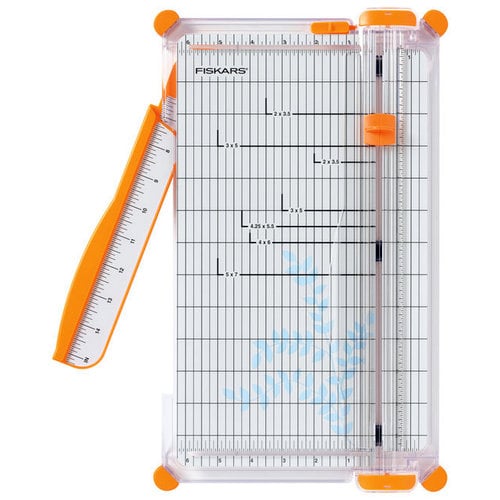 Fiskars Paper Trimmer Shop at: SB | AZ | LFL (UK) |
 Black Craft Mat Shop at: AZ |
 Ribbon Shop at: SB |
 Piercer Shop at: AZ |
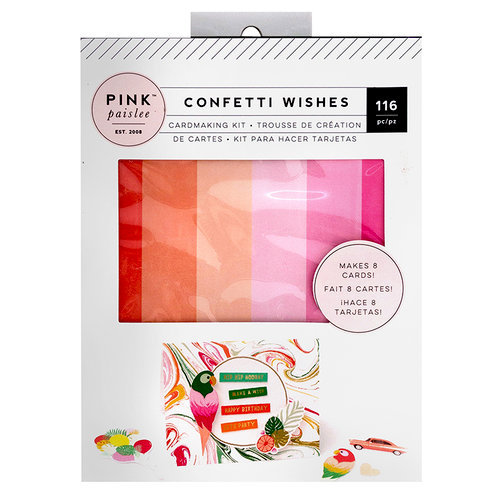 Confetti Wishes Card Kit Shop at: SB |
 Confetti Wishes Sticker Book Shop at: SB |
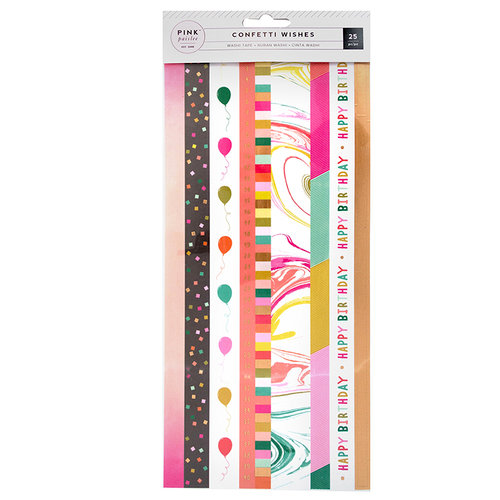 Confetti Wishes Washi Pack Shop at: SB |
 Confetti Wishes Thickers Shop at: SB |
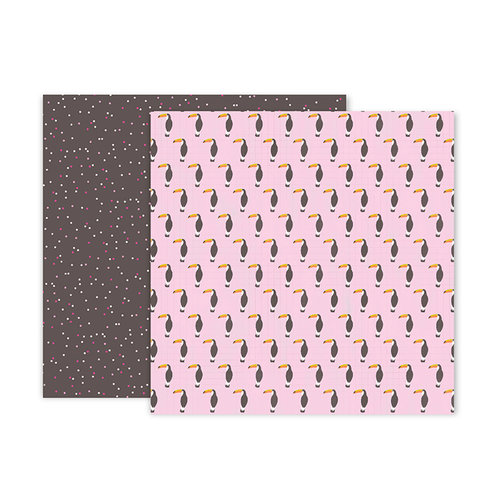 Confetti Wishes Cardstock 12x12 Shop at: SB |
 Bazzill Cardstock Shop at: SB |