I follow another blog
http://gabriellepollacco.blogspot.com/, she has such wonderful pages and ideas. One of which was faux polished stones. I loved it, but I needed brown gems, and I had only seen her gems as green or blue (turquoise gems). So i thought, why not a tiger's eye or sandstone version.
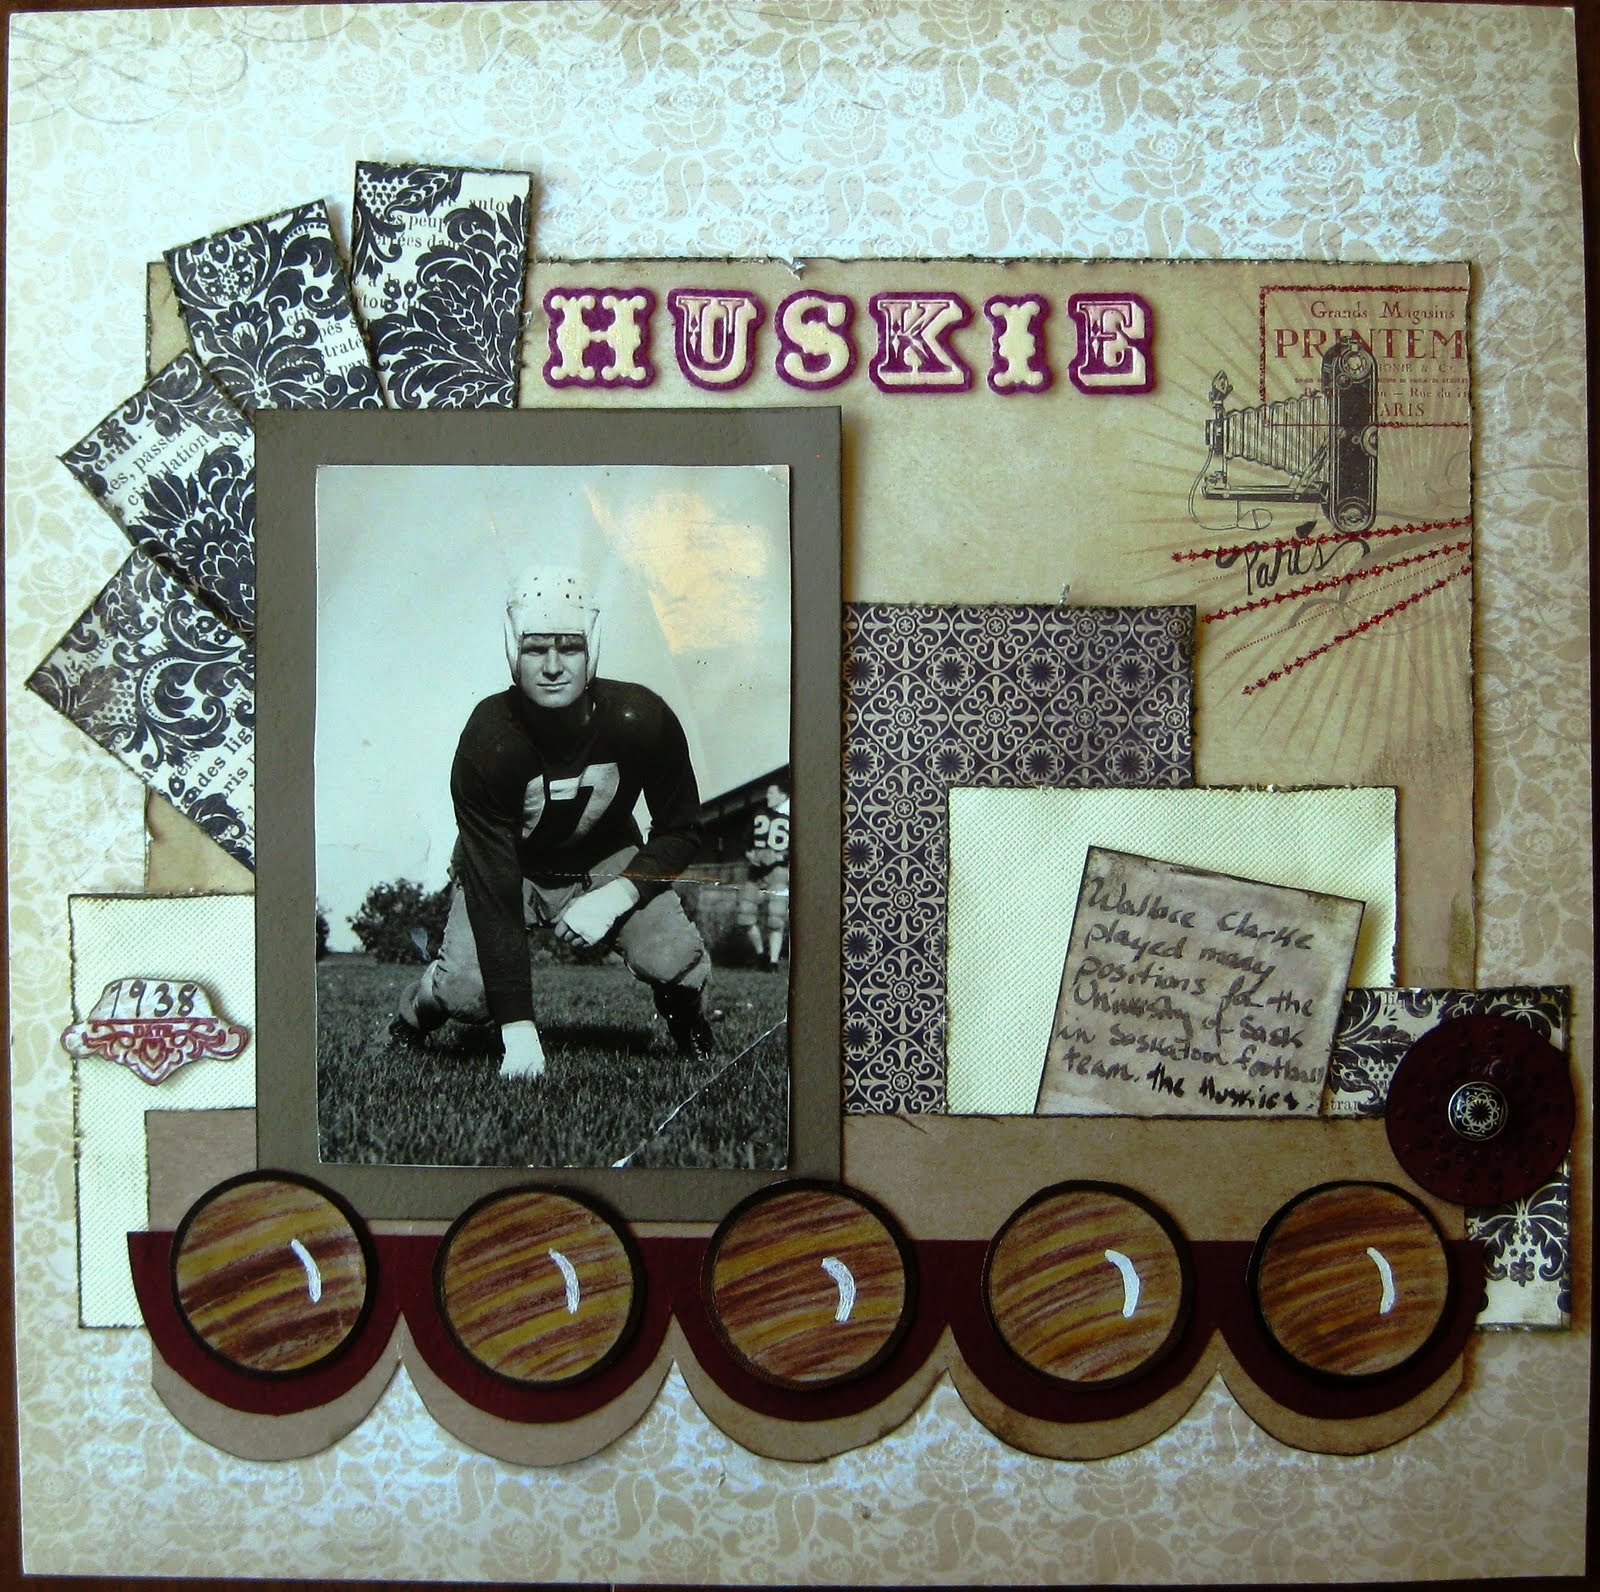
1. What you need: brown ink, round punch (or shape you see stones), white gel pen, various shades of brown and tan map pencils, white map pencil, and kraft paper (or a medium tan cardstock).
2. Punch a circle out of the kraft paper and run around the edge of the paper to soften the edges and also to create a shadow effect to give the illusion of a dome shape. I like to use my finger to ink the edge (I press my thumb or finger into the ink then rub against the paper to give the shadow effect).
3. Take one of the brown pencils and start drawing lines, slightly curved. Make some think and thin, blend some together.
4. Using the white pencils blend the lines together and to also fill in some of the gaps.
5. Using the white gel pen create the illusion of a dome ans shine, draw a thick white curved line.
6. Most stones are set in metal, so to create that look i took dark brown cardstock and cut out another circle about 1/8th of an inch bigger than my faux stone. I then took a shiny paint like smooch ink in molasses to painted around the edge.
7. Place you faux stone on top of your faux metal setting and you are done!!
I would really like to thank Such a Pretty Mess Blog for this great idea!!