Showing posts with label autumn. Show all posts

Tuesday, November 27, 2018

DIY Pompom Stick Tree Decor

I love a craft that is super simple and easy that take a few minutes and simple supplies to make a huge wow statement.  This is also a decor idea that be done year round, just change up the colors of the pompoms!!

I was compensated for this post. This post also contains affiliate links and I will be compensated if you make a purchase after clicking on my links.  Various companies provided me with some product to create this project.  The opinions I share are solely my own.


Check out how easy this is to make yourself.


Start with a few tree branches you either find on a walk, in your backyard, or from a friend.  Clean them up and make sure they are dry branches, not green ones or full of sap.


I used some pompom trim and cut off the pompoms because I had it in my stash, but you can also just buy pompom, or make them yourself!


I glued each pompom on using Supertite All Purpose Adhesive.  Is has a good tack to it so the pompom stick with just a little pressure and I do not have to deal with a hot glue gun and burn myself.


Coupon for 10% off your Supertite order of $5 or more 

I used 3 different colors for this tree, and I used yellow, red, and orange, but really you can make this for any season and with any colors you want!!  Think of the colors for a wedding, any season of the year - ideas are endless!!


I love this super easy decor item, it rests permanently in my craft studio to cheer up the space a bit!


Supplies Used
Interested in the supplies I used in this project?  Most are listed below and some are affiliate links, which generates a me little commission (at not extra cost to you at all) when you click on the link and make a purchase.  Affiliate and product disclosure can be found here.


Brightech Lamp - Video Set Up
Shop at:
O
Shareasale
Shareasale
Shop at:
O
Tailwind
Tailwind
Shop at:
O
Fiskars Scissors 8
Fiskars Scissors 8"
Shop at:
AZ
Expo Lolita Pompom trim
Shop at:
AZ
Supertite Glue
Supertite Glue
Shop at:
O
Supertite All Purpose Univseral Glue
Shop at:
O


Tuesday, November 20, 2018

Stenciled Mixed Media Pumpkin Decor

Something about autumn and pumpkins rocks!!  This time I used a pumpkin kit to make a mixed media pumpkin decor piece.

I was compensated for this post. This post also contains affiliate links and I will be compensated if you make a purchase after clicking on my links.  Various companies provided me with some product to create this project.  The opinions I share are solely my own.


Here is a video on how I made these fun mixed pumpkins.


I start with the MDF pumpkin from the Adornit Kit.  You can really do just about anything with them.


I added paper with Supertite White glue to the back larger pumpkin and then painted the side with a metallic modeling paste.  The front smaller pumpkin I added a stencil texture to the front of it. I used the Supertite Mutli-Grab Adhesive to glue the two pumpkin together and also the embellished wood items to the front.


Coupon for 10% off your Supertite order of $5 or more 

I love the final look of these pumpkins, a little mix of farmhouse and shabby chic!


Supplies Used
Interested in the supplies I used in this project?  Most are listed below and some are affiliate links, which generates a me little commission (at not extra cost to you at all) when you click on the link and make a purchase.  Affiliate and product disclosure can be found here.


Shareasale
Shareasale
Shop at:
O
Dynasty Paint Brushes
Shop at:
AZ
Tailwind
Tailwind
Shop at:
O
TubeBuddy
TubeBuddy
Shop at:
O
TCW Stencils
TCW Stencils
Shop at:
SB | O
Prima Silicone Brush
Shop at:
SB | AZ
Fiskars Scissors 8
Fiskars Scissors 8"
Shop at:
AZ
Non Stick Craft mat
Non Stick Craft mat
Shop at:
AZ
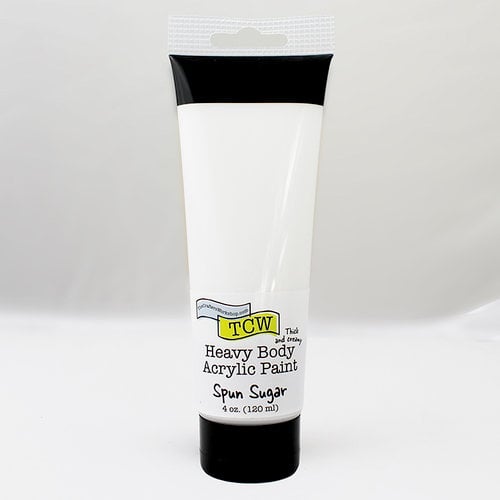
TCW Paint
TCW Paint
Shop at:
SB
TCW Champagne Modeling Paste
Shop at:
SB
TCW Mesh Blocks Stencil
Shop at:
SB
Rafia
Rafia
Shop at:
AZ
Black Craft Mat
Black Craft Mat
Shop at:
AZ
Supertite Glue
Supertite Glue
Shop at:
O
Supertite Multi-Grab 360
Shop at:
O
Supertite White School Glue
Shop at:
AZ
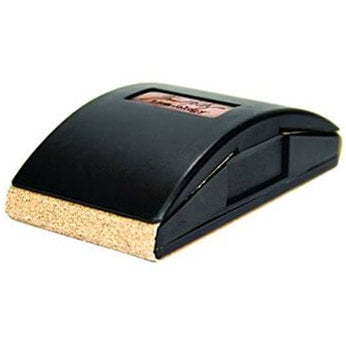
sanding tool
sanding tool
Shop at:
SB
TCW Grecian Gold Paste 2oz
Shop at:
SB
TCW Modeling Paste - Antique Gold
Shop at:
SB
Adornit Project Kits
Shop at:
O


Friday, October 19, 2018

Autumn is Here - DIY Pine Cone Fox & Owls -- Plus 3 Autumn Cards for Inktober

I love autumn, and the crafts that surround the autumn season the amazing colors I think are the best!  Check out a couple of cute DIY pine cone animals I made with felt, plus a trio of autumn inspired cards that also have felt on them!!

Various companies provided me with some product to create this project.  The opinions I share are solely my own.


Let's start with these super cutie pine cone felt animals in a fox and an owl  Learn to make them in this video below!


This fox is super easy to make, a little Kunin felt, scissors, Supertite Glue, and a pine cone and you are set to go!  Some basic shapes of circles and triangles are really all you need to cut out the shapes for this cute fox!


The owl is just as easy to create.  This is mostly circles for the eyes and then layered tear drop wings.  


To hold all the felt to the pine cone I used Supertite All Purpose Universal Glue, sticks like magic!

Coupon for 10% off your Supertite order of $5 or more 


Since I had made this fun pine cone critters, I thought how cute it would be to make one of the felt faces on a cards.  The first card I made an I created an extra fox face and used it on this autumn card.  This card uses a fun ink technique for Inktober of using a square ink pad and making a fun background.  Check out the video below to see how!


On the next two card I used a little peach flower cut from the felt in the clusters.  For the first card I used the same brown ink but did a swiping method to create the background.


For the last card I used a simple swipe method on the edge to give it the illusion of another layer of color.


Check out the video on how to make these!!


I used the same glue as I did for the felt pine cone for these card to help hold all the various layers together.  One glue can really do it all!


What are you going to create this fall?

Supplies Used
Interested in the supplies I used in this project?  Most are listed below and some are affiliate links, which generates a me little commission (at not extra cost to you at all) when you click on the link and make a purchase.  Affiliate and product disclosure can be found here.


Shareasale
Shareasale
Shop at:
O
Tailwind
Tailwind
Shop at:
O
Cuttlebug
Cuttlebug
Shop at:
AZ
Cuttlebug Plate C
Cuttlebug Plate C
Shop at:
SB | AZ
Fiskars Scissors 8
Fiskars Scissors 8"
Shop at:
AZ
CCB Burlap Fringe
CCB Burlap Fringe
Shop at:
AZ
Jute trim
Jute trim
Shop at:
AZ
Cardstock 8.5x11 Card Paper
Shop at:
SB | AZ
Kunin Felt Classic
Kunin Felt Classic
Shop at:
AZ | O
Fiskars Paper Trimmer
Shop at:
SB | AZ | LFL (UK)
Cirlce Nested Dies
Cirlce Nested Dies
Shop at:
SB
Black Craft Mat
Black Craft Mat
Shop at:
AZ
Supertite Glue
Supertite Glue
Shop at:
O
Tonic Studios
Tonic Studios
Shop at:
T
Supertite All Purpose Univseral Glue
Shop at:
O
Expo Tulle
Expo Tulle
Shop at:
SB
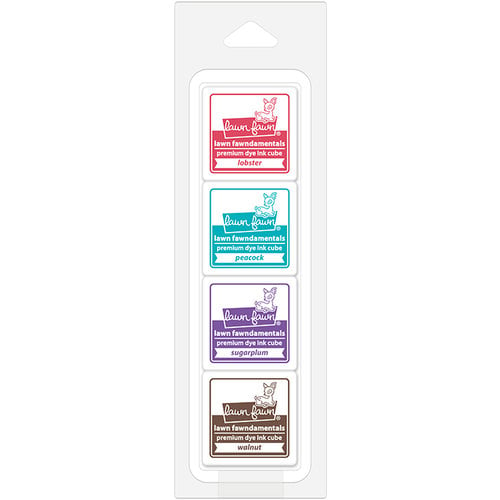
Lawn Fawn Ink
Lawn Fawn Ink
Shop at:
SB


Share This

Related Posts Plugin for WordPress, Blogger...