Sunday, September 17, 2017

DIY Dollar Tree Fast and Easy Etched Candy Bowls

I love how simple it is to take a plain orange bowl and turn it into something fun and festive for Halloween for a party, or for the teacher lounge at the kids school.  Filled with a few fun candies from the Dollar Tree and the easy DIY etched bowl is turned from plain to fun in less than an hour!

**I was compensated for this post. This post also contains affiliate links and I will be compensated if you make a purchase after clicking on my links.**


Here is a video tutorial on how I made this fun set of bowls!!


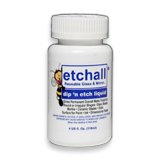
I started off with a set of orange porcelain bowls from the Dollar Tree.   I love that everything is just a dollar there, even for these bowls!!!  I cute out strips and also dots from the resist vinyl from Etchall and used the Dip N Etch to etch the bowls.


I place the dots and then the strips on other other bowl and placed them into the etching solution for 15 minutes, bottom side down, then flipped it and did the top side down for another 15 minutes.


I washed the bowls off and pulled the tape from the bowls and dried them up.  I then took a fine tip sharpie pen and marked along edge of each circle and line since that now the part that has been tech has lost its glazed feel and it now has a tooth to allow the pen to stay and not wipe off!!


You can can really see the difference between the etched and glossy surface of these bowls now!


I filled the bowls with some fun Halloween chocolate candy in fun eyeballs and skulls from the Dollar tree. When I etched the bowls I also did a little bit into the inside of the bowl about 1 inch, I love the look when the candy rests in bowl with the etching!


I now have some fun candy bowls ready to place out for a party, Happy Halloween!


You can even decorate the bowls with a little clip on decoration, I picked out some fun webbed butterflies from the Dollar Tree!


Supplies Used
Interested in the supplies I used in this project?  Most are listed below and some are affiliate links, which generates a me little commission (at not extra cost to you at all) when you click on the link and make a purchase.  Affiliate and product disclosure can be found here.
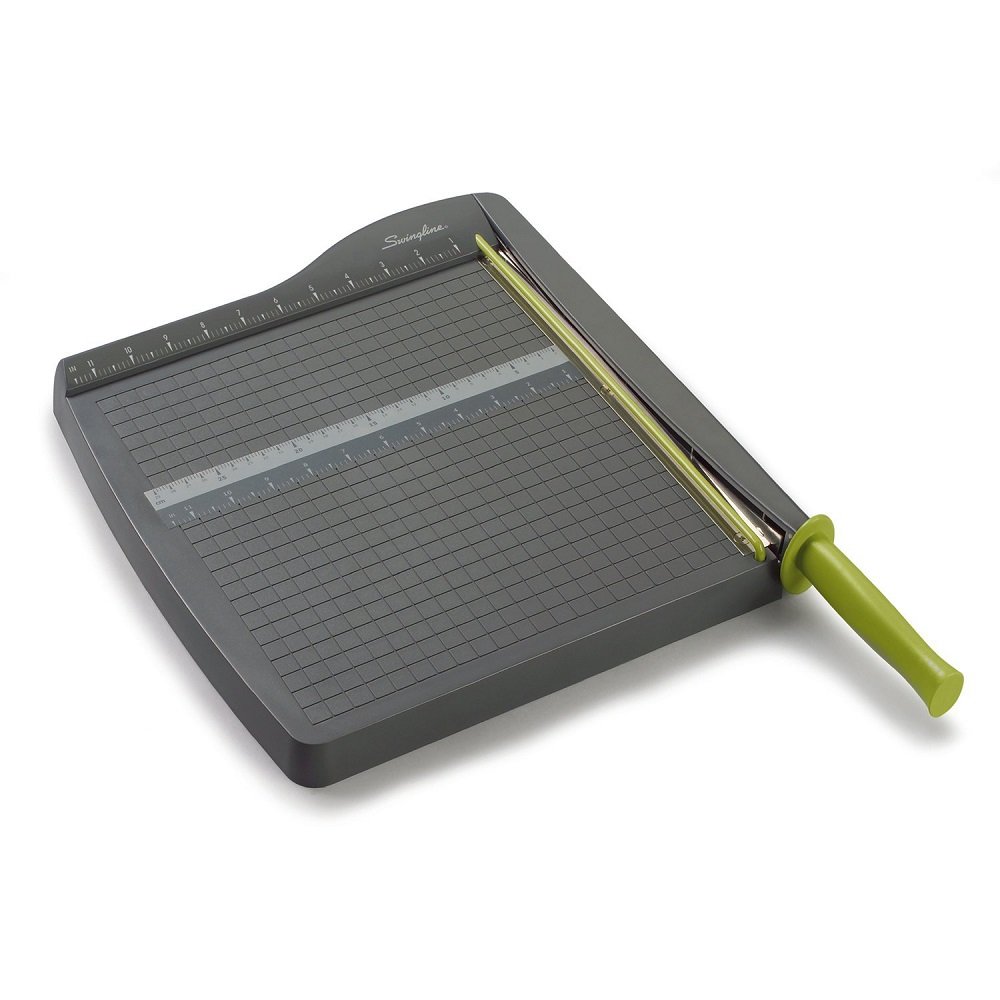
Swingline Paper Trimmer / Cutter, Guillotine
Shop at:
AZ
Etchall Dip n Etch
Etchall Dip n Etch
Shop at:
AZ | O
Bowls
Bowls
Shop at:
DT
Webbed Butterflies
Webbed Butterflies
Shop at:
DT
Candy
Candy
Shop at:
DT
Etchall Vinyl
Etchall Vinyl
Shop at:
AZ | O
Black Sharpie
Black Sharpie
Shop at:
AZ


Friday, September 15, 2017

Sunflower Mini Shelves

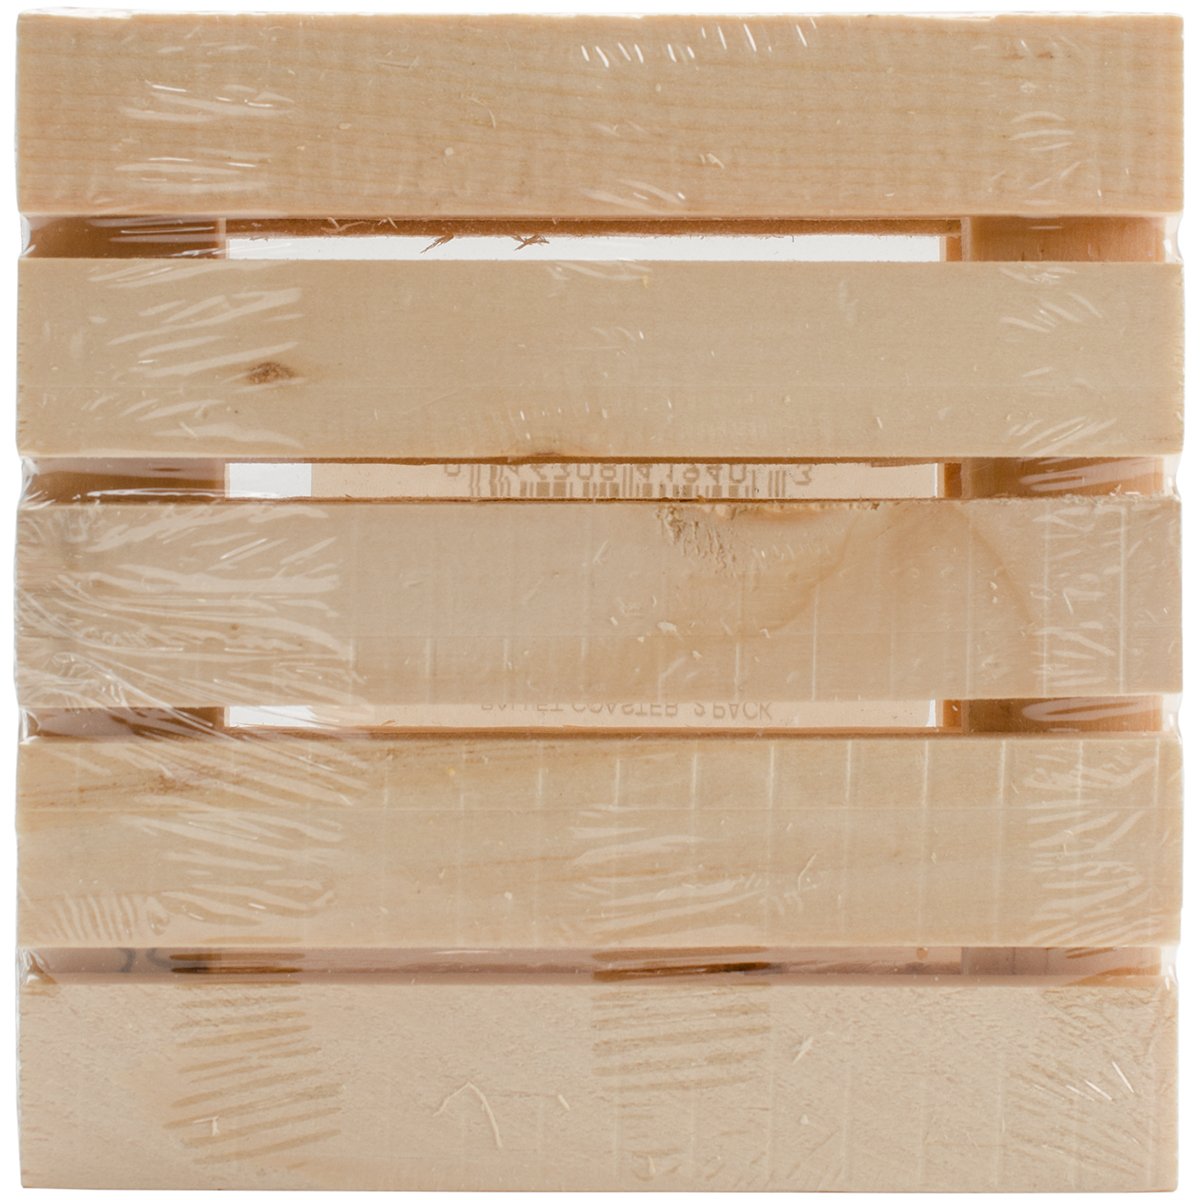
I love to try and make project that out of the box with my crafty items, so when I see an object I do not automatically try and use it the obvious way, I like to use it completely differently!  This is exactly what I did with some mini coasters from Walnut Hollow and a Sunflower metal piece from U-Paint Metal Crafts.


Here is the video on how to make this fun piece!


When I stared I had 2 plain wooden mini coasters.  I used the ColoriQue inks to transform them into a fun Autumn floral design.


I also took the metal sunflower and transformed it into a beautiful painted art piece.


Look how amazing it looks all painted!


I then constructed with my husband with some scrap wood a little shelf stand to hold the coasters to act like 2 shelves.  I added in some more painted wooden flowers and a fun dragonfly to tie it all together.  


So now I have a cute little shelf that can hold votives, little plants, or just for storage!

Supplies Used
Interested in the supplies I used in this project?  Most are listed below and some are affiliate links, which generates a me little commission (at not extra cost to you at all) when you click on the link and make a purchase.  Affiliate and product disclosure can be found here.

Helmar 450 Quick Dry Adhesive
Shop at:
AZ
Non Stick Palette
Non Stick Palette
Shop at:
BM | AZ
ColoriQue
ColoriQue
Shop at:
O
U-Paint Metal
U-Paint Metal
Shop at:
AZ
Walnut Hollow
Walnut Hollow
Shop at:
AZ


Friday, September 1, 2017

Lamp Makeover for a Little Girls Room using Flowers, Paint, and Gems

My daughters lamp base for her room broke a while ago, but the lamp shade made it.  Problem is that it looks really baby and not little girl.  So with a new lamp base I had found I set out to makeover her lamp with a little paint, some flowers, and some gems.


Here is a video tutorial on how I made over this lamp for my daughter's room.


This is what the lamp started out looking like.  It looked very baby, and my daughter was not a fan of the blue base.  So let's make it better!


First starting out painting both the shade and the base in colors that my daughter picked out.  Then I added layered flowers made from Petaloo and Rinea foiled paper punched out into flower shapes to the shade.

 
I then added some swirl crystals to the base to glam it all up.


Now she has a pretty lamp for her new big girl room.

Supplies Used
Interested in the supplies I used in this project?  Most are listed below and some are affiliate links, which generates a me little commission (at not extra cost to you at all) when you click on the link and make a purchase.  Affiliate and product disclosure can be found here.

Prima Pearl Swirl
Prima Pearl Swirl
Shop at:
AZ
Helmar 450 Quick Dry Adhesive
Shop at:
AZ
Fiskars 5 Inch Titanium Micro-Tip Easy Action Scissors
Shop at:
AZ
Rinea Foiled Paper
Rinea Foiled Paper
Shop at:
R
Petaloo Layering Fabric and Glitter Flowers
Shop at:
SB
Petaloo - Layering Fabric and Glitter Flowers - Daisies - Small - Fuschia
Shop at:
SB
Tattered Angels DIY & Decor Paint
Shop at:
AZ
EO Pearl Strips
EO Pearl Strips
Shop at:
AZ

Wednesday, August 30, 2017

6 Crafty Tips, Tricks, and Ideas for Using Nested Wafer Thin Dies

I love dies, they are so versatile and useful for all kinds of crafts using paper and more!!  Here are 6 tips, tricks, and idea for your nesting wafer thin dies.


Here is a video tutorial for each step below in more detail.


1. Basic Cuts

You can use you die to create basic cuts with any of your die cutting machines.  Here is a simple tag example.


2. Thin Layered Cuts

You can nest the dies into each other to create thin cuts and then stack them into each other for a fun effect.


3. Window Cuts

Cut into a card with a shape to make a window.


4. Partial Cuts

Off center the die to make a partial cut, then you can layer it back into itself for a fun look!


5. Embossing

Use the reverse side of the die to create a light embossed look.  You can also take a pen and outline each shape for a more dramatic effect.

6.  Stacking Shapes

Cut out shapes of different sizes from the nested dies and stack them on top of each other for a really fun effect.


Nested dies are really the most versatile dies out there, so many possibilities for creating all kinds of amazing paper crafts.  What will you create next?


Supplies Used
Interested in the supplies I used in this project?  Most are listed below and some are affiliate links, which generates a me little commission (at not extra cost to you at all) when you click on the link and make a purchase.  Affiliate and product disclosure can be found here.

Cuttlebug
Cuttlebug
Shop at:
AZ
Cuttlebug Plate C
Cuttlebug Plate C
Shop at:
SB | AZ
Brutus Monroe Stamps
Shop at:
SB | BM
Tag Nesting Dies
Tag Nesting Dies
Shop at:
SB
Star Nesting Dies
Star Nesting Dies
Shop at:
SB
Black Ink
Black Ink
Shop at:
SB
Adhesive Runner
Adhesive Runner
Shop at:
SB
Stamp Block
Stamp Block
Shop at:
SB

Share This

Related Posts Plugin for WordPress, Blogger...