Thursday, January 5, 2017

Ways to Use Reinkers - Test Lab: Part 1 - Ink Refills, Splatters, Drops, Drips, Rings, and Mixing with Mediums

I just got in some fun reinkers from Brutus Monroe.  I have been playing with them to see all teh fun things i can make with these fun little bottles of ink.  So now learn many ways to use reinkers for ink pads for more than just refilling your stamp pads.  In test lab 1 learn how to reink you stamp pad, make splatters, drops, drips, bubbles, rings, and also how to use the reinkers to mix with various mediums to make custom colors!


I made a video to show all the fun techniques and uses of these amazing little reinkers.  Brutus Monroe is offering an amazing deal for all Chalk Ink Pads plus Chalk Ink Re-inkers for the next couple months - a 20% off your ink purchase

coupon code: erinreed 

Plus here is the best part, you have a chance to win a set in mini chalk inks for just subscribing to my YouTube Channel, full details are on my channel (https://www.youtube.com/user/scrapsofreflection), but there will be 4 winners, each receiving one set of 4 mini chalk inks!!  Here is the video for test lab 1.


Test 1 -Reinking your Stamp Pad
Shake the bottle of reinker before applying it to the ink pad.  use your finger or the back of a spoon to blend it into the pad for full coverage.  See video for examples.


Test 2 -Splatters, Drop, Rings, Bubbles, Drips, and more.
I demonstrate in the video various techniques on how to make fun distress marks on your projects using the reinkers mixed with water and using various tools including a water pen, brush, medicine dropper, and the bottle itself.  You can also blend more than one color together to make a new color, just like mixing paint!  The main color used is Terracotta, and to make the blends I combined it with Zest.  For complete results please see the video. 


Here is a card base I made using all the techniques above in 2 different colors, Aubergine and Sea.  This would be a fun technique for the background of a card, scrapbook page, journal page, mixed media project.  The possibilities are endless.


Test 3 - Mixing with Mediums to Make Custom Colors
Here I added the reinker sea to Texture Paste, Soft Paste, Modeling Paste, Soft Gloss Gel, and Gesso to see how each mixed to create a custom color.  I then took that color and used it with a Brutus Monroe stencil.  You can also mix color to make a blend of your own, for this I combined both Sea and Cabbage with Soft Gloss Gel.   For complete results please see the video.


I will say that the Brutus Monroe reinkers are amazing.  I have many more techniques coming in the next couple weeks, stay tuned!


Friday, December 30, 2016

Metallic Foil Star **Rinea & Beacon**

Want to make a beautiful New Years party decor item to hand from the ceiling, lay on the table for decor, or for a fun centerpiece?  Check out these fun stars made from Rinea foil.


This star measuring out to be about 5 inches across and is 3 dimensional and just shines!!  Here is a video on how to make these fun stars.


Supplies Used
Foil - Rinea
Stencils - Rinea
Pencil
Scissors - Fiskars
String
Glue - Beacon

Thursday, December 29, 2016

Brutus Monroe Stamp and Ink Haul plus Ink Swatches

I got in my new box of Brutus Monroe inks, stamps, papers, and a couple of other fun surprises a few days ago, so let jump in and see what I got!!


I got an amazing box of goodies filled to the brim, check out my video for full details!


Since have now a have nice collection of the inks, I did a swatch of the color to see how they all look!


Only 5 more colors left until I have the whole collection!!!  Here is the link to the swatch ink guide so you can do it yourself for your own inks!!

I also got some of the re-inkers and decided to swatch them too! 


I still need to get a few more of those, hehe.  Now for some fun news!
Brutus Monroe is offering an amazing deal for all Chalk Ink Pads plus Chalk Ink Re-inkers for the next couple months - a 20% off your ink purchase

coupon code: erinreed 

Plus here is the best part, you have a chance to win a set in mini chalk inks for just subscribing to my YouTube Channel, full details are on my channel (https://www.youtube.com/user/scrapsofreflection), but there will be 4 winners, each receiving one set of 4 mini chalk inks!! 
Now off to play with my new supplies!!

Saturday, December 24, 2016

7 More Ideas for Christmas & Winter Cards Plus a Little Tutorial **Paper Wings Productions & Eyelet Outlet**

Need some last minute inspiration for card right before the holidays, check out these fun ones I got from happy mail or that I made this past week!  One is even a winter card you can use after Christmas is over!  Look below for my fast and fun winter card!!


Here is a video filled of fun card ideas.

It is never too late in the winter season to send out those winter card to friends and family!!

Supplies Used
Card - Canvas Corp
Washi Tape - Eyelet Outlet
Foil - Rinea
Punch - Fiskars
Stamps - Paper Wings Productions
Ink - Brutus Monroe
Adhesive - Xyron

Thursday, December 22, 2016

Ink Test Lab - Part 4: Heat Embossing, Generation Stamping, Blending, & Distress Edging **Giveaway**


Time for part 4 of the Brutus Monroe Ink Lab were I test to see how the various inks all compare to various inking techniques including heat embossing, distressing edging, generation stamping up to 4 generations, and blending with a blending tool.


So for these tests I did a video to show how they all compered against each other.  Brutus Monroe is offering an amazing deal for all Chalk Ink Pads plus Chalk Ink Re-inkers for the next couple months - a 20% off your ink purchase.

coupon code: erinreed 

Plus here is the best part, you have a chance to win a set in mini chalk inks for just subscribing to my YouTube Channel.  All you need to do is
1) Subscribe to my video - if you are already a subbie awesome!!
2) Leave a comment on this video that you have subbed and would like to win the prize!!


The inks I tested were Brutus Monroe Chalk ink in Wagon, Ranger Distress ink in Fired Brick, StazOn in Pumpkin, Dare 2B Artzy in Red, Studio G Chalks in Red, Colorbox Fluid Chalk ink in Tangerine, Prima Quick Dry fluid chalk ink in Brick Wall, and Prima Resist Chalk Edger in Rose Bud.  I kept all the color as close as possible in the range of red and oranges.

Test 1 - Blending

I tested each of the 8 inks on a small squares of white cardstock to see how well each blended on the paper using a blending tool.  I compared each of the inks to the Ranger distress ink because that is one of the main purposes of that ink.  The best matches are the Brutus Monroe, Dare 2B Artzy, and The Studio Chalk inks.  For full results please see the video.   


Test 2 - Heat Embossing
I tested each of the 8 inks on a square of white cardstock with a gold embossing powder, a generic brand I have had for years as we were testing the ink and not the powder.   I tested to see if the gold covered up the red and orange ink, if it did a good coverage then it worked well.  All but the Stazon and Dar2B Artzy worked great, those 2 did not work at all.  For complete results please see the video.


Test 3 - Generation Stamping up to 4 Generations

I tested each of the 8 inks on white paper.  I stamped each stamp with one ink application to the stamp to see how well each stamp lasted being stamped without re-inking through 4 generations of stamps.  Some faded nicely (Brutus Monroe, Stazon, Studio G, and Colorbox) and some were blotchy past the generation 1 stamp.  For full results please see the video.


Test 4 - Distress Edging
I tested each of the 8 inks on a section of white cardstock that one side was left smooth and the other was distress with a edge distress tool.  I then inked the edges with all 8 inks.  They all work just fine, but the application and the durability of the ink pad are what I was comparing.  Over time the Prima inks, Studio G, and Colorbox all tear and fall off over time when you edge with them for too long.  The other 4 inks all work great with out tearing or fall apart.  For full results please see the video.


I will say that the Brutus Monroe inks were amazing for all these tests.  I loved that they held up too different kinds of tecniques and are holding up tho the name of an all purpose ink!!  Amazing inks!!


Tuesday, December 20, 2016

Swirl Christmas Tree Card

I love the idea of a swirl Christmas tree, I got the idea from a painting I made a Painting with a Twist - see below, but I had to do it my own way!!  So why not with clay and make it a card!!


This was my inspiration canvas I made at the painting event, ya I took a few liberties and made a forest, hehe.


I used the clay and form it into swirls that I then glued with Beacon 3 in 1 glue to the Canvas Corp burlap stitched card, and then inked the edges in ink.  Here is a complete video tutorial on how I made this card.

And a few up close pictures.


Let your imagination soar when it come to what supplies you use in your card, crafts, and projects - have fun with it!!

Supplies Used
Card - Canvas Corp Brands
Clay - Makin's Clay
Clay Tools - Makin's Clay
Ink - Brutus Monroe
Glue - Beacon Adhesives

Monday, December 19, 2016

Decorative Christmas Jam Jar Gifts

I made some jam (well it turned out to be more like syrup when it was done, but it still tasted super yummy) from all fruit in my backyard that I froze through out the season. We have blackberries, blueberries, strawberries, apples, peaches, limes, and a plum!  It became my Holiday Syrup (it is great on waffles) that we gave out to friends, family, and teachers for Christmas.  Now I know that the syrup is good all by itself, but I needed to dress up the jars a bit, because it is me after all.


I stared with the plain filled and sealed jars, placed the label on the back, added a little flower on the top, bling along the lid, and them tied a sting with the label along the rim.  Here is a video on how I made this cute little decorated jam jar.


I made over 30 jars, but it made for an easy gift to hand out to all that needed one this year.


I used my Xyron Creative Station to stick the labels I made on my computer onto the jars, this is so easy!!!


Adding that pretty little something to the top of the jars just makes it all that much sweeter!


Supplies Used
Interested in the supplies I used in this project?  Most are listed below and some are affiliate links, which generates a me little commission (at not extra cost to you at all) when you click on the link and make a purchase.  Affiliate and product disclosure can be found here.


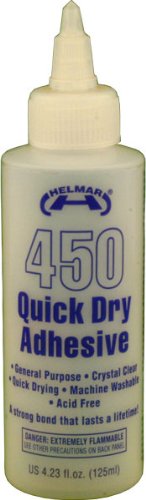
Helmar 450 Quick Dry Adhesive
Shop at:
AZ
Fiskars Scissors
Fiskars Scissors
Shop at:
AZ
Rinea Foiled Paper
Rinea Foiled Paper
Shop at:
R
Prima Assorted Flowers
Shop at:
SB | AZ
Eyelet Outlet Bling
Eyelet Outlet Bling
Shop at:
AZ
Cardstock Printer Paper
Shop at:
AZ
Eyelet Outlet gems
Eyelet Outlet gems
Shop at:
AZ
Epson Printer
Epson Printer
Shop at:
AZ
CCB Rope
CCB Rope
Shop at:
AZ
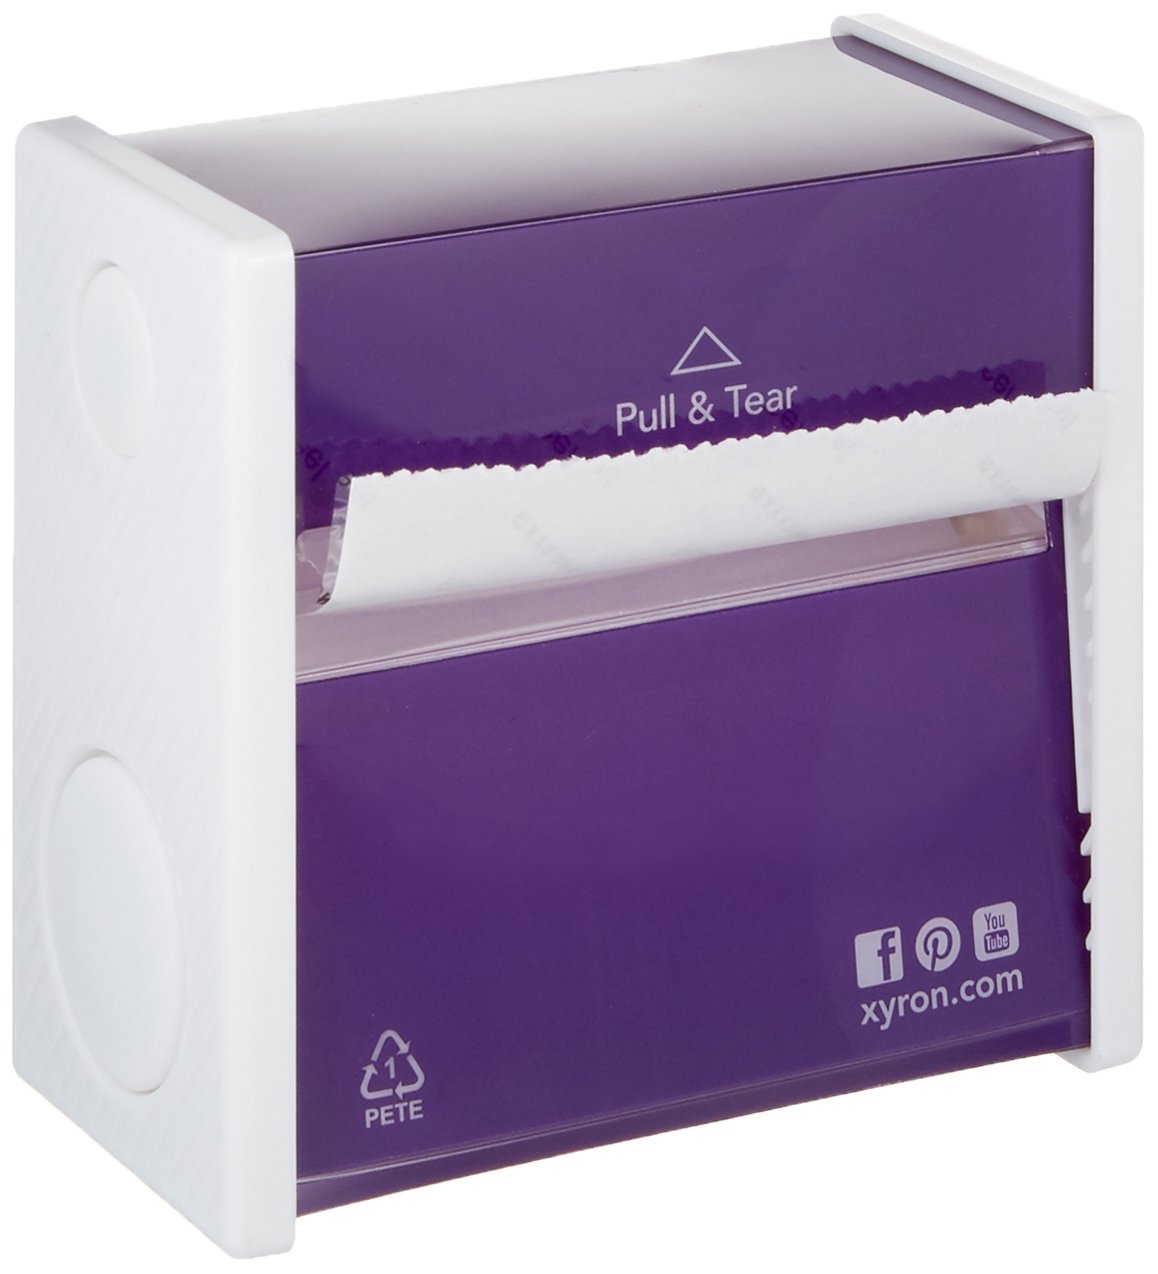
Xyron 3
Xyron 3" Sticker Maker
Shop at:
SB | AZ


Share This

Related Posts Plugin for WordPress, Blogger...