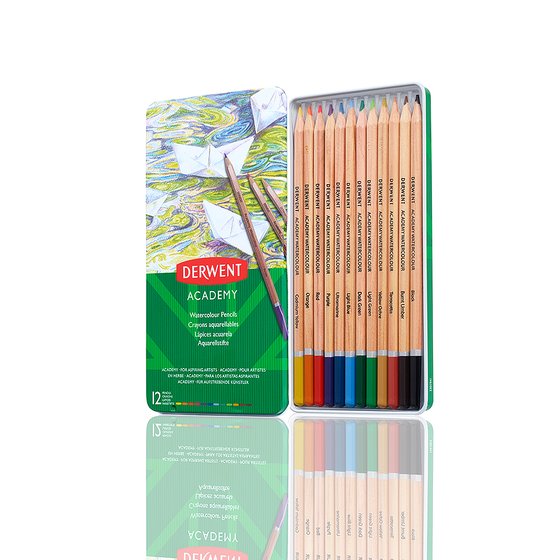
Ever wonder how easy it is to get a water color look on paper without the fuss of using watercolor paints? Check out how using Derwent Academy Water Soluble Markers and Marker Paper pad to make Christmas Cards and Snowflake Ornaments.
Various companies provided me with some product to create this project. The opinions I share are solely my own.

Here is the video to learn how fun this watercolor technique is and how to make these fun snowflakes.
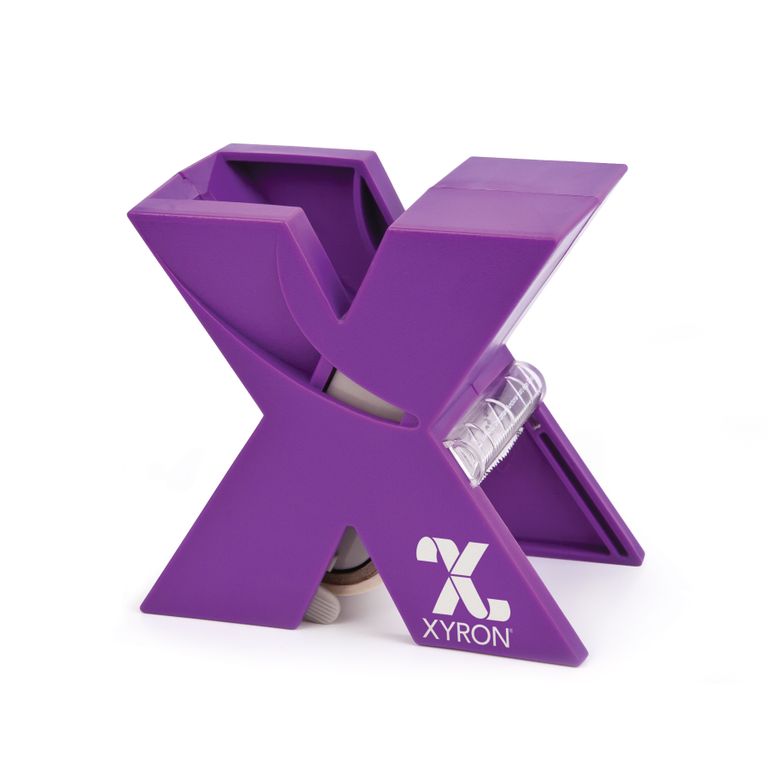
I started by using the Xyron Creative Station Lite with the Double Sided Laminated Refill to make a small couple of sheets of laminated paper. Use a white or just off white paper that is not super flimsy, the Derwent Watercolor Paper Pad was super for this! All you then need to do is pick out a couple of colors from the Derwent Academy Art Markers and color them onto the laminated sheet and spray with a little water.

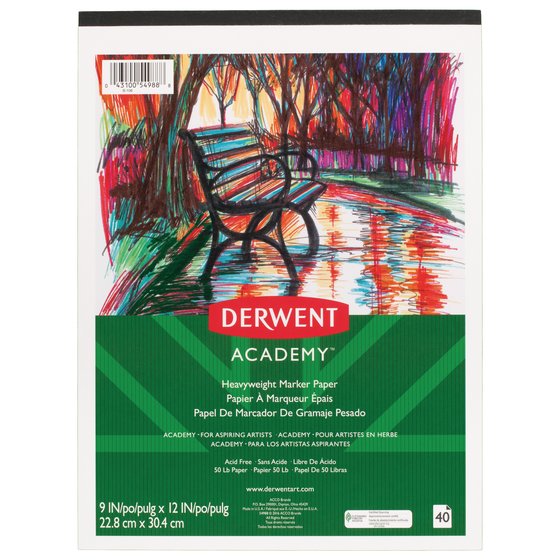
The laminated paper repels the marker and the water help add some more liquid to the color to help transfer it to the Derwent Academy Marker Paper Pad. This paper held the color wonderfully and it made a really cool watercolor effect.

Change up the colors of the makers to get some really cool effects on the papers!

I used the first batch of solid color watercolor backgrounds to make some Christmas cards with a calligraphy JOY using the Derwent Academy Twin-Tip Markers on the brush side of the pen, but I am super new to calligraphy and they just did not look quite right. I am not going to throw them away, but it got me to thinking of what else I could possibly make the watercolor paper I had just made.

So I dug into my dies and found this really cool snowflake die set that can be made into ornaments. So off I went to make some foil and watercolor ornaments in a variety of colors! The first one used the blue and green watercolor paper which I die cut into a small snowflake and then outlines with the blue and green makers and paired with Rinea foiled papers in silver and Tonic Nuvo Drops accents.

On the back I stamped out Merry Christmas using the Derwent Academy Twin-Tip Markers brush tip in blue to ink the stamp and stuck the whole snowflake together with the Xyron 3" Sticker Maker.

I repeated the same idea of a snowflake as above but this time with the purple and red watercolor background. I used a purple marker to accent the snowflake and a red maker to stamp the in the back and paired it with more Tonic Nuvo drops and Copper Rinea Foiled paper.


For the next batch of snowflakes I did not add the stamp to the back, and this time I used the watercolor paper in the middle of the snowflake cutting and pairing it with different colors of Rinea Foiled paper in lavender and turquoise.


There are so many other fun idea you can make with this easy background watercolor paper using Derwent Markers, these are just a few for the holiday season! What will you make with your watercolor paper?

Supplies Used
Interested in the supplies I used in this project? Most are listed below and some are affiliate links, which generates a me little commission (at not extra cost to you at all) when you click on the link and make a purchase. Affiliate and product disclosure can be found here.
 Shareasale Shop at: O |
 Tailwind Shop at: O |
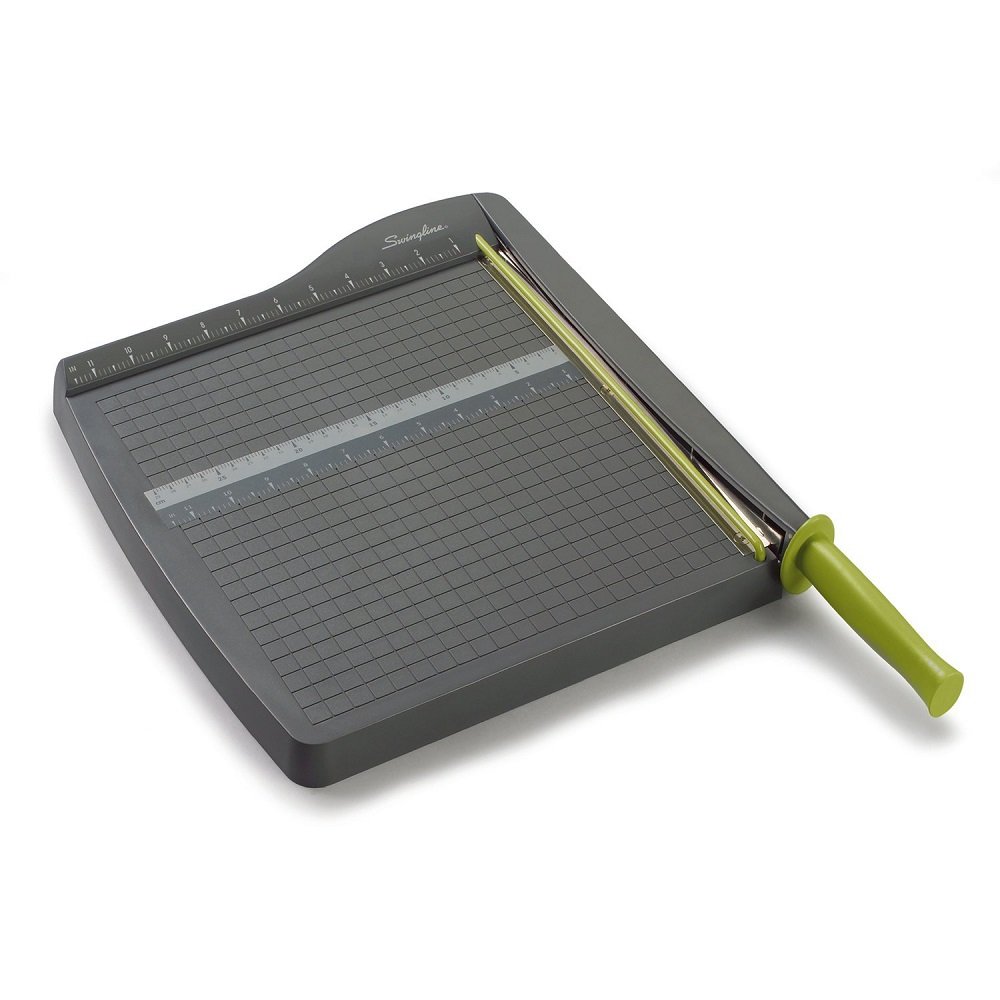 Swingline Paper Trimmer / Cutter, Guillotine Shop at: AZ |
 Fiskars Scissors Shop at: AZ | LFL (UK) |
 Rinea Foiled Paper Shop at: O |
 Tonic Nuvo Crystal Drops Shop at: SB | T | LFL (UK) |
 Xyron Creative Station Lite Shop at: AZ |
 Cuttlebug Shop at: AZ |
 Cuttlebug Plate C Shop at: SB | AZ |
 Sizzix Shop at: O |
 Sizzix Dies Shop at: SB |
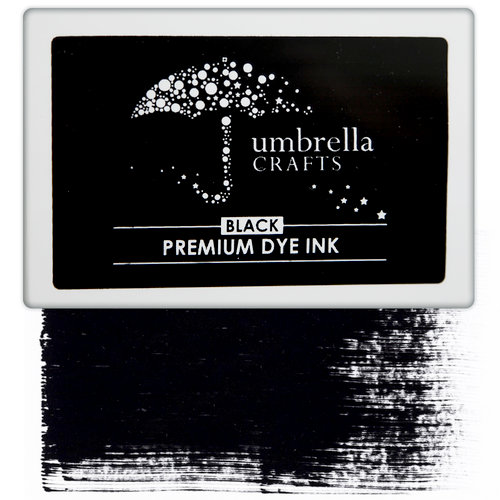 Umbrella Inks Shop at: SB |
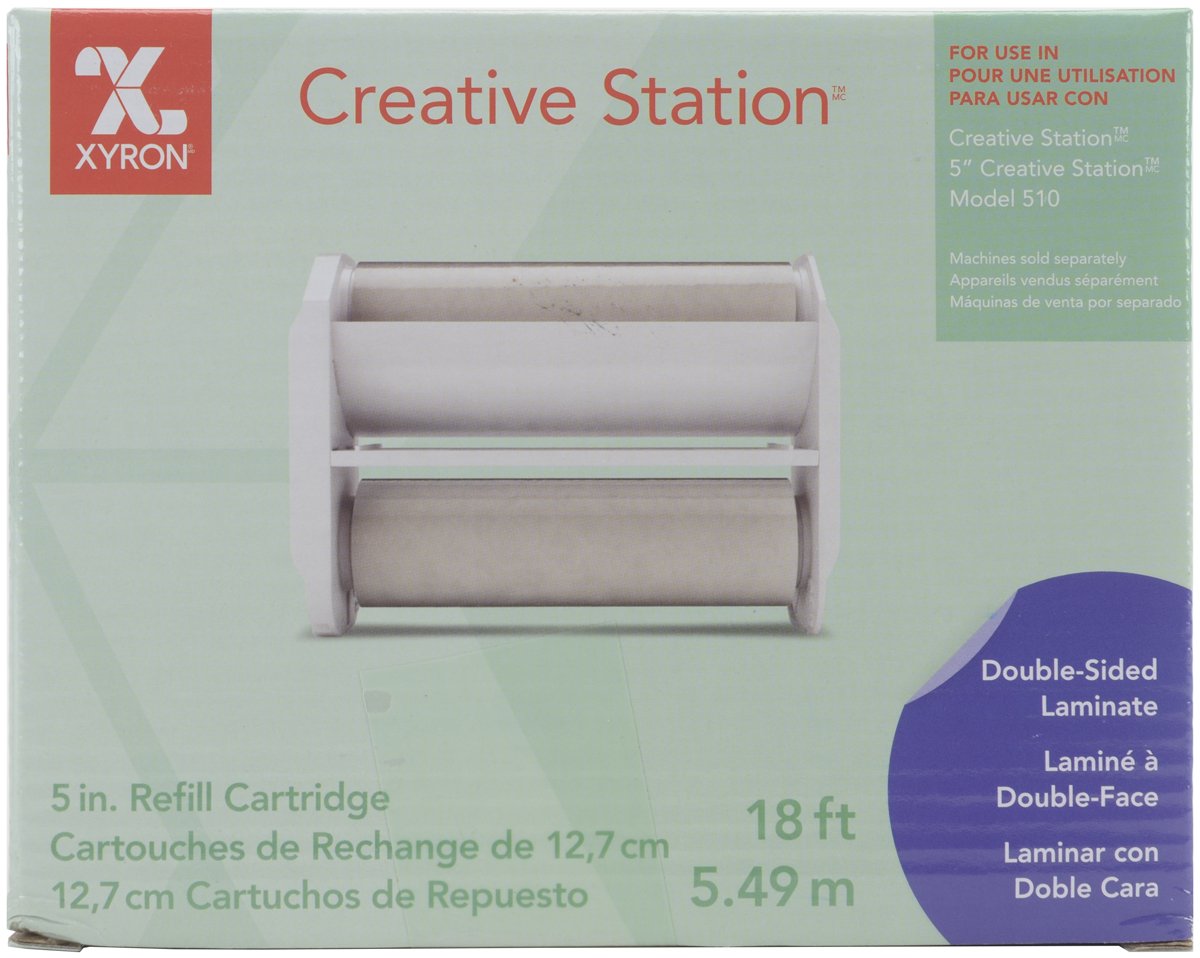 Xyron Laminate 5" Refill Shop at: AZ |
 Jute trim Shop at: AZ |
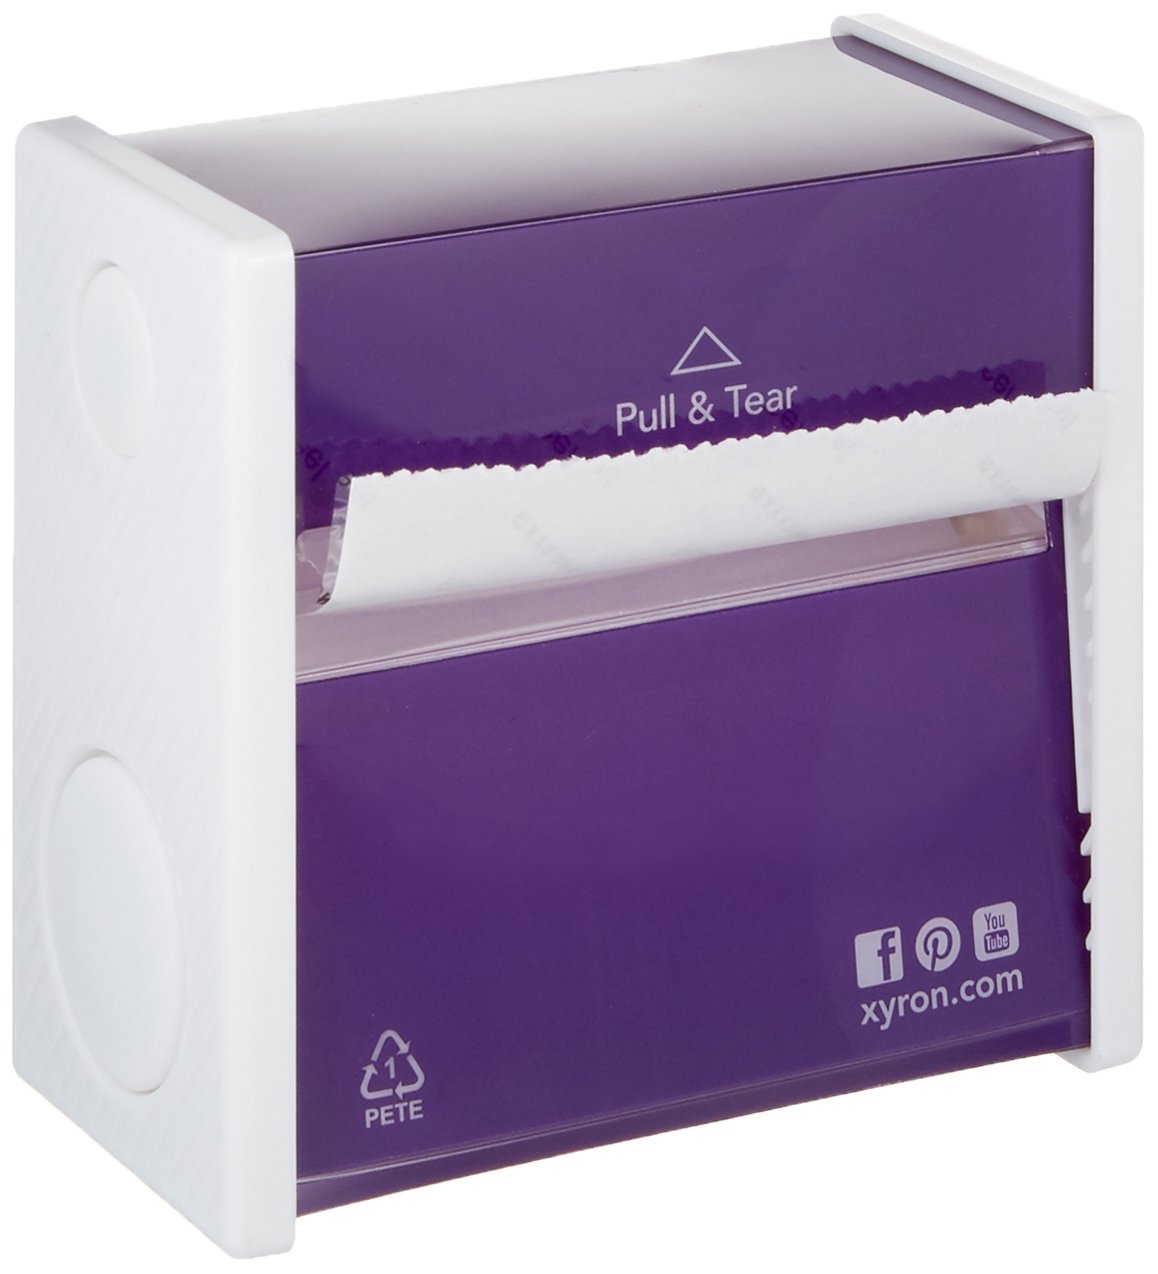 Xyron 3" Sticker Maker Shop at: SB | AZ | LFL (UK) |
 Black Craft Mat Shop at: AZ |
 Tonic Studios Shop at: T |
 Piercer Shop at: AZ |
 Round Stamp Block Shop at: O |
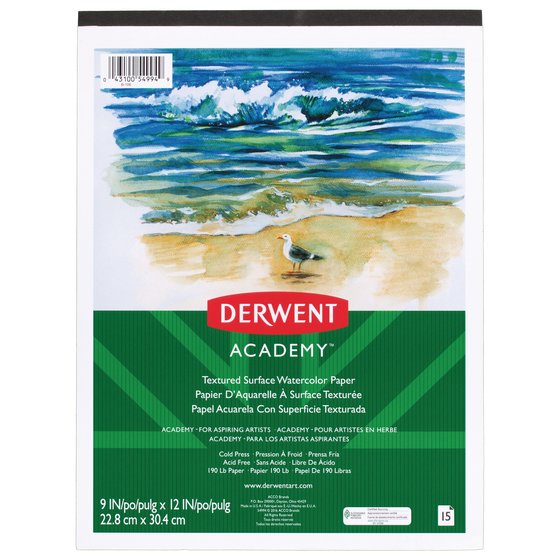 Derwent Watercolor Pad Shop at: O |
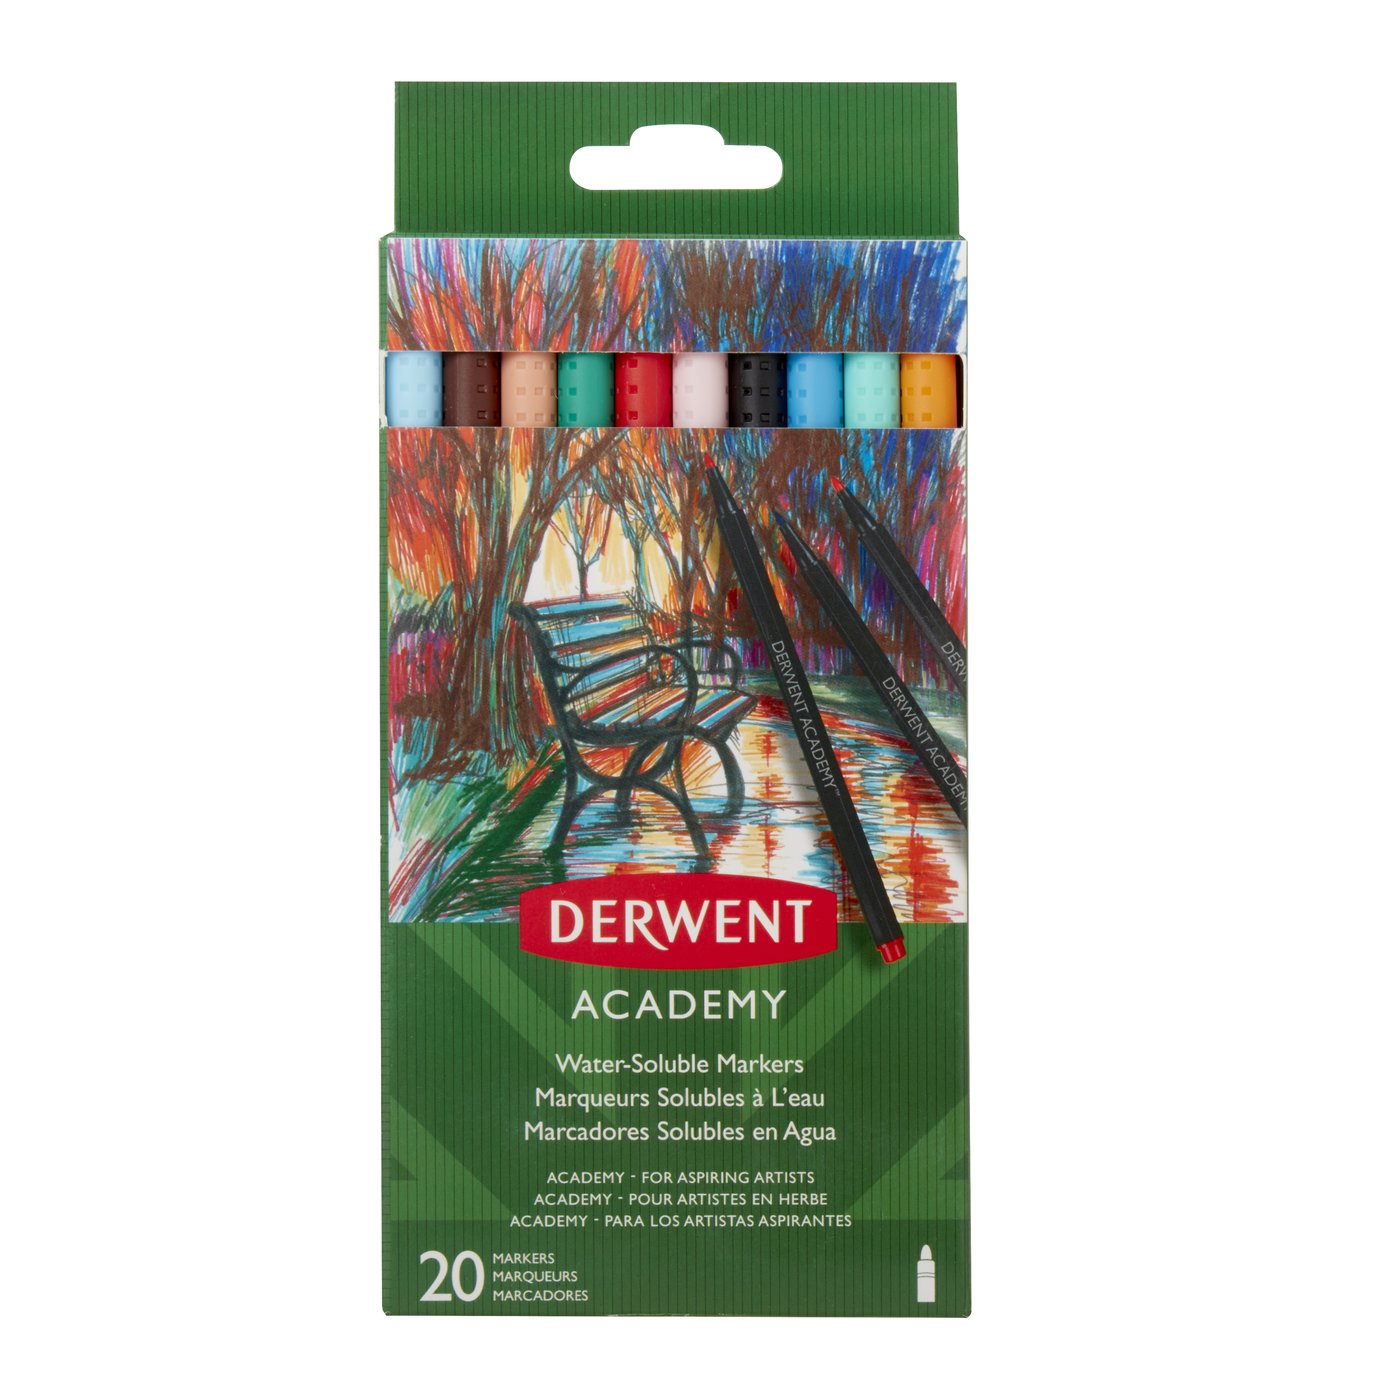 Derwent Academy 20 pk Markers Shop at: O |
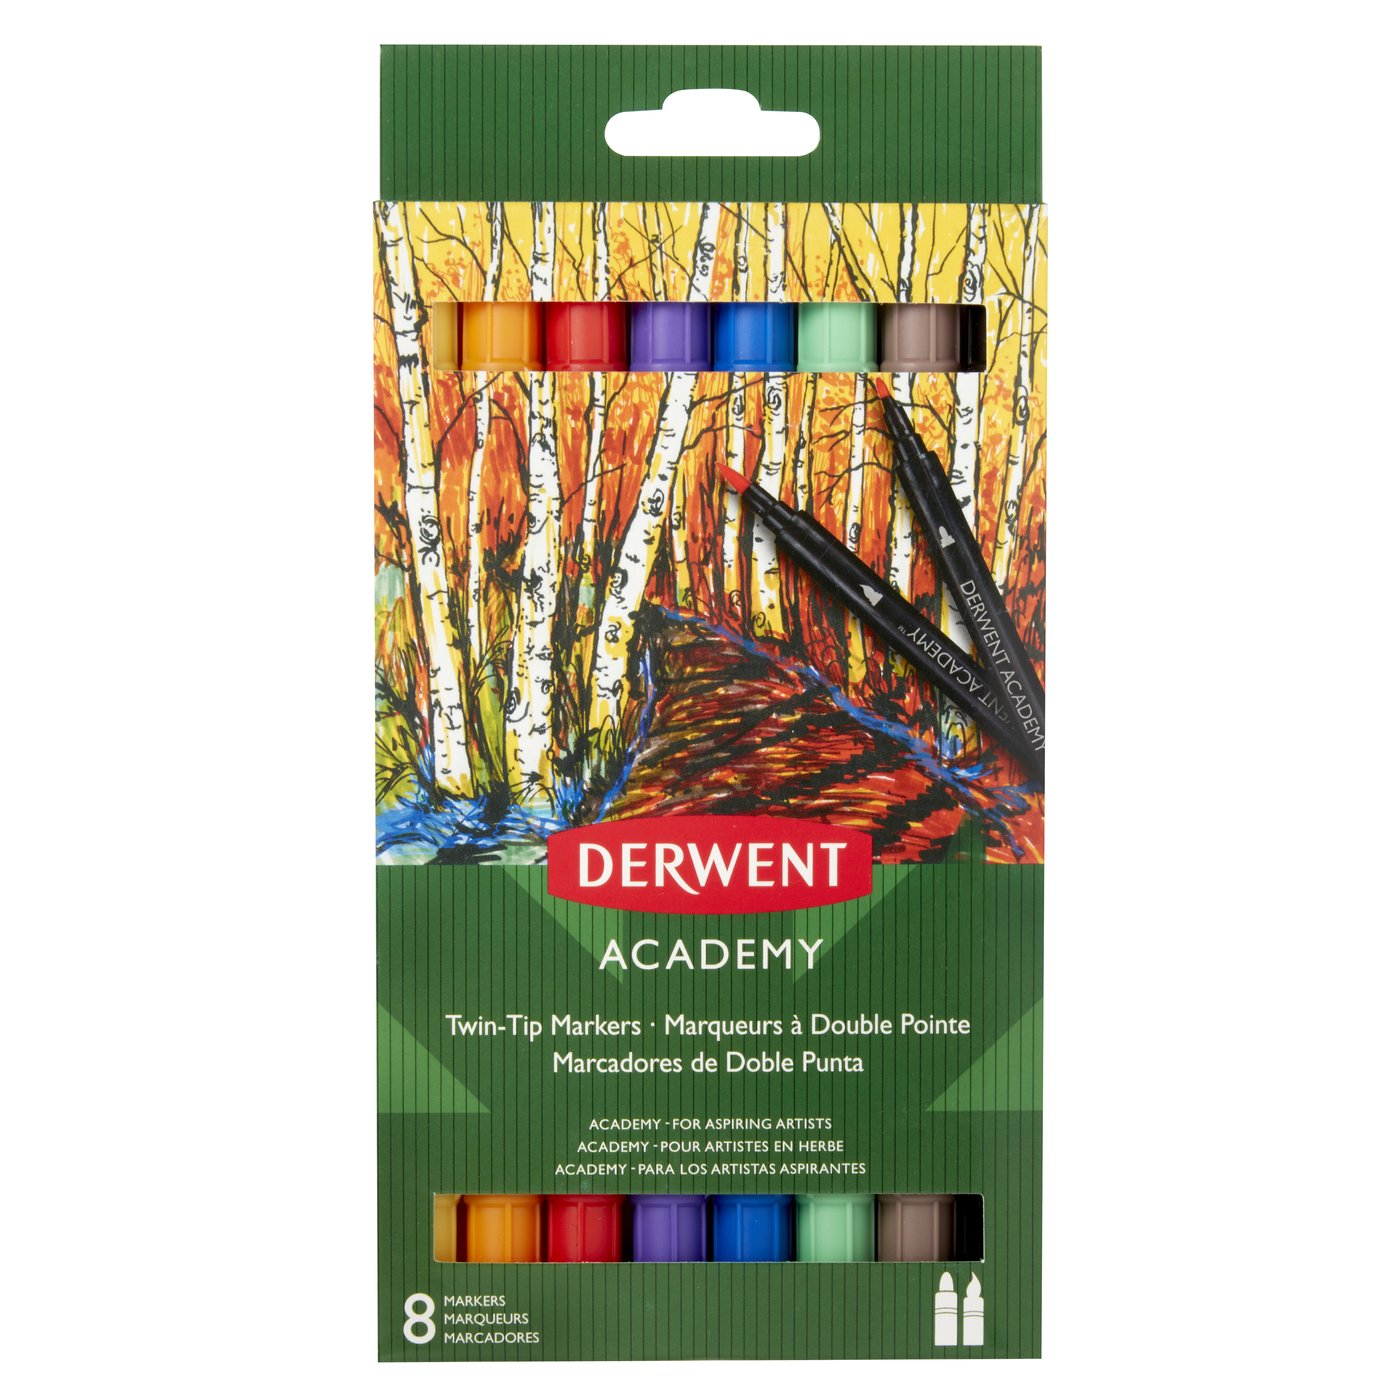 Derwent Academy Twin Tip 8pk Markers Shop at: O |
 Derwent AcademyMarker Paper Pad Shop at: O |