Thursday, November 30, 2017

Best Way to Clean Your Craft Mats!!!

I love being able to clean my craft mats and also know that it is safe, non toxic, and it works!!!  Check out how easy and well this cleaner clean two of my craft mats, on a non stick craft mat and the other my self healing clay craft mat.


Check out my video to see in real time how this cleaner works.


I started out with my non stick craft mat that my daughter and her friend got covered with acrylic paint, but really it was already really messy with a ton of mists, glue, and other crafty goo.


I let the cleaner sit for a few minutes before I took my squeegee to it and pulled of all the gunk.  Take a look now!!


I also pulled out my clay mat, this thing had so much dried clay bits, ink, paint, and other random crafty stuff stuck to it and it had not been cleaned on almost 2 years.


Check it out now!!  I let it sit the with cleaner for about an hour to let it do its thing, and wow!!!  If I put a little more elbow grease into it i could probably get ti to look like new, but I am happy with a few crafty stains on it.


So what do you need to clean now?

Supplies Used
Interested in the supplies I used in this project?  Most are listed below and some are affiliate links, which generates a me little commission (at not extra cost to you at all) when you click on the link and make a purchase.  Affiliate and product disclosure can be found here.


Etchall Squeegee
Etchall Squeegee
Shop at:
AZ | O
Makin's Clay Mat
Makin's Clay Mat
Shop at:
AZ
ScraPerfect Best Cleaner Ever
Shop at:
AZ | O
Non Stick Craft mat
Non Stick Craft mat
Shop at:
AZ

Wednesday, November 29, 2017

Fun & Funky Mixed Media Art on a Stick

I love creating just to create, with no real plan in mind just make something fun, funky, and go with it to make me happy and maybe to push myself to try something a little different that I normally would make.  


Here is a video on how I made this art piece.


This is how my art on a stick was born.  I had some amazing stencils from Rita Barakat along with her Art Fomies stamps, paired with a few supplies I had laying around my desk that I was just dying to use (the frame and art stand) it turned into something kinda cool.


I used the Colorique ink paired with Crafter's Ink from Clearsnap to add color to the entire project, from painting the frame, coloring the base, and also coloring in the eye.  


I have never been taught how to draw faces, or anything beyond a stick person really, so with the stencils from Rita Barakat it makes it super easy to create this amazing eye!!


Just remember to think outside the box on your projects, it can push your limits of your creativity and also make something really fun and funky!!

Supplies Used
Interested in the supplies I used in this project?  Most are listed below and some are affiliate links, which generates a me little commission (at not extra cost to you at all) when you click on the link and make a purchase.  Affiliate and product disclosure can be found here.

Yellow No. 2 Pencils
Shop at:
AZ
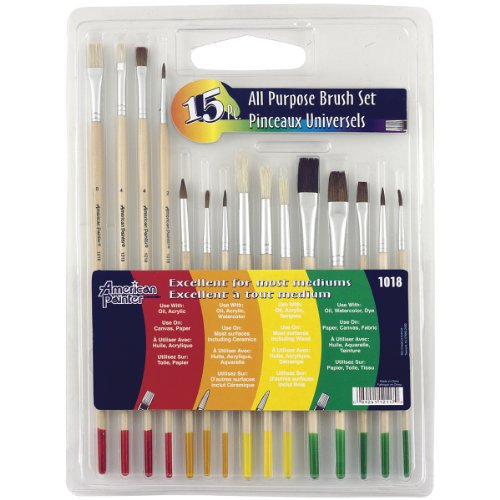
Paint Brushes
Paint Brushes
Shop at:
SB
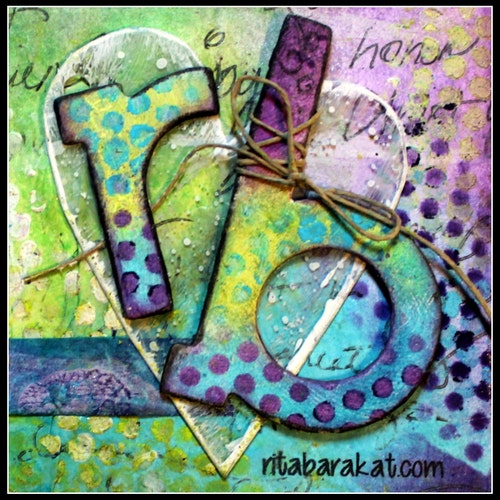
Rita Barakat Products
Shop at:
O
Fiskars Scissors
Fiskars Scissors
Shop at:
AZ
Helmar Craft Glue
Helmar Craft Glue
Shop at:
AZ
Non Stick Palette
Non Stick Palette
Shop at:
AZ
ColoriQue
ColoriQue
Shop at:
O
Relics & Artifacts Papllion
Shop at:
SB
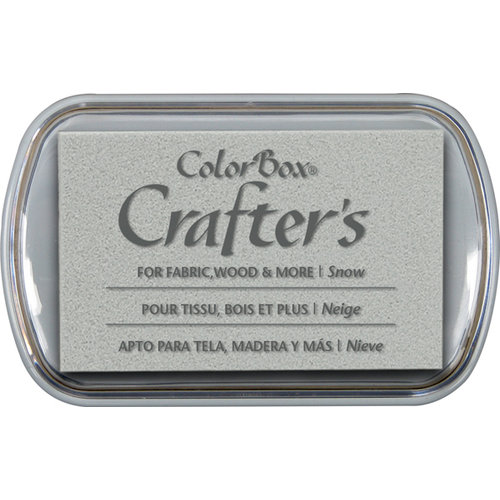
Clearsnap Crafter's Ink
Shop at:
SB
Water Color Paper
Water Color Paper
Shop at:
SB
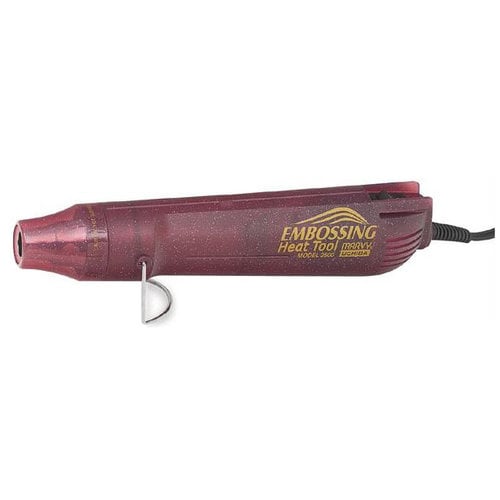
Heat Tool
Heat Tool
Shop at:
SB

Sunday, November 19, 2017

How to Make Rustic Grapevine Ball Ornaments & Home Decor

I love the look of grapevine and wrapped into a ball shape they look amazing!!  I got these spray berries in a pearl color and a pine spray and combined this the grapevine balls for an amazing rustic ornament or used in a set for some amazing home decor.  I wanted something that was pretty for Christmas, but could also be a decor item for winter, I think this fits the bill!!


Here is a video on how to make these fun grapevine ornaments.


These ornaments are so easy and fun to make.  A few supplies from Silk Plant Direct and some awesome Helmar Glue and you have a wonderful ornament to give as a gift, or to use for a decor piece!!  Here is also come amazing news, I have a coupon for you from Silk Plants Direct!!


Head over to the site to receive 10% your order now!!!  If you need larger items you can also go to Custom Artificial Trees for you all your large tree needs!!


I just love the feel of the ornament, it can be use dona tree, or hung in random places around your house or outside!


I also used these fun grapevine ball ornaments in a bowl display, added a few extra sprays of berries and pine with a couple of plain balls, wow how cool is this?!!?


So what are you creating for this Winter?

If you liked this craft your will love this one over at favecrafts!

Need some more rustic decor ideas click here:
 29 Classic and Gorgeous DIY Rustic Home Decorating Ideas

Supplies Used
Interested in the supplies I used in this project?  Most are listed below and some are affiliate links, which generates a me little commission (at not extra cost to you at all) when you click on the link and make a purchase.  Affiliate and product disclosure can be found here.


Fiskars Scissors
Fiskars Scissors
Shop at:
AZ
Helmar Craft Glue
Helmar Craft Glue
Shop at:
AZ
CCB Burlap Fringe
CCB Burlap Fringe
Shop at:
AZ
Erin Reed's CCB Christmas Kit
Shop at:
O
CCB Rope
CCB Rope
Shop at:
AZ
Silk Plants - Grapevine Balls
Shop at:
O
Silk Plants - Pearl Spray
Shop at:
O
Silk Plants - Pine Spray
Shop at:
O


Saturday, November 18, 2017

Last Minute Thanksgiving Gift: Iron On Monogrammed Tea Towel

Need a last minute gift for your Thanksgiving dinner to give to the hostess?  Make something that is super easy and adds that special touch of thanks, for that is what this holiday is all about!


Here is a video to show how easy these tea towels really are to make!!


I found this tea towel at Target, but really any fun autumn or fall towel will work. All you need now is some Joy iron on letters.  I picked out some gold iron on letters to really make this tea towel pop!!  Best part is the letters are all machine washable!!!


Don't forget to give something amazing to your hostess this thanksgiving, why not something useful and a little homemade too?

Supplies Used
Interested in the supplies I used in this project?  Most are listed below and some are affiliate links, which generates a me little commission (at not extra cost to you at all) when you click on the link and make a purchase.  Affiliate and product disclosure can be found here.


Joy Iron On - Gold Leters
Shop at:
AZ
Tea Towel
Tea Towel
Shop at:
AZ
Iron
Iron
Shop at:
AZ


Thursday, November 16, 2017

Christmas in a Jar

I am always looking for something handmade to give my kids teacher for Christmas.  This year I decided to do a gift in a decorated jar using some Colorique ink to color the lids and the metal wrapped around it.


This gift is super easy and really affordable, check out my video for how to decorate the jar and also make the rosemary bath salts!!


I did not want the lid to have all the labels and be black, so I used the Clearsnap ColorBox ColoriQue by Lisa Marie Jimenez in Moss Landing to cover it up.  Wow, did it do a great job!!  I also use the same color of Colorique to give each section of the U Paint Metal Crafts metal border a coat.  I attached the metal piece to the jar with some glue and twine.  It is starting to look a lot like Christmas!!


I made my first batch of Rosemary peppermint bath salts, and let me tell you this is so easy you will never buy it again!!  All you need is Epsom salts, baking powder, food coloring, fresh rosemary, and peppermint oils.  **Hint: you can make the scent anything you like if you have the oils for it**


Now it is time to decorate the container.  I started etching the upcycled glass jars with the Etchall stencil spray and some TCW & Brutus Monroe stencils in stars and ornaments with the Etchall etching creme.  They look really cool when it was done!!  For full details on how to etch please see the video above.


I then added a little green twine and some fresh rosemary to the top.  These are now ready to give to my kids teachers.  I love to give homemade items to my kids teachers, the gift I remember as a teacher years ago were the ones that were handmade, it just meant that much more that they took the time to make something for me.


Please head over to the other designers in the DCC for some other amazing inspiration with Colorique and U Paint Metal Crafts!


If you liked this project, check out this other amazing project at favecrafts!!!

Supplies Used
Interested in the supplies I used in this project?  Most are listed below and some are affiliate links, which generates a me little commission (at not extra cost to you at all) when you click on the link and make a purchase.  Affiliate and product disclosure can be found here.

Paint Brushes
Paint Brushes
Shop at:
SB
Fiskars Scissors
Fiskars Scissors
Shop at:
AZ
Etchall Stencil Spray
Shop at:
O
Helmar H3000 Remove Cleaner
Shop at:
AZ | O
Non Stick Palette
Non Stick Palette
Shop at:
AZ
ColoriQue
ColoriQue
Shop at:
O
U-Paint Metal
U-Paint Metal
Shop at:
AZ
Etchall Creme
Etchall Creme
Shop at:
AZ | O
Etchall Squeegee
Etchall Squeegee
Shop at:
AZ | O
Jute trim
Jute trim
Shop at:
AZ
Epsome Salt
Epsome Salt
Shop at:
AZ
Peppermint Oil
Peppermint Oil
Shop at:
AZ
Rosemary
Rosemary
Shop at:
AZ
Baking Soda
Baking Soda
Shop at:
AZ
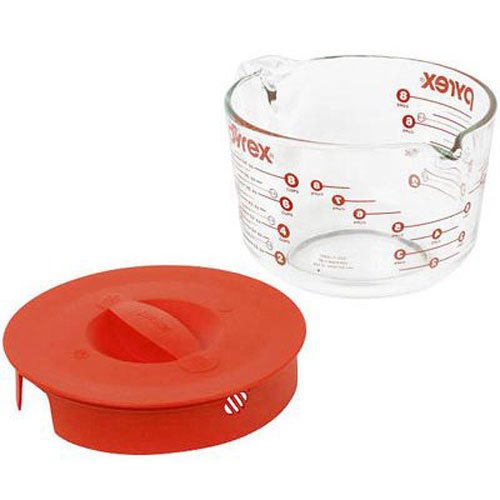
8 Cup Measuring Bowl
Shop at:
AZ
TCW Star Stencil
TCW Star Stencil
Shop at:
AZ
Ornament Stencil
Ornament Stencil
Shop at:
AZ
Heat Tool
Heat Tool
Shop at:
SB


Share This

Related Posts Plugin for WordPress, Blogger...