Showing posts with label etchall. Show all posts

Sunday, May 3, 2020

Patriotic Dollar Store Wine Glasses Using Etching & Vinyl

I love a pretty wine glass, so why not make up your own for a fun occasion, like 4th of July?  So grab some vinyl, Dollar Store wine glasses, etching liquid, and let's get started!

This post also contains affiliate links and I will be compensated if you make a purchase after clicking on my links.  Various companies provided me with some product to create this project.  The opinions I share are solely my own.


Check out my video to see the full tutorial in detail with lots of extra tips!


Start off with your supplies of wine glasses, a star die, Etchall Dip N Etch, and StyleTechCraft Transparent Glitter Vinyl.  I did red, silver and blue for a patriotic look, but you can make yours any color you want!


First your etch your glasses.  I placed the glass in a plastic container and let it sit for 15 minutes to etch the stem and a little of the bottom of the glass.  It really gives the glass a sophisticated look!  Read the instructions on the dip 'n etch liquid for full details.


Just look how cool this glasses look etched!


Next, use a small die to cut out start from the vinyl.  I found this small die set that has 5 stars on it.  One pass through a die cut machine and you get 5 stars.  You can even use a punch to get stars, or free hand cut them. 


Add your cut out stars to your transfer tape to make it really easy to apply to your glass.  Make sure to add the stars upside down and peal off the sticker backing with your weeding tool!!


Rub the stars from the transfer tape to the glasses and fill it up as much as you want.  I added about 10 of each color of start, so about 30 stars total on each glass.  make sure to rub them really well so they do not come off.  The vinyl is water resistant and can be hand washed for many uses!  See the video to learn how to transfer the stars with some extra tips!


I made my glasses with a patriotic theme, but you can make them for any time for year or event.  Make them the colors of your wedding, hearts for valentines day, shamrocks for st. Patty;s day, trees for Christmas, etc.  The sky is the limit on idea for this fun and easy DIY project!


What colors and shapes will you make on your glasses?


Looking for more inspiration?

StyleTechCraft™ Facebook
StyleTechCraft™ Instagram
StyleTechCraft™ Pinterest
StyleTechCraft™ YouTube

Interested in the supplies I used in this project? Most are listed below and some are affiliate links, which generates a me little commission (at not extra cost to you at all) when you click on the link and make a purchase. 

Sizzix Sidekick
Sizzix Sidekick
Shop at:
SSS | O
Arbonne
Arbonne
Shop at:
O
Shareasale
Shareasale
Shop at:
O
Amazon Storefront
Amazon Storefront
Shop at:
AZ
Instacart
Instacart
Shop at:
O
Favecrafts
Favecrafts
Shop at:
O
Dollar Tree
Dollar Tree
Shop at:
DT
Etchall Dip n Etch
Etchall Dip n Etch
Shop at:
AZ | O
DT Glasses
DT Glasses
Shop at:
DT
Arteza Giant Craft Mat
Shop at:
O
Styletechcraft Vinyl
Shop at:
AZ
Paper Smooches Dies
Paper Smooches Dies
Shop at:
SSS
StyleTechCraft Transparent Glitter Vinyl
Shop at:
O
StyleTechCraft Tranfer Tape
Shop at:
O
StyleTechCraft Tools
Shop at:
O


Sunday, April 5, 2020

DIY Pottery Barn Knock Off Vases

I love making my own version of something but with items from around my house, the best part if when it is from upcycled parts - like glass jars!  Check out how easy these are to make below!

This post also contains affiliate links and I will be compensated if you make a purchase after clicking on my links.  Various companies provided me with some product to create this project.  The opinions I share are solely my own.


Learn how to make these vases in the video below.


First step is to clean and wash your jars of all labels.  I like to soak them in water to get the main part of the label off then use a label remover like Undo to get the rest off.  I then etched one of the jars in Etchall dip n etch liquid to "frost" it, just for a little somehting extra.


I then cut  strips of Styletechcraft vinyl into different widths and added stripes to the jars from thick to thin bottom to top.


Then add a little twine to top and glue it place.


The first jar I did in a teal Polished metal vinyl, and the second one I did in a yellow polished metal vinyl.  Really it works for any color you want to make your jar!


What color of vase will you make?
Interested in the supplies I used in this project? Most are listed below and some are affiliate links, which generates a me little commission (at not extra cost to you at all) when you click on the link and make a purchase. 

Arbonne
Arbonne
Shop at:
O
Amazon Storefront
Amazon Storefront
Shop at:
AZ
Instacart
Instacart
Shop at:
O
Fiskars Scissors 8
Fiskars Scissors 8"
Shop at:
AZ
Jute Twine
Jute Twine
Shop at:
AZ
Styletechcraft Polished Metal Vinyl Yellow
Shop at:
O
Styletechcraft Polished Metal Vinyl Teal
Shop at:
O
Beacon Fabri-tac
Beacon Fabri-tac
Shop at:
AZ


Friday, March 20, 2020

Plastic Easter Egg Flowers w/ Etched Mosaic Mason Jar

Need a fun activity for your kids, or even your self for Easter?  Check out this fun idea with items you might already have in your house!

This post also contains affiliate links and I will be compensated if you make a purchase after clicking on my links.  Various companies provided me with some product to create this project.  The opinions I share are solely my own.


This is actually two crafts in one, the plastics egg flowers and the mosaic glass jar!  See the video below to make one or both yourself!


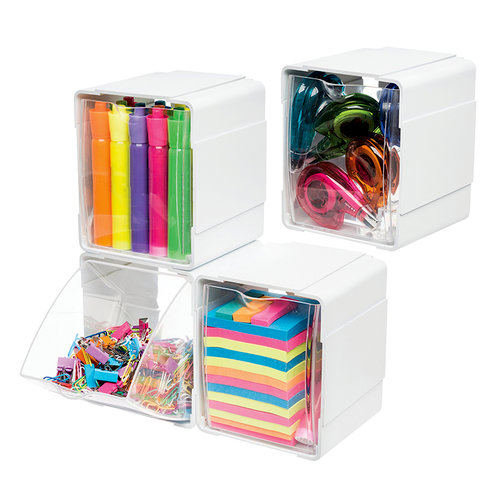
My daughter loved making the egg flowers.  They are fast easy and so cute!!  To help keep everything organized while we are crating I used my Deflecto tilt bins.


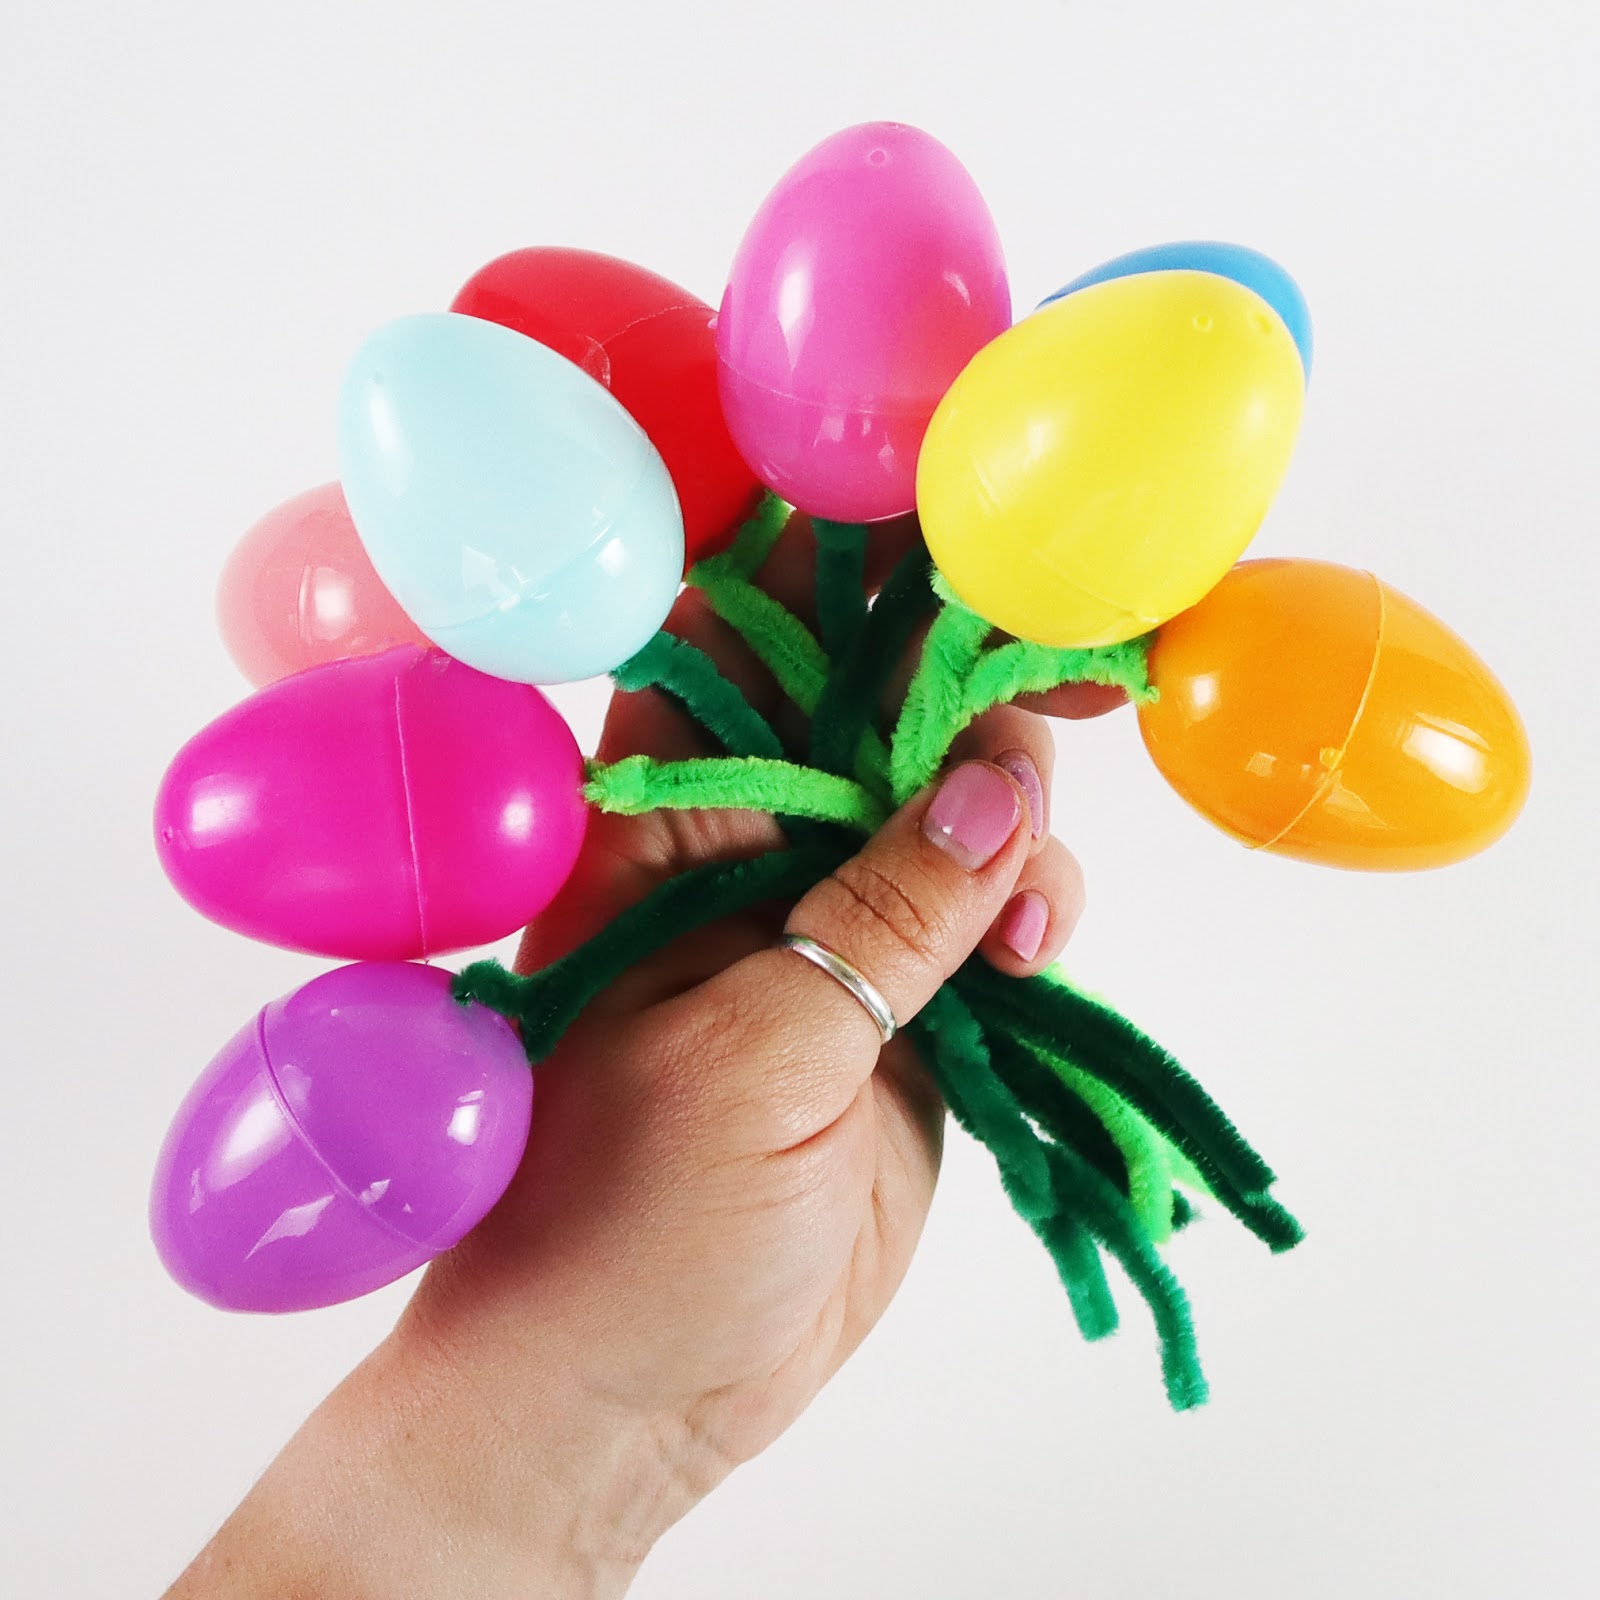
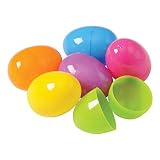
Just pull the pip cleaners (or chenille stems) thru the openings of the egg bottom and twist.  You can add items into your egg if you wish, just make sure they are light and not heavy.


Eggs come in so many fun colors, so you can play with the colors of the stems too!


Such a fun bouquet of egg flowers!


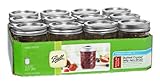
Now for the second part of the craft, the mosaic mason jar!  First I started by etching the mason jar with Etchall Dip n Etch solution to give the glass a tooth to allow the markers to stick and no rub off.  Make sure to use alcohol based markers, watercolor ones will rub off.


This mason jar is perfect for a mosaic since it already had all the little triangles you can color in, just follow the pattern!


Now it is all about just putting the two items together, with a few chocolate eggs in the bottom of the jar for fun :)


Happy Easter everyone!

Interested in the supplies I used in this project? Most are listed below and some are affiliate links, which generates a me little commission (at not extra cost to you at all) when you click on the link and make a purchase. 


Amazon Storefront
Amazon Storefront
Shop at:
AZ
Arteza Chenille Stems
Shop at:
O
Etchall Dip n Etch
Etchall Dip n Etch
Shop at:
AZ | O
Deflecto Tilt 4 Pack
Shop at:
SB | AZ
Plastic Easter eggs
Plastic Easter eggs
Shop at:
AZ
Canning Jars
Canning Jars
Shop at:
AZ
Arteza Alcohol Pens
Arteza Alcohol Pens
Shop at:
O
Deflecto Marker Storage
Shop at:
SB | AZ


Share This

Related Posts Plugin for WordPress, Blogger...