Showing posts with label beacon. Show all posts

Sunday, April 5, 2020

DIY Pottery Barn Knock Off Vases

I love making my own version of something but with items from around my house, the best part if when it is from upcycled parts - like glass jars!  Check out how easy these are to make below!

This post also contains affiliate links and I will be compensated if you make a purchase after clicking on my links.  Various companies provided me with some product to create this project.  The opinions I share are solely my own.


Learn how to make these vases in the video below.


First step is to clean and wash your jars of all labels.  I like to soak them in water to get the main part of the label off then use a label remover like Undo to get the rest off.  I then etched one of the jars in Etchall dip n etch liquid to "frost" it, just for a little somehting extra.


I then cut  strips of Styletechcraft vinyl into different widths and added stripes to the jars from thick to thin bottom to top.


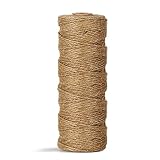
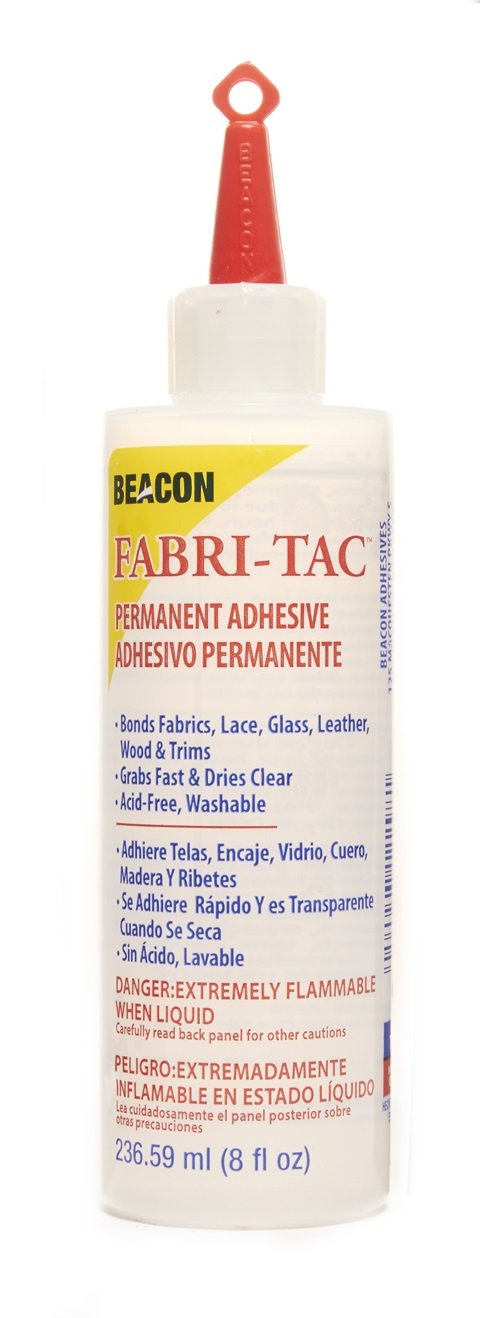
Then add a little twine to top and glue it place.


The first jar I did in a teal Polished metal vinyl, and the second one I did in a yellow polished metal vinyl.  Really it works for any color you want to make your jar!


What color of vase will you make?
Interested in the supplies I used in this project? Most are listed below and some are affiliate links, which generates a me little commission (at not extra cost to you at all) when you click on the link and make a purchase. 

Arbonne
Arbonne
Shop at:
O
Amazon Storefront
Amazon Storefront
Shop at:
AZ
Instacart
Instacart
Shop at:
O
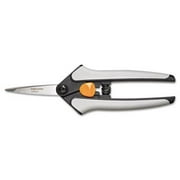
Fiskars Scissors 8
Fiskars Scissors 8"
Shop at:
AZ
Jute Twine
Jute Twine
Shop at:
AZ
Styletechcraft Polished Metal Vinyl Yellow
Shop at:
O
Styletechcraft Polished Metal Vinyl Teal
Shop at:
O
Beacon Fabri-tac
Beacon Fabri-tac
Shop at:
AZ


Monday, April 1, 2019

Felt Monster Tooth Fairy Pillows

My younger two kids are at the age when we are losing teeth, so I thought lets make some cute tooth pillows to add to the fun of losing tooth.  So instead of the generic tooth fairy, we made tooth monster pillow, which are the shape of a tooth, but flipped upside down!  Add a little pouch in the front and make it all out of fun colors of felt and you are set!

Check at the bottom of the post for the GIVEAWAY info!!

This post also contains affiliate links and I will be compensated if you make a purchase after clicking on my links.  Various companies provided me with some product to create this project.  The opinions I share are solely my own.


Here is a video on how to make these fun pillows


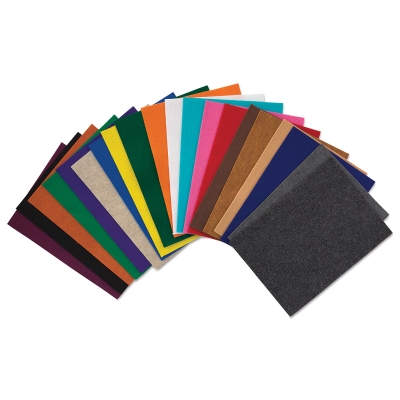
A few really simple supplies are needed to make these cute pillows.  First I start by making a paper template of a tooth, which is the monster flipped upside down, then a few fun colors of Kunin felt, some buttons, and a needle and thread.  I also used some Joy Iron on Varsity letters for the back of each little tooth monster so my kids would not fight over whose was whose, let's hope that works, hehe.


I started off making the orange pillow as my practice one, but shortly after my son came over and asked to learn how to sew.  AWESOME!!!  He is 8 and I fully feel that everyone should learn the basics of sewing with a needle and thread.  So half of this little orange monster he sewed all on his own!


I then make the blue one for the video, I changed up a few things, like sewing on all the teeth and altering the shape a tiny bit, but really these are so easy and fun it is a great starting off project for kids to learn how to sew.  They are both filled with Fairfield World Poly-fil as a stuffing!


So to stop the kids from fighting we put the first initial of each kid on the back of the pillow.  They are Joy Iron on letter in the Varsity font and perfect for this project! The blue one my son picked for himself, so he got the black B on the back.


My daughter picked the orange monster as her tooth pillow, so she got a red C on the back.


What color of tooth monster will your little one pick to make?

Ready for a fun giveaway?  Check out how easy it is to enter and win some amazing prizes!!


a Rafflecopter giveaway

Check out all the other wonderful projects made using Kunin Felt and Fairfield World products.
Supplies Used
Interested in the supplies I used in this project?  Most are listed below and some are affiliate links, which generates a me little commission (at not extra cost to you at all) when you click on the link and make a purchase.  Affiliate and product disclosure can be found here.

Brightech - Lightview Magnifer Lamp - Video Set Up
Shop at:
O
Amazon Storefront
Amazon Storefront
Shop at:
AZ
Favecrafts
Favecrafts
Shop at:
O
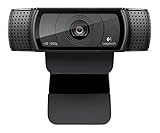
Logitech Camera
Logitech Camera
Shop at:
AZ
Fiskars Scissors
Fiskars Scissors
Shop at:
AZ | PHP
Fiskars Scissors 8
Fiskars Scissors 8"
Shop at:
AZ
Neenah 8.5x11 Card Paper
Shop at:
SB | AZ
Kunin Felt Classic
Kunin Felt Classic
Shop at:
AZ | O
Kunin Felt Premiun
Kunin Felt Premiun
Shop at:
O
Iron
Iron
Shop at:
AZ
Sewing Needles
Sewing Needles
Shop at:
AZ
Fairfield Poly-fil
Fairfield Poly-fil
Shop at:
AZ
Buttons
Buttons
Shop at:
AZ
Black Craft Mat
Black Craft Mat
Shop at:
AZ
Joy Iron on Varsity Letters
Shop at:
AZ


Sunday, June 10, 2018

Beach Art - Seashell Flowers

One of my favorite things to do on the beach is collect shells.  Walking down a sandy or rocky beach and finding those hidden little gems of natural beauty is so much fun.  Now that I have collected all these amazing shells, my crafty brain starts thinking what can I do with them... flowers!!


My kids even get in on the collecting of the shells and find some really good ones!!


Just bring your bucket along and have some fun out in the fresh air!!


The first thing to do with the shells is to let them dry and clean them.  A lot of the stuff comes off the shells if you let them "sun bake" then you just rub off the extra "stuff" and they are good to go!  I lined up the shells by type and by size to make the creating that much easier.


I like to keep the shells in the same family when creating, so only 1 shell type per flower.  I do this for a couple of reasons, but the main reason is it makes it easier to put the shells together when the shapes are all similar.  Here is a video on how to create these amazing shell flowers from start to finish.


I just love the look of these flowers, and each shell type has its own look and color when the flower is finished.  I love the look of the mussel shells with their dark color.


The pretty white clam shells are so pretty too!!


Another shell I collected had a little of a purple hue to it and it looks amazing!!


I even added a shell flower to a section of driftwood for a little decor piece, and it looks so pretty!!


So next time you are at the beach, collect some shells and bring them home to make something pretty, and don't forget to get all different sizes for tiny to large!!


Supplies Used
Interested in the supplies I used in this project?  Most are listed below and some are affiliate links, which generates a me little commission (at not extra cost to you at all) when you click on the link and make a purchase.  Affiliate and product disclosure can be found here.

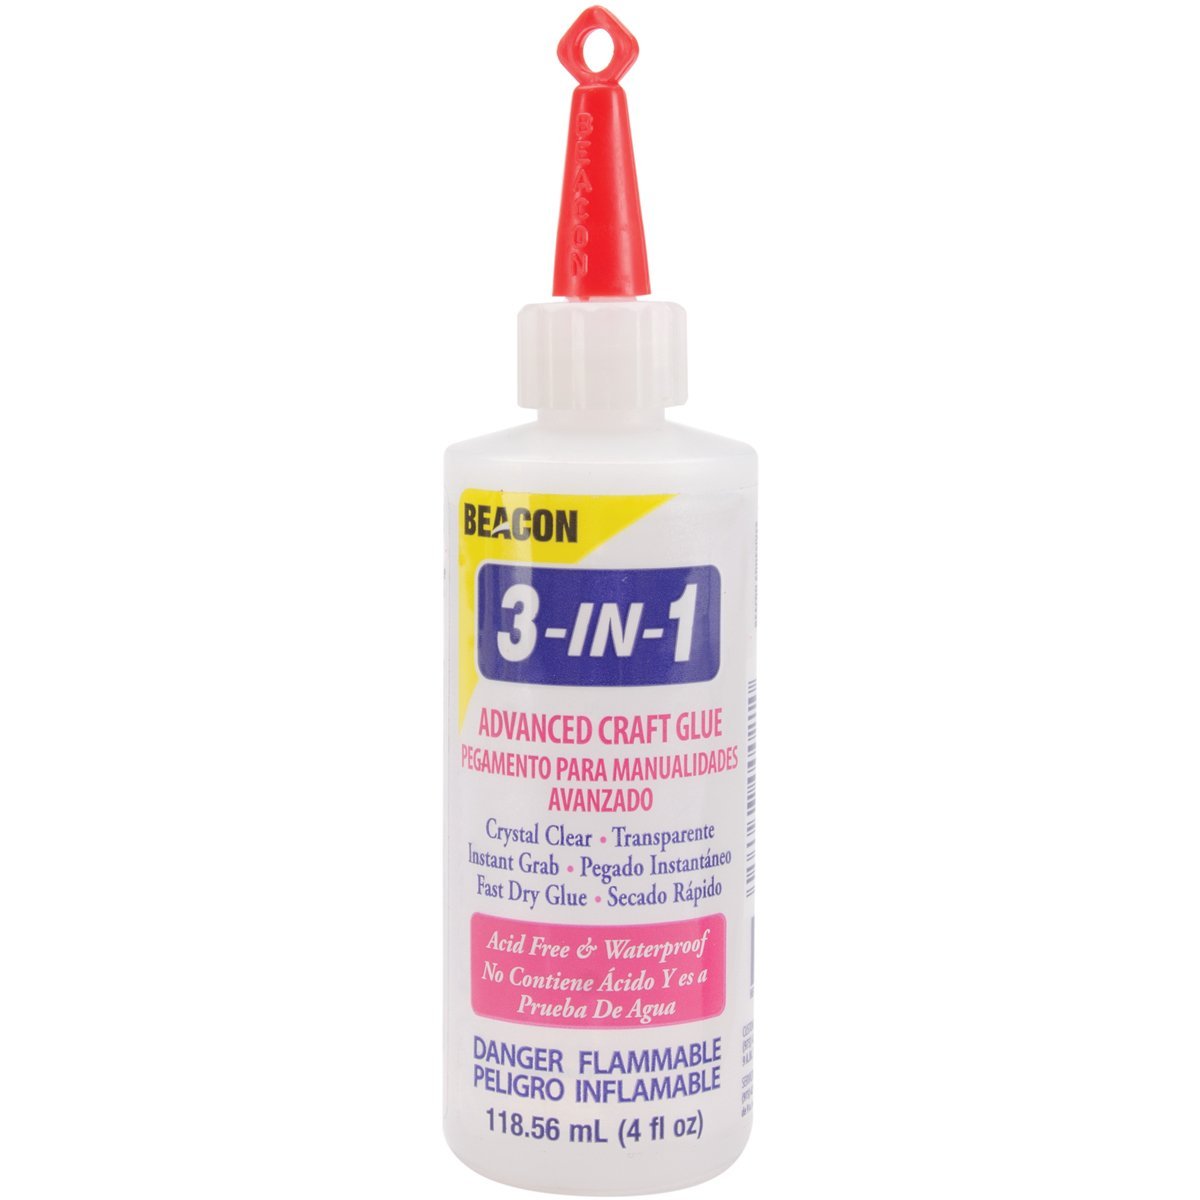
Beacon 3 in 1 Glue
Beacon 3 in 1 Glue
Shop at:
AZ
Seashells
Seashells
Shop at:
AZ


Share This

Related Posts Plugin for WordPress, Blogger...