Monday, August 30, 2010

Grunge paper tutorial

I wanted a way to really grunge up my paper, more than just distressing it.

1.  Supplies you need.  Paper, scissors, water, paint (I used black acrylic), and a sponge.


2. Using your scissors distress the edges of the paper, it is okay if it rips or is uneven, this gives it more of a grunge look.


3. Create a paint and water mixture (50/50) and dab your sponge in it, but do not soak it.  Lightly go around the edges of the paper, make sure to get any white showing or the back of the paper if it ripped open.  Also lightly brush your sponge on the rest of the paper just to get it damp (if you do not want the rest of the paper to have the color of the paint just use plain water for this part).


4. Crumple up your paper into a ball, this gives it its crumpled look.  The open it back up, be careful as it can tear because it is wet.


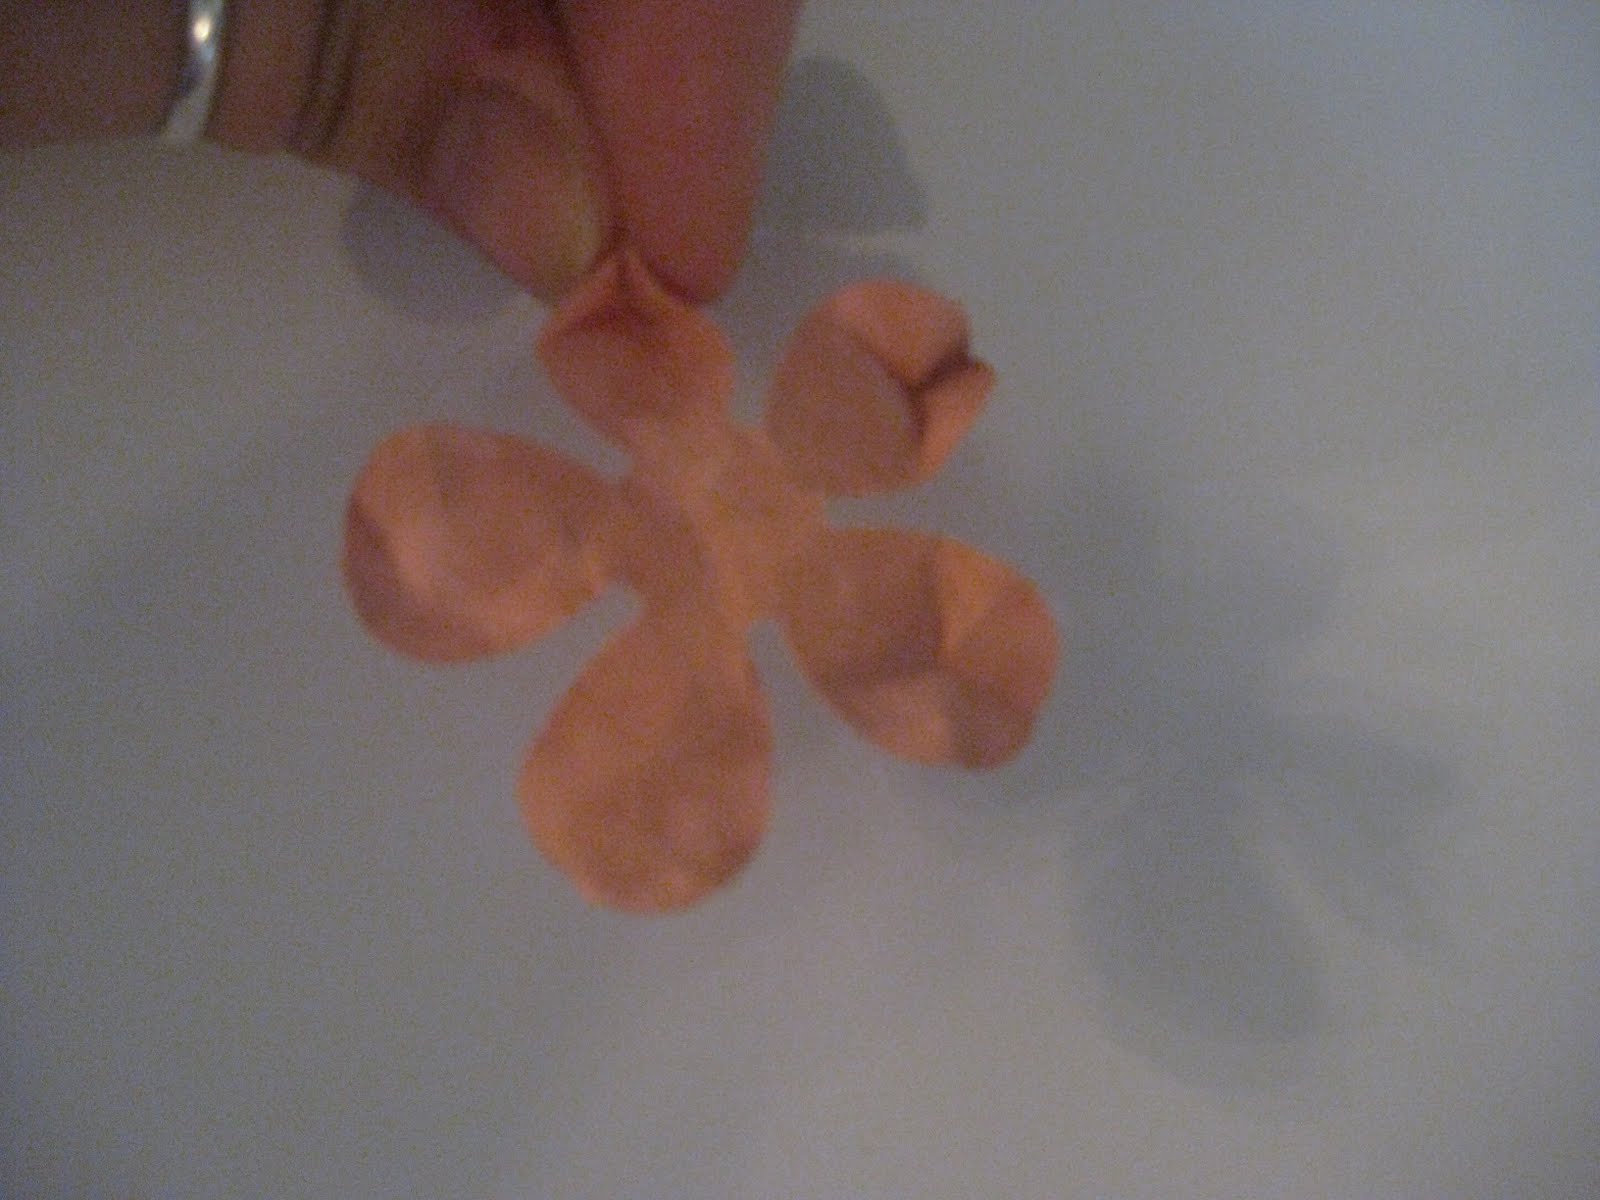
5. Using your finger pull down parts or make folds in the paper.  As it is wet it will stay this way, and dry this way.  Let your paper air dry or use your heat dryer or embossing heat tool to speed things up if you wish.  Your paper might fold up at the sides, but once you glue to down to your project it will flatten down, if any parts stick up to much, just use a glue dot to hold that part down.


The finished project can look like this LO.


Grunge it up, have fun!!

Sunday, August 22, 2010

New Retro V Flower Tutorial

Retro V flowers

These flowers are so pretty, there are many uses, so here are the basics.  I got the idea from some posts at swirlydoo.com.

1.  Supplies - 3 punches for flowers (I used the retro punches for the 2 larger flowers, and then a small pointed flower punch for the smallest flower), sponge, light brown or tan acrylic paint.


2. Punch out 2 of each flower.


3. Add water to the paint (about a 50/50 solution or you can just spray with water if you wish), using your sponge dab some of the paint water mixture onto each flower and scrunch them up to crumple them (this process gives it more of a crumpled flower look).


4. Open up the largest flower and pinch the ends of the petal between your fingers.  Do this for all the petals of the 4 largest flowers.


5. For the 2 smallest flowers pinch from the base to squish all the petals up together for one and keep the other open (non-squished)


6. Place a small dab of glue (tacky glue, glue dots, glossy accents, etc) in the center of on of the largest flowers and stack the other largest flower on top of that one, but angle the petals so they do not line up.  Do the same thing to the 2 middle sized flowers, then nestle them into the 2 largest flowers, and then the same for the smallest 2 flowers with the open flower on the bottom and the pinches flower to on last.  All the layers just nest into each other.


When you are done you have a very versatile flower for you pages or cards.  You can also make a smaller version of the flower by just using the smaller two punches (leave the largest 2 flowers off). 


Thanks so much for looking.

Sunday, August 15, 2010

Summer Serenity

A double LO of our annual event from last year called Burgers and Butterflies (a tribute to all the babies who have died). The top right photo is of my baby girl who died last March, so it is our way of remembering her with other families who have lost babies too (pretty much what the journaling says). We release the butterflies to remember our children. The others are me, my hubby, and oldest son, I am pregnant with our second son in these pics.


I painted the back pages with a swirl stroke with light tan acrylic paint.   I also used the retro V flower technique, a twist of the retro Camelot flower Ilearned from Swirlydoos,  The LO idea from one of the scrap mags that came out recently.


close up of the retro V flower

Tuesday, August 10, 2010

New Retro V Flowers

I tried my hand at creating new flowers from an idea some friends had over at Swirlydoos.  I will be posting the tutorial on how to create the flower shortly.

retro V flower

Share This

Related Posts Plugin for WordPress, Blogger...