Here is a video tutorial for each step below in more detail.
1. Basic Cuts
2. Thin Layered Cuts
You can nest the dies into each other to create thin cuts and then stack them into each other for a fun effect.
3. Window Cuts
Cut into a card with a shape to make a window.
4. Partial Cuts
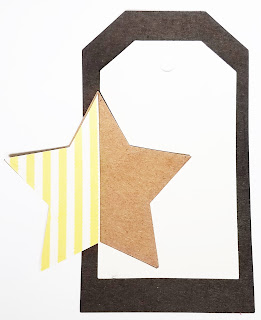
Off center the die to make a partial cut, then you can layer it back into itself for a fun look!
5. Embossing
Use the reverse side of the die to create a light embossed look. You can also take a pen and outline each shape for a more dramatic effect.
6. Stacking Shapes
Cut out shapes of different sizes from the nested dies and stack them on top of each other for a really fun effect.
Nested dies are really the most versatile dies out there, so many possibilities for creating all kinds of amazing paper crafts. What will you create next?
Supplies Used
Interested
in the supplies I used in this project? Most are listed below and some
are affiliate links, which generates a me little commission (at not
extra cost to you at all) when you click on the link and make a
purchase. Affiliate and product disclosure can be found here. Cuttlebug Shop at: AZ |
 Cuttlebug Plate C Shop at: SB | AZ |
 Brutus Monroe Stamps Shop at: SB | BM |
 Tag Nesting Dies Shop at: SB |
 Star Nesting Dies Shop at: SB |
 Black Ink Shop at: SB |
 Adhesive Runner Shop at: SB |
 Stamp Block Shop at: SB |


Great round up of ideas Erin!
ReplyDelete