Showing posts with label wood. Show all posts

Friday, September 15, 2017

Sunflower Mini Shelves

I love to try and make project that out of the box with my crafty items, so when I see an object I do not automatically try and use it the obvious way, I like to use it completely differently!  This is exactly what I did with some mini coasters from Walnut Hollow and a Sunflower metal piece from U-Paint Metal Crafts.


Here is the video on how to make this fun piece!


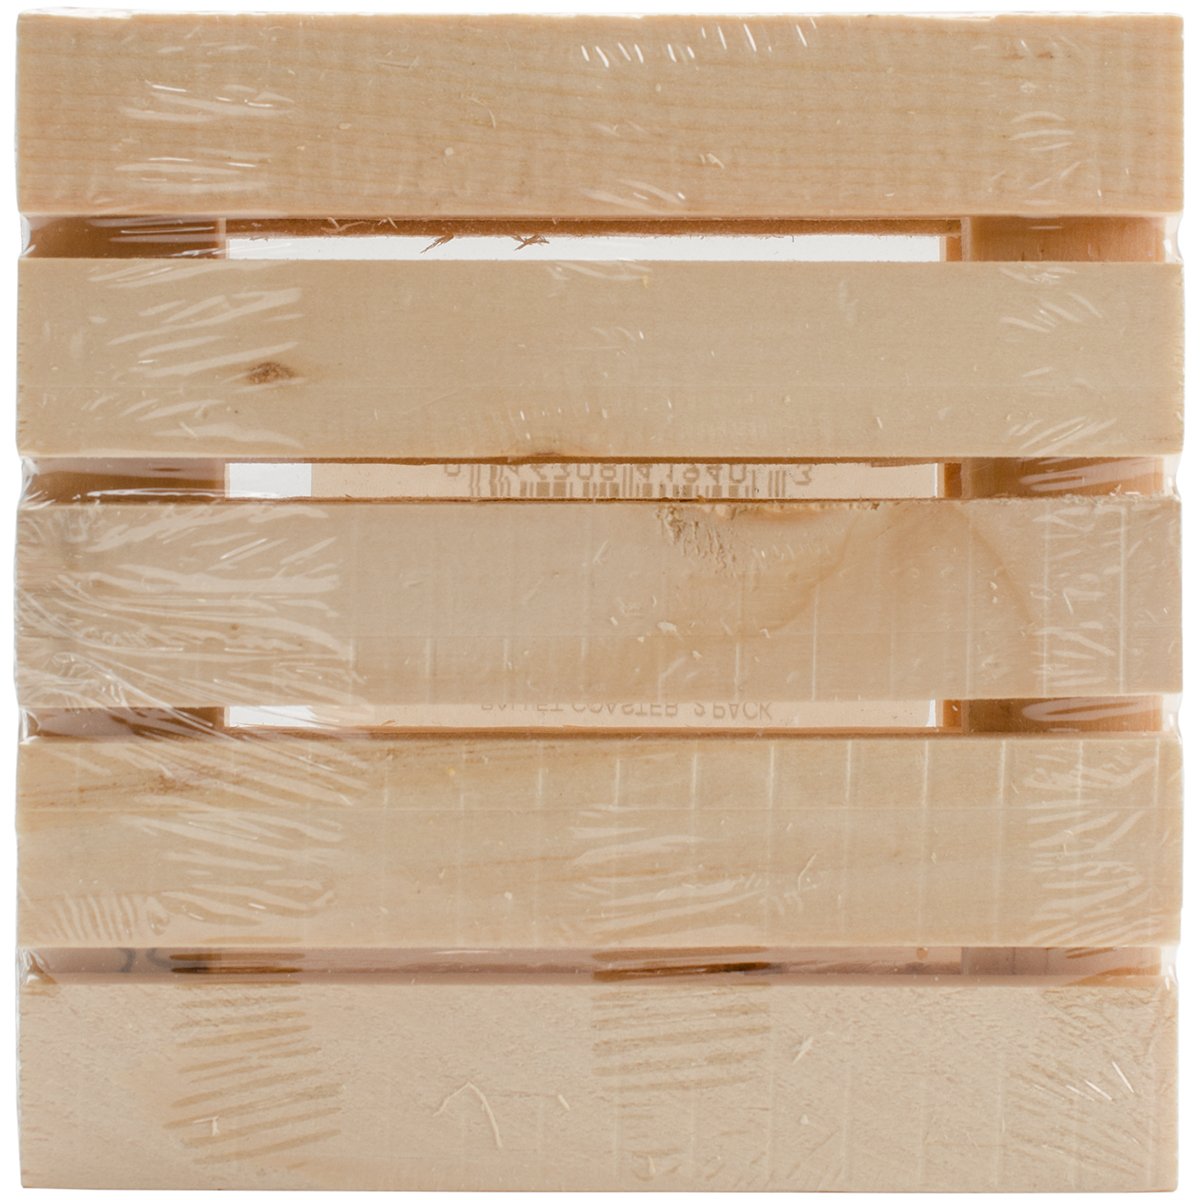
When I stared I had 2 plain wooden mini coasters.  I used the ColoriQue inks to transform them into a fun Autumn floral design.


I also took the metal sunflower and transformed it into a beautiful painted art piece.


Look how amazing it looks all painted!


I then constructed with my husband with some scrap wood a little shelf stand to hold the coasters to act like 2 shelves.  I added in some more painted wooden flowers and a fun dragonfly to tie it all together.  


So now I have a cute little shelf that can hold votives, little plants, or just for storage!

Supplies Used
Interested in the supplies I used in this project?  Most are listed below and some are affiliate links, which generates a me little commission (at not extra cost to you at all) when you click on the link and make a purchase.  Affiliate and product disclosure can be found here.

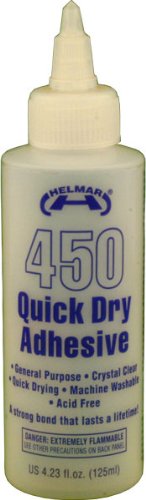
Helmar 450 Quick Dry Adhesive
Shop at:
AZ
Non Stick Palette
Non Stick Palette
Shop at:
BM | AZ
ColoriQue
ColoriQue
Shop at:
O
U-Paint Metal
U-Paint Metal
Shop at:
AZ
Walnut Hollow
Walnut Hollow
Shop at:
AZ


Monday, September 22, 2014

Foxy Card **Birds of a Feather Kit**

My kids teachers have all been so wonderful that I wanted to send out a little thank you to each of them, so I created this little fox thank you card to give to my eldest son's teacher.


I just love this little fox, he is just too cute!!  I used the wonderful September kit from Birds of a Feather Kits filled with so many cute little bits!!  Come back Tuesday Sept 23rd to see how I create 3 other cards super fast like this, but with a twist!!


September 2014 Kit-september kit teresa collins prima winthrop geo tagspaste gold words stickers pebble special
September Birds of a Feather Kit
Supplies used
Cardstock - Bazzill - Sept Birds of a Feather Kit
Patterned Paper - Teresa Collins - Sept Birds of a Feather Kit
Wood - Teressa Collins - Sept Birds of a Feather Kit
Glitter Paste - Bo Bunny - Sept Birds of a Feather Kit
Stamp - Stampin' up
Ink - Prima
Twine - May Arts
Staples
Adhesive - Scotch & Beacon

Enjoy!!

Wednesday, March 26, 2014

my kids ***Just Imagine & Birds of a Feather Kit***

I took this picture right before my we went on our family vacation last summer - turned out to be more of a house hunting trip as 5 months later we had moved to where we vacationed.  I dressed all three kids in the same outfit, a yellow shirt from Canada from Grandma Elaine with orange shorts.  Probably one of the only times I will dress them so alike, so I had to take a picture of it - and low and behold they all smiled and were looking at the camera (Morgan 7, Brandon 3, Catherine 10 months).  A great start to our vacation.


Here I used Kreations punch 923 with insert A to created a border punch from Just Imagine Crafts.  I used it along the top and the bottom of the layout and backed the grey paper behind it so it shows a pop of color under the punch.


I also used the punch along the top side of the brown paper just above the picture for even more texture and dimension.  This punch is so versatile and fits any gender - not to girly or boyish, just a great geometric shape.
Here I played with the stencil from the March kit from Birds of a Feather Kit Co.  I traced the lines of the stencil with a black marker and used it for a journal tag.  I also used the acrylic parts from the kit that I had used alcohol ink on in my technique Tuesday seen below and added cardstock behind it and added a wood piece on top.

I love this little acrylic photo elements from Basic Grey in our March kit, they are just too cute!!  Sometimes I want to change the color or look of items, it just does not "fit" with the page or project I am working on.  Acrylic does not take color like paper or chipboard, so mists and most inks will not work on them, they just rub off, so this is where alcohol inks come into play.

Acrylic and Alcohol Ink Technique

1) Supplies - BG acrylic items, alcohol ink in color of your choice (I choose brown), small piece of felt.


2) Place a couple of drops - do not add to much a little goes a long way- on the acrylic.


3) Use your felt to smear it around, you can dab it, wipe it, just don't over do it or you will wipe it all off.


4) You can repeat steps 2 and 3 with another color for a complex look, or leave it a single color.
 

5) Enjoy your new color of acrylic!!


Supplies Used:
Cardstock - Birds of a Feather Kit - Bazzill
Patterned paper - Birds of a Feather Kit- Basic Grey and Bazzill
Wood - Birds of a Feather Kit - Freckled Fawn
Stencil - Birds of a Feather Kit - TCW
Acrylic - Birds of a Feather Kit - Basic Grey
Stickers (grey) - Birds of a Feather Kit - Basic Grey
Punch - Kreations
Ink/paint - Ranger
Pen - Faber Castell
Alpha letters (brown) - Thickers
 
Enjoy!!

Tuesday, March 25, 2014

right now - ATC **Just Imaginations & Birds of a Feather Kit**

Somethings I like to try a new thing, so doing an ATC is great - an added bonus is I can use it for a pocket page.  I tried out my new supplies from the March kit from Birds of a Feather Kit Co. and also my new Kreations punch from Just Imagine Crafts.


I wanted to try out my new Kreations punch I have and try us it in a variety of ways, as a punch as a border punch, and also as a stencil for molding paste.


I also had fun with my March kit from Birds of a Feather Kit Co.  It is loaded with tons of wonderful items.  I had to try out the awesome TCW stencil/mask "right now".  I used it on top of the layers of papers from the kit with molding paste and distress inks from Ranger and topped it off with the great Perfect Pearls mist from the march kit. 

Supplies Used
Papers - Birds of a Feather Kit - Bazzill
Mask - Birds of a Feather Kit - TCW
Wood - Birds of a Feather Kit - Freckled Fawn
Mist -  Birds of a Feather Kit - Ranger
Punch - Kreations
Ink - Ranger
Molding Paste - Liquitex


Enjoy!!

Friday, March 7, 2014

simple things **Susan K. Weckesser**

I love to create texture and depth in my layouts.  I don't always want them bulky, but I want the illusion of richness and intrigue.  Here I will explain a few tips on how to add texture and depth using clustering and layering on your projects without added in tons of bulk, plus you might think about your supplies you already have in a different light and sue them in a different way.  

This is a layout of my family, it is a simple day fishing at a lake.  I love the picture because it shows my boys in the back ground fishing with my husband and daughter watching them, of course fishing as well.  I used a filter on the picture through Instagram called Walden, it gave the picture a softer feel, more like nature.  I have found that having a great picture to start with when making a layout, versus a picture you kind of like but "need to scrap" makes a world of difference.  The picture gives me the inspiration I need and the page just comes more naturally instead of fighting with the need to "just get this page done".

 
I wanted to have the same feel in my layout, so the first step was to pull items that worked with the color scheme of the picture, the browns, greens, the feel of nature.  I picked out items that had texture to them already like the mesh flowers, the chipboard, the wooden items, cork, and the fibers.  Using items that already have their own texture gives your projects more depth and richness without even having to try.


Here is a list of a few things to the edges of the papers in your projects to add texture and dimension without adding bulk to the layout.

  1. Distress the edges of the paper with a distressing tool like your scissors and ink the edges.  I do this technique to tons of projects.  It adds a softness to the look and takes away all the white lines from the papers you just cut.
  2. Take an edge punch and randomly punched the edges, not really caring that the punches were aligned or even that the paper looks like like the punch.  I did this the tan paper all around the edge of the layout and also to the darker brown paper placed vertically behind the cluster.  Just a pop of each paper is visible, so it adds just a hint but that little touch add so much.  
  3. Add in grainy texture by applying a quick drying glue (like ZipDry) around the edges of the papers and layers and sprinkle on flower soft.  I used a light brown color.
  4. Take some phrase stamps like those from Susan K. Weckesser saying "Create your Day" and "Don't go through life, grow through life" and stamp around the edges of the paper and at corners of strips in the foundation of the cluster.


http://www.susankweckesser.com/welcome


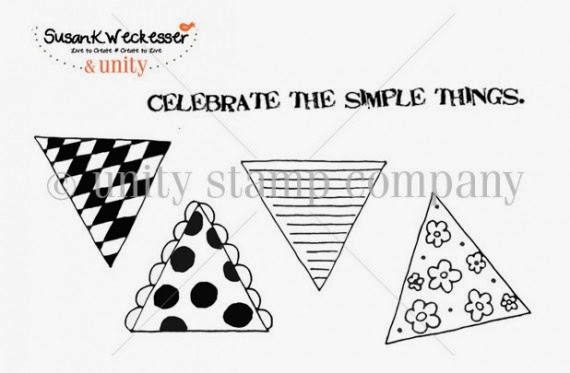
Here I used a wonderful stamp by Susan K. Weckesser that just captures the feelings the day "Celebrate the Simple Things"
http://www.susankweckesser.com/welcome


Here you can see some other texture applications I used in the cluster to add interest.
  1. Paint Splatters
  2. Stamps
  3. Layers of paper
  4. Inked edges of paper
  5. Distressed edges of paper
  6. Metal bits
  7. Crackle paint on chipboard
  8. Flower soft
  9. Rubons
  10. Items with texture already like the flowers and the jute.
  11. Mists
  12. Paint Splatters


Don't be afraid to try out an item in a new way or add things together to create something new.  Layers of papers mixed with other items add such a wonderful depth to your projects.  I have been told before and I fully believe there are no mistakes in scrapbooking just chances to expand your creativity!! 

Supplies Used
Cardstock - Core'dinations
Patterned Paper - Prima
Number Stickers - Glitz
Rubons - BoBunny
Jute - Canvas Corps
Flowers - Petaloo
Wood - Prima
Chipboard - Memory Maze
Metal - Prima
Cork - Fancy Pants
Stamps - Susan K. Weckesser
Ink - Ranger
Punches - EK
Stains and Mediums - Ranger

You can also view this article at Susan K. Weckesser.

Enjoy!!
http://scraps-of-reflections.blogspot.com/

Wednesday, November 13, 2013

life is good **Flamingo Scraps**


My sweet son Morgan started off 2rd grade two weeks late and at a completely new school (as we just moved).  He started off a bit rough, but he is now loving his new school, has great friends, and never even asks about his old school or house any more. Doesn't this kid take great pictures? I know I am a bit biased as his mom, hehe.


I used the wonderful kit Hey Kid from Pink Paislee for the stickers and patterned paper, plus some other fun little bits and bobs. I used lots of ink and mists from Prima and Heidi Swapp to create the ring marks, spots, splatters, and sprays.  It just gives your layout such great dimension by adding in some great texture. 


 Don't you just love this Fancy Pants wood title - it works with so many projects!!  I even took a Prima dot stamp with some Prima ink in light brown to give it texture.  I also used other little bits of wood items (stars and arrows) from Cosmo Cricket.  Plus you can see a little of the Corrugate paper from Fancy pants in grey peaking out!

You can find most of these supplies used for this project at Flamingo Scraps!!  Plus don't forget about the awesome warehouse box sale going on, tons of goodies stuffed into shipping boxes for a great low price - make a great present!!

Supplies Used
Cardstock -American Crafts
Patterned Paper - Pink Paislee
Corrugate Paper - Fancy Pants
Stickers - Pink Pasilee
Die cuts - Pink Pasilee
Mists - Heidi Swapp
Ink - Prima
Wood - Fancy Pants and Cosmo Cricket
Twine - other
Metal/Staples - Tim Holtz
Punch - Martha Stewart
Stamps - Prima and EK

Enjoy!!

Share This

Related Posts Plugin for WordPress, Blogger...