Showing posts with label helmar. Show all posts

Monday, June 18, 2018

Farmhouse Kitchen Decor

I have all these frames I got from some friends and I have been playing with how to use them in fun ways.  Here is one where I turned them into a pair of wall decor art pieces for the kitchen, with a farmhouse rustic feel.


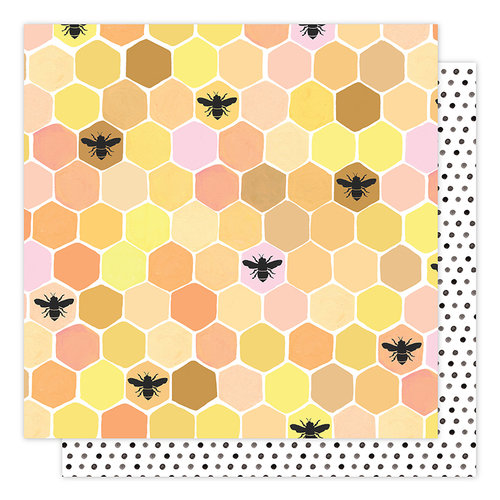
I loved the idea of the honeycomb paper "Sweet as Honey" in the Hazelwood Collection from a collection by 1canoe2 and American Crafts paired with a kitchen theme.  Here is a video on how to make this fun kitchen decor.


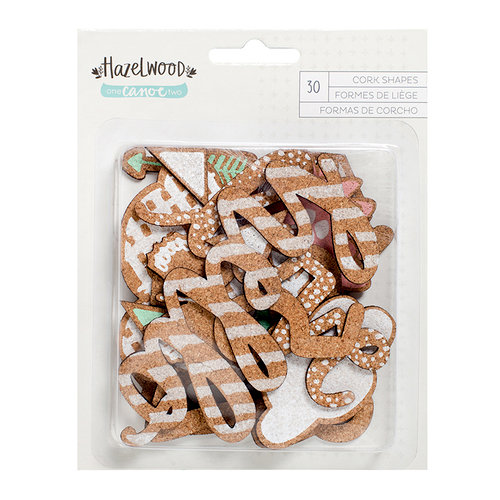
The colors were perfect for a rustic look, adding in a little spoon and fork to as the focal point, and then little touches of the cork embellishments just make it all amazing!


Taking an old frame that is gathering dust and re-purposing it for something else is fun, gives your old items some new life.  The paint is easy to sand off to give it that old rustic and weathered look, and it even work amazing on the fork painted black and sanded!


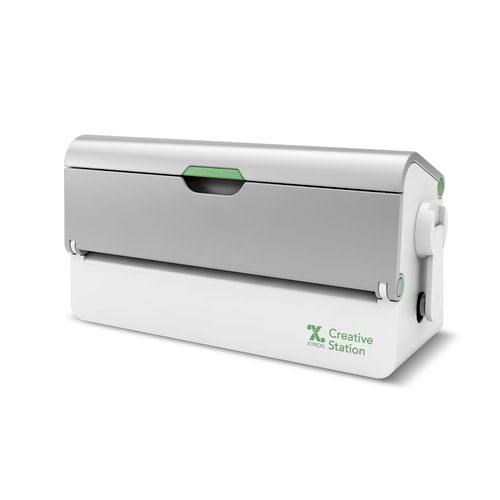
I used my Xyron Creative Station to apply sticky to the back of all the cork pieces to all me to stick them to the frame, it works wonderfully!!


Check out this site https://www.luvmihome.com for even more inspiration about home decor ideas!!

Supplies Used
Interested in the supplies I used in this project?  Most are listed below and some are affiliate links, which generates a me little commission (at not extra cost to you at all) when you click on the link and make a purchase.  Affiliate and product disclosure can be found here.
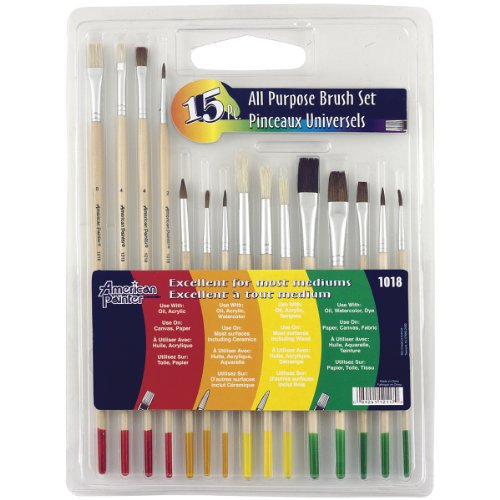


Paint Brushes
Paint Brushes
Shop at:
SB
Tailwind
Tailwind
Shop at:
O
Xyron Creative Station
Shop at:
SB | AZ
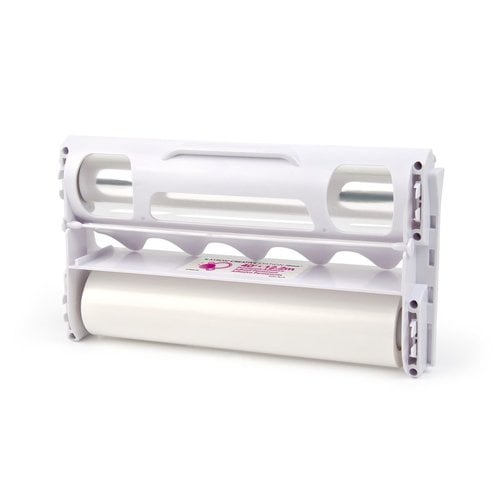
Xyron 900 Permanent Refill Cartridge
Shop at:
SB | AZ
Tattered Angels DIY & Decor Paint
Shop at:
AZ | O
CCB Rope
CCB Rope
Shop at:
AZ
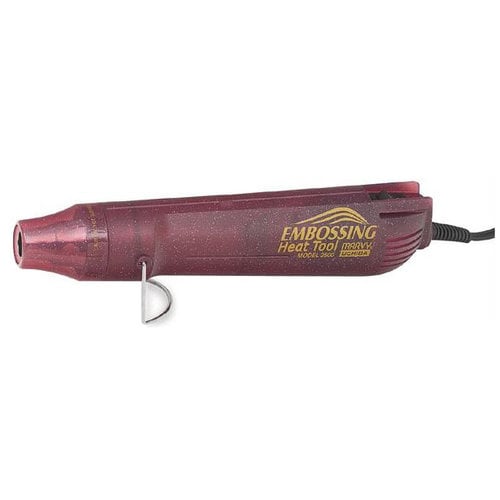
Heat Tool
Heat Tool
Shop at:
SB
Non Stick Craft mat
Non Stick Craft mat
Shop at:
AZ
Supertite Glue
Supertite Glue
Shop at:
O
Supertite All Purpose Univseral Glue
Shop at:
O
Dollar Tree Picture Frame
Shop at:
DT
Ranger Distress Ink
Ranger Distress Ink
Shop at:
SB
Ranger Blending Tool
Shop at:
SB
1 Canoe 2 Papers
1 Canoe 2 Papers
Shop at:
SB
1 canoe 2 cork
1 canoe 2 cork
Shop at:
SB
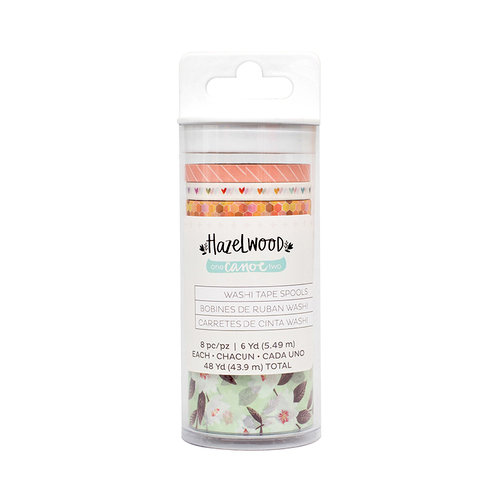
1 canoe 2 washi tape
Shop at:
SB
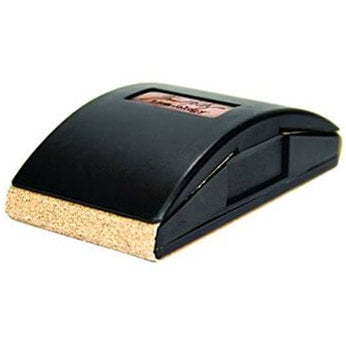
sanding tool
sanding tool
Shop at:
SB


Saturday, March 24, 2018

Mixed Media Altered Photowall Printed Canvas

I found this amazing printed canvas from Photowall and thought how cool would it be to alter it to make a one of a kind piece of art work?!?!  So I did just that!


Here is the video on how to assemble and how I altered this printed Photowall Canvas.


It all start with me picking out a fun canvas from Photowall and I fell in love with this graphic print, and there are so many to pick from, this is just one of hundreds.  You can even upload you own graphics and they will print it on canvas for you!!  You can also pick out the size you want it printed on.  I picked out a 50cm x 50cm print.  This is the print from the website I picked out called Tapestry Tiles 1.


It came delivered straight to my house (with FREE SHIPPING) and all I had to do was assemble it, which is really easy and I show you how on the the video.  Here is the best part, you can save 20% on any order thru April 29th 2018 using my special code at their website!!!

Use Code for 20% off your Order
ErinReedCampaign2018
Plus FREE SHIPPING in USA

I decided I wanted to make this a one of a kind work of art, so with the grid system it made it super easy to add elements into the 9 grids.  I chose not to do all 9 squares, but stick to 5.  Each of the squares I filled would represent something, actually a person or a unit  - family.  Each square on the corners represents one of children.  


First is my eldest Morgan.  He is amazing with numbers, but is a chaotic, so this tile is all about him


Next is my daughter Kristen.  She passed away a little over 9 years ago so the wings were perfect for her. She is my personal angel.


Next we have my son Brandon and he is my little bird who loves to fly.  He is so fast and tries to leave the nest and be on his own to keep up with his older brother.


Last we have my daughter Catherine.  She personally picked out the little fairy, and it is perfect since she is such a girly girl and loves to dress up and be a princess!


In the center of the canvas I made a single burlap square that represent the family.  We are all about love and being together.  I kept this section simple but powerful.


This became a very personal canvas to me, as I do not get to add all 4 of my children on a project a one time unless it is in the abstract.  This now hangs in my bedroom as a soothing pieces of art knowing that even though my children cannot be together physically they can be artistically.

Supplies Used
Interested in the supplies I used in this project?  Most are listed below and some are affiliate links, which generates a me little commission (at not extra cost to you at all) when you click on the link and make a purchase.  Affiliate and product disclosure can be found here.


Paint Brushes
Paint Brushes
Shop at:
SB
Fiskars Scissors
Fiskars Scissors
Shop at:
AZ | LFL (UK)
CCB Mini Clothespins
Shop at:
AZ
Paint Puck
Paint Puck
Shop at:
AZ
Helmar Craft Glue
Helmar Craft Glue
Shop at:
AZ
CCB Burlap Fringe
CCB Burlap Fringe
Shop at:
AZ
CCB Burlap Sheet
CCB Burlap Sheet
Shop at:
AZ | O
Tim Holtz Grungeboard
Shop at:
AZ
CCB 12x12 Cardstock
CCB 12x12 Cardstock
Shop at:
AZ | O
CCB Rope
CCB Rope
Shop at:
AZ
CCB Shapes
CCB Shapes
Shop at:
AZ
Non Stick Craft mat
Non Stick Craft mat
Shop at:
AZ
High Impact Paint - TA
Shop at:
AZ | O
CCB Burlap Flower
CCB Burlap Flower
Shop at:
AZ | O
TA Color Wash
TA Color Wash
Shop at:
O
Photowall
Photowall
Shop at:
O


Tuesday, March 20, 2018

Distress Foil Metal Box

I love being able to take an item and make it look like something else, and turning the Rinea foiled paper into a distress metal box using the Ghost ink is so much fun!


Here is a video on how I turned the foiled paper into the distressed metal using the ghost crackle technique and also used the ink on the embossed section on the inside. 


I love the way this box turned out, it is light and really has an impact.  The effect that the ghost crackle  effect has on the Rinea foiled paper is amazing!!!


I also dry embossed the pages inside the Graphic 45 box.  Some I left plain and some I used the ghost ink on for the extra cool effect all glued using Helmar craft glue.


I made this box as an example of how to use the ghost ink while at Creativation 2018.  Here I am at the demo table in the designer section.


Thanks for stopping on by!

Supplies Used
Interested in the supplies I used in this project?  Most are listed below and some are affiliate links, which generates a me little commission (at not extra cost to you at all) when you click on the link and make a purchase.  Affiliate and product disclosure can be found here.

Rinea Foiled Paper
Rinea Foiled Paper
Shop at:
R
Graphic 45 Box
Graphic 45 Box
Shop at:
SB
Cuttlebug
Cuttlebug
Shop at:
AZ
Cuttlebug Plate C
Cuttlebug Plate C
Shop at:
SB | AZ
Helmar Craft Glue
Helmar Craft Glue
Shop at:
AZ
Rinea Ghost Ink
Rinea Ghost Ink
Shop at:
R
Embossing Folders
Embossing Folders
Shop at:
SB


Share This

Related Posts Plugin for WordPress, Blogger...