Showing posts with label home decor. Show all posts

Friday, June 5, 2020

DIY "Beach is My Happy Place" Vinyl wood Sign

I love a good wood sign, and with a little vinyl of it even better!  I made this sign for my parents who live near the beach, so I will be bringing it to them when I visit next.

This post also contains affiliate links and I will be compensated if you make a purchase after clicking on my links.  Various companies provided me with some product to create this project.  The opinions I share are solely my own.


Check out the video to see how to make your own board!


Start off with a wood board and white wash it. A little white paint dilute with water over the entire wood board really makes the plain pine wood amazing!


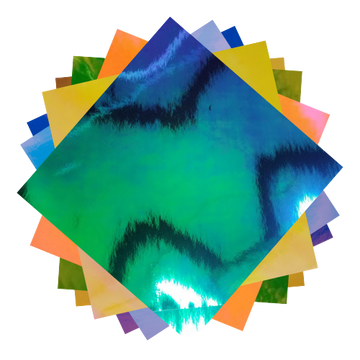
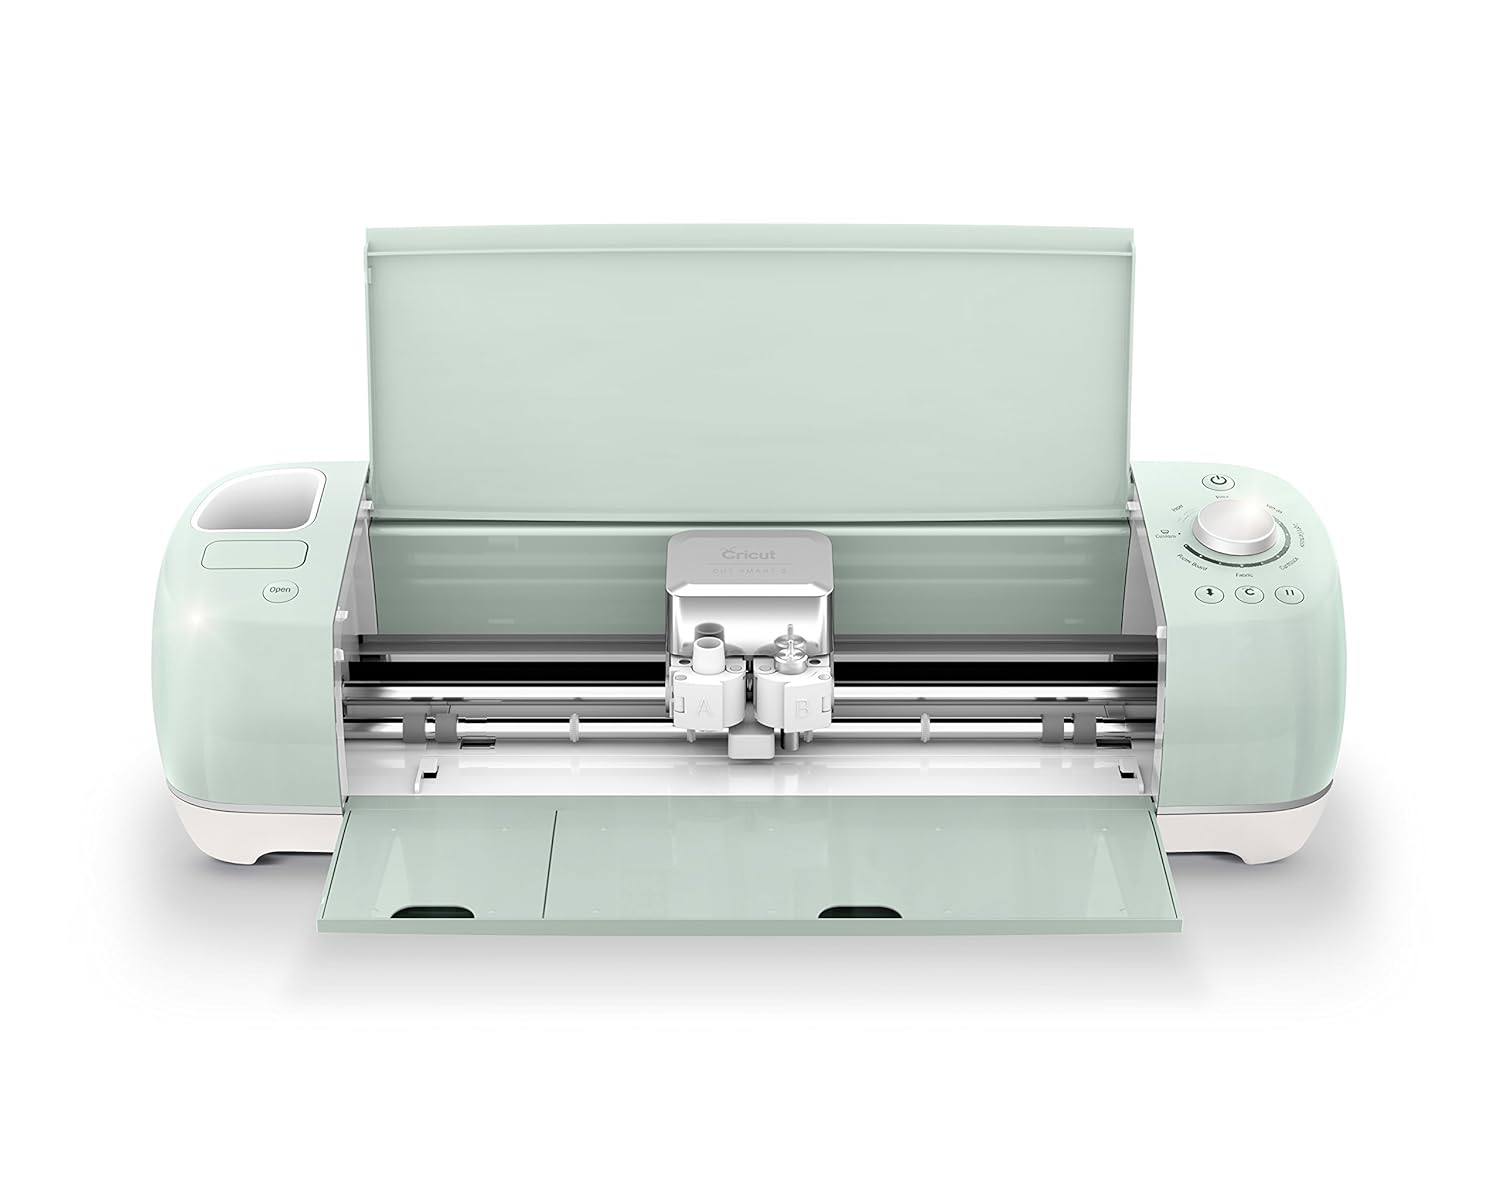
Cut your vinyl on your cutting machine.  I used my old personal Cricut, had it over over 13 years and still works great!  I did a simple font in caps and lower case.  I picked out colors of StyleTechCraft vinyl that looked like ocean water, in both the opal and the craft glossy finishes.  


Next is the weeding and placing of the words to they fit on the word board.  After weeding the parts of the vinyl you do not want out, place it on the transfer tape to stick to your board.  Have fun the the colors and placement of the words, change it up and make it look fun!


Last steps are to place the vinyl on your board, make sure to press it firmly so it sticks and stays in place, and then glue down the rope around the board so it has a pretty finish and hangs nice!


I just love that opal vinyl, it has such a pretty shine to it, holographic almost!  Each angle you look at the sign it will have a different color of green and glue, just like the ocean!


I love the look of this sign. For me my happy place is the beach, but if the beach is not your thing you can always make the sign for the lake, desert, mountains, backyard, boat - really where ever your happy place in life is. You can also chance our the colors to be anything you wish, pink your favorite color make it in pink! Sky is the limit on this DIY sign, make it what ever you like :)


Interested in the supplies I used in this project? Most are listed below and some are affiliate links, which generates a me little commission (at not extra cost to you at all) when you click on the link and make a purchase.

Erin Reed Makes Amazon Storefront
Shop at:
AZ
Arbonne
Arbonne
Shop at:
O
Favecrafts
Favecrafts
Shop at:
O
Fiskars Scissors 8
Fiskars Scissors 8"
Shop at:
AZ
Dynasty Black Gold Brushes
Shop at:
AZ
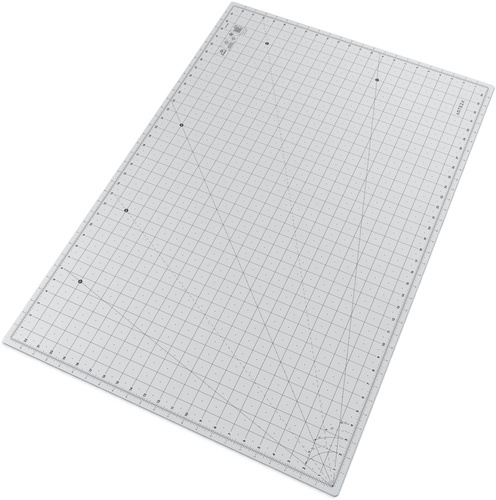
Arteza Giant Craft Mat
Shop at:
O
Supertite Glue
Supertite Glue
Shop at:
O
Styletechcraft Vinyl - Gloss Craft
Shop at:
O
Styletechcraft Vinyl - Opal
Shop at:
O
Cricut Machines
Cricut Machines
Shop at:
AZ
Teal Rope
Teal Rope
Shop at:
AZ
Folkart Multi Surface Paint
Shop at:
AZ
StyleTechCraft Felt Squeegee
Shop at:
O
Large Wood Square Craft Block
Shop at:
AZ


Sunday, April 5, 2020

DIY Pottery Barn Knock Off Vases

I love making my own version of something but with items from around my house, the best part if when it is from upcycled parts - like glass jars!  Check out how easy these are to make below!

This post also contains affiliate links and I will be compensated if you make a purchase after clicking on my links.  Various companies provided me with some product to create this project.  The opinions I share are solely my own.


Learn how to make these vases in the video below.


First step is to clean and wash your jars of all labels.  I like to soak them in water to get the main part of the label off then use a label remover like Undo to get the rest off.  I then etched one of the jars in Etchall dip n etch liquid to "frost" it, just for a little somehting extra.


I then cut  strips of Styletechcraft vinyl into different widths and added stripes to the jars from thick to thin bottom to top.


Then add a little twine to top and glue it place.


The first jar I did in a teal Polished metal vinyl, and the second one I did in a yellow polished metal vinyl.  Really it works for any color you want to make your jar!


What color of vase will you make?
Interested in the supplies I used in this project? Most are listed below and some are affiliate links, which generates a me little commission (at not extra cost to you at all) when you click on the link and make a purchase. 

Arbonne
Arbonne
Shop at:
O
Amazon Storefront
Amazon Storefront
Shop at:
AZ
Instacart
Instacart
Shop at:
O
Fiskars Scissors 8
Fiskars Scissors 8"
Shop at:
AZ
Jute Twine
Jute Twine
Shop at:
AZ
Styletechcraft Polished Metal Vinyl Yellow
Shop at:
O
Styletechcraft Polished Metal Vinyl Teal
Shop at:
O
Beacon Fabri-tac
Beacon Fabri-tac
Shop at:
AZ


Saturday, December 28, 2019

Felt Gnome Upcycled Etched Candy Jar Toppers

Gnomes are all the rage, and they are super easy to make with a jar, some felt, and glue!!  Check out below for how to make them!

This post also contains affiliate links and I will be compensated if you make a purchase after clicking on my links.  Various companies provided me with some product to create this project.  The opinions I share are solely my own.


Check out the super short video below to see how to make these fun winter gnomes!


To start with I save my glass jars.  These are a trio of jars that had barbecue sauce in them, so I just washed them really well and pulled the labels off.


I then etched one the jars to give it a frosted look with the Etchall Dip and etch liquid.  I love the look of a frosty jar, and it makes it even more wintry too!!


I just love the look of the frosted glass with candies in them!  You do not even need to frost the entire way down, because the gnome toppers cover up the top.


Then it is just about placing the felt gnomes on the top.  I started with a 9 x 9 inch square of felt and added glue along the top and edge to make a cone (see video to learn how to do it).  The added a little triangle cut piece of faux white fur for the beard and a wooden bead for the nose.


If you make your cone tighter it makes the gnome sit higher up on the jar as the cone is smaller, if you make the cone larger then it goes further down the jar.  I love that all three of my gnomes have different heights, and I also put in different candies in each jar!


What color will you make your gnomes?


What to see some other fun gnome ideas, check this one out at Favecrafts!!!


Interested in the supplies I used in this project? Most are listed below and some are affiliate links, which generates a me little commission (at not extra cost to you at all) when you click on the link and make a purchase. 


Arbonne
Arbonne
Shop at:
O
Amazon Storefront
Amazon Storefront
Shop at:
AZ
Fiskars Scissors 8
Fiskars Scissors 8"
Shop at:
AZ
Kunin Felt Classic
Kunin Felt Classic
Shop at:
AZ | O
Kunin Felt Premiun
Kunin Felt Premiun
Shop at:
O
Etchall Dip n Etch
Etchall Dip n Etch
Shop at:
AZ | O
Supertite Glue
Supertite Glue
Shop at:
O
Supertite All Purpose Univseral Glue
Supertite All Purpose Universal Glue
Shop at:
O
White Faux Fur
White Faux Fur
Shop at:
AZ
Wood beads
Wood beads
Shop at:
AZ


Share This

Related Posts Plugin for WordPress, Blogger...