Showing posts with label tutorial. Show all posts

Thursday, May 3, 2018

Vintage DIY Sticky Notes on a Mixed Media Holder

I am always hunting for sticky notes on my desk, they seem to vanish on me or it could be that my kids steal them, lol.  I also seem to be hunting for pens on my desk, maybe I have too much stuff on my desk, haha!!  With this in mind I made a sticky note holder for my desk, with a pen attached so I will have both when I need them!!  When I was thinking this through I thought to just buy some new sticky notes and glue them to the front, but then I went to go get some nice looking ones they were so expensive!!  Then I thought I have tons of paper I am sure I can figure out a way to make them myself, so I did!!

 
For full details please view my video tutorial about how to make homemade sticky notes and how to make this project!!


I started with a few sheet of random vintage cardstock sheets from 7 Gypsies and the Deflecto 4"x6" Acrylic frame as the base, so it would stand up nicely on my desk.  It is super light weight and can work with any number of projects or pictures you want!!
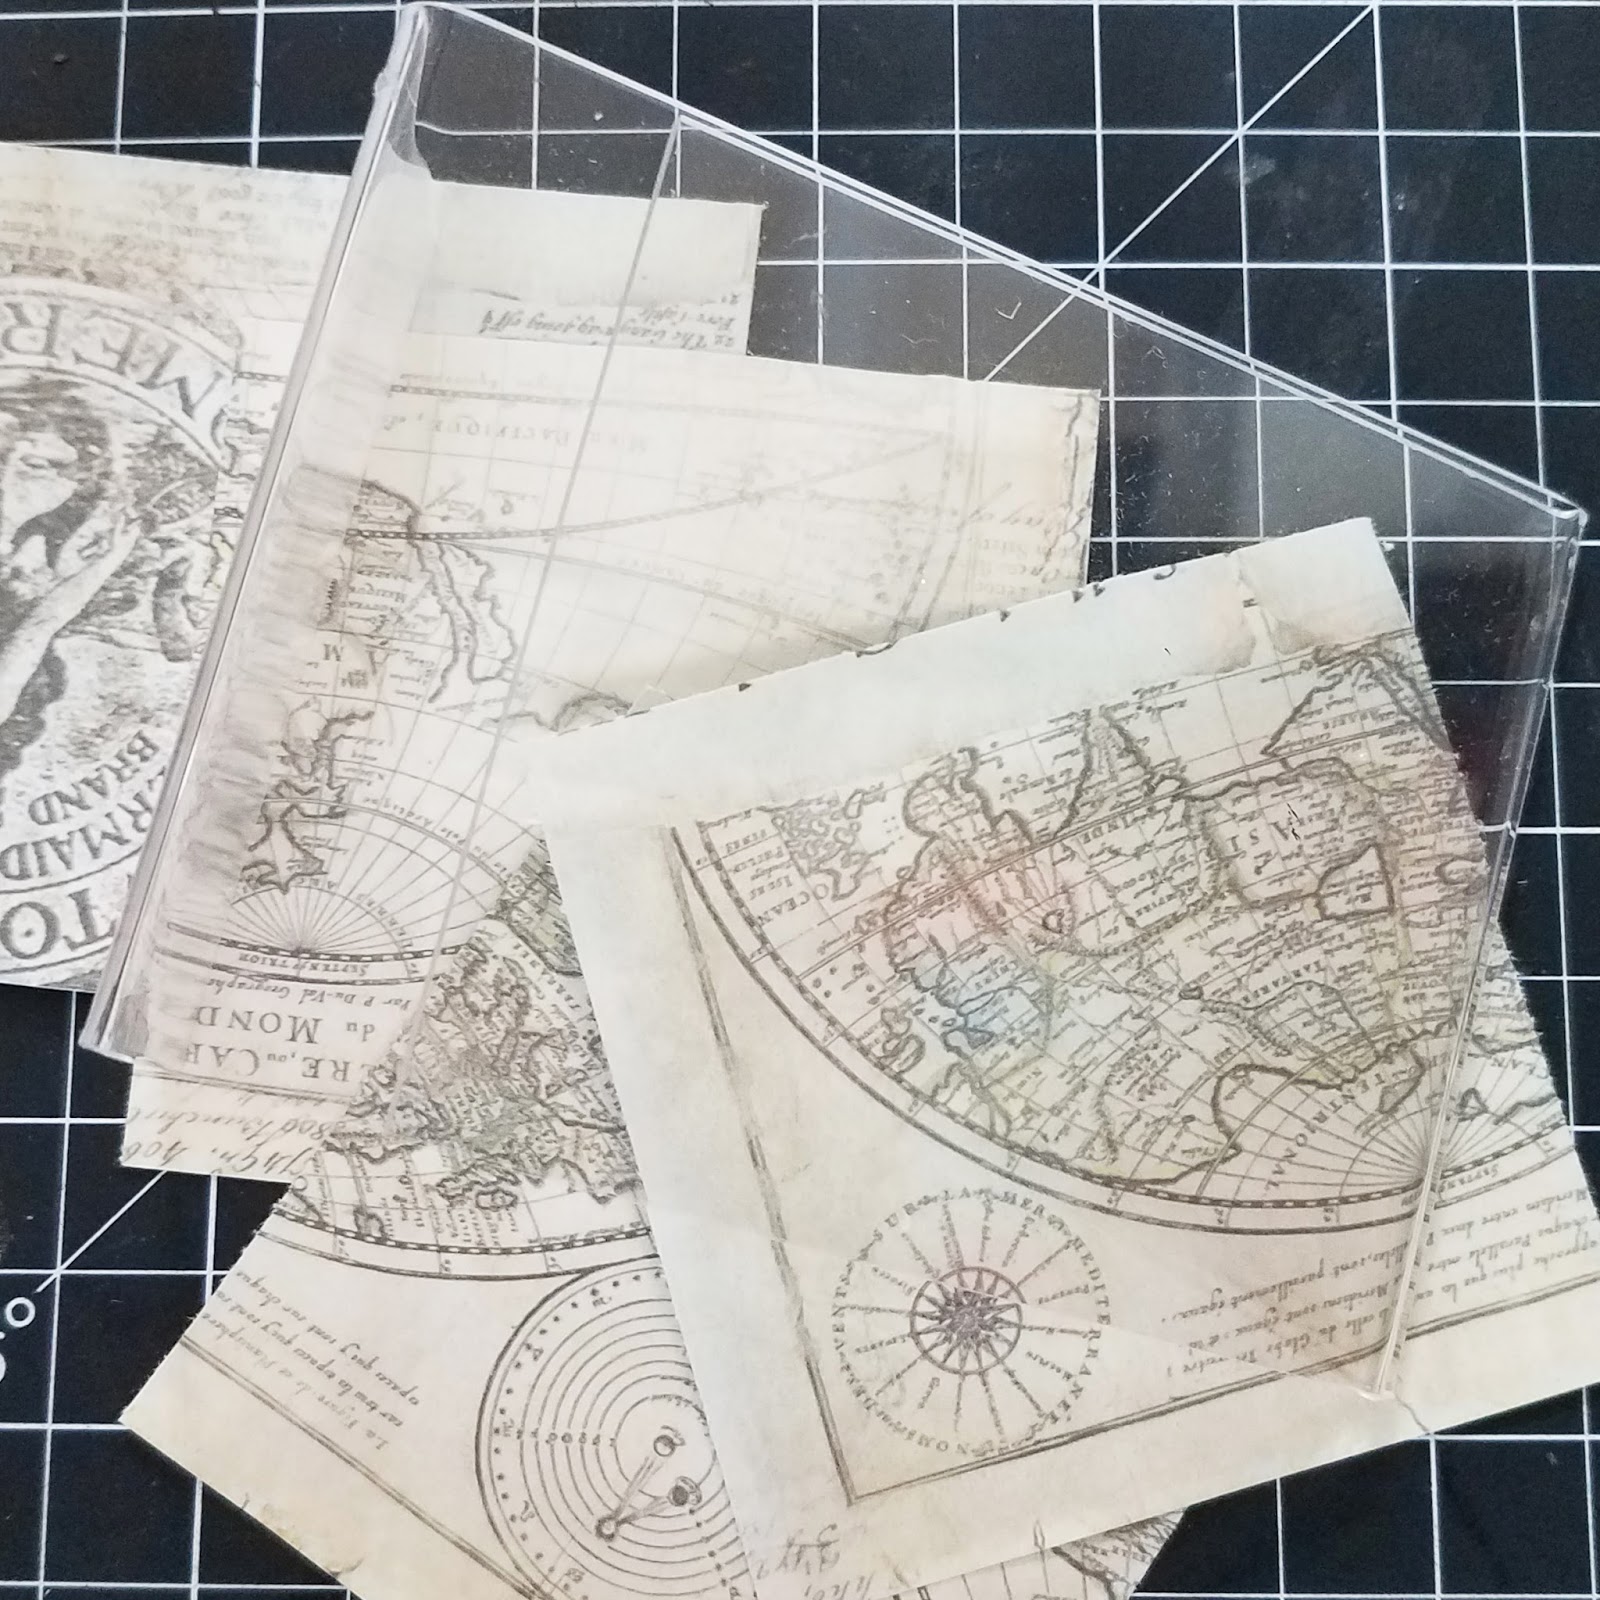


I ran the cut up sheets of vintage themed cardstock through the Xyron Creative Station using the Repositionable refill to make them sticky, but allow them to be stick notes and be able to stick and un-stick at will.  I then added each of the cut sticky squares on top of each other to make a sticky pad and attached them to the front of the mini frame.


A sticky note holder can be plain, or dressed up - guess which one I picked :)  I add flowers, chipboard, mists, beads, and other fun mixed media items to the top of the frame to glam it up a bit.


I just love chipboard swirls!!


The profile of this sticky note holder is very small, so it fits wonderfully on my desk!


On the side of the holder I attached a section of laminated paper in a loop to allow a pen to slide through so I am never without a pen!


I used the amazing Xyron products to hold everything together.  Not only as the adhesive, but also to make our homemade sticky notes!!  You never have to buy them again, just use the Repositionable Adhesive and scraps of paper and you have you custom sticky notes!!  See video above for a full tutorial!! 
 

This cute little sticky note holder is perfect for your work desk, home desk, as a gift, or to keep for yourself!!  Don't let your scraps go to waste, have fun with them!!


What color would you make your sticky notes?

Supplies Used


Interested in the supplies I used in this project?  Most are listed below and some are affiliate links, which generates a me little commission (at not extra cost to you at all) when you click on the link and make a purchase.  Affiliate and product disclosure can be found here.


Prima Glass Beads
Prima Glass Beads
Shop at:
SB
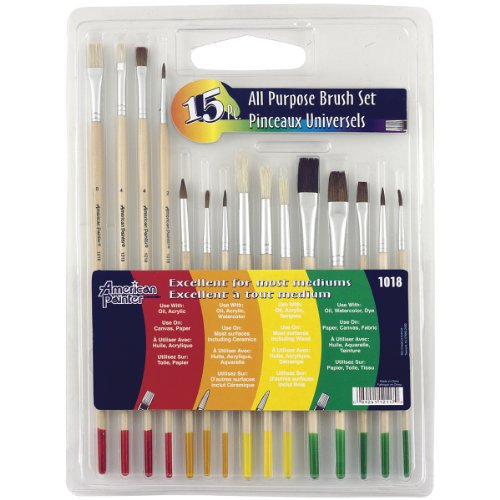
Paint Brushes
Paint Brushes
Shop at:
SB
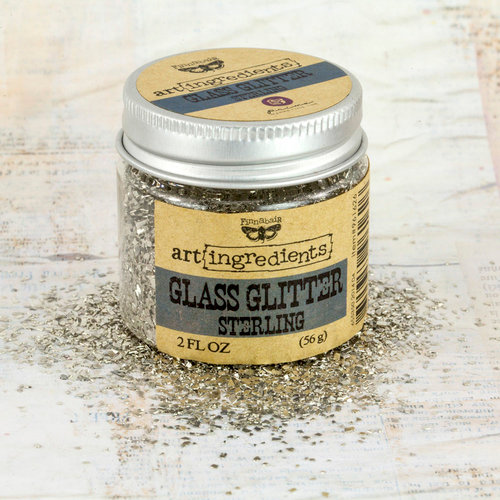
Prima Glass Glitter
Prima Glass Glitter
Shop at:
SB
Tattered Angels Glimmer Mist
Shop at:
SB | AZ | O
Fiskars Scissors
Fiskars Scissors
Shop at:
AZ | LFL (UK)
Xyron Creative Station Lite
Shop at:
AZ
Prima Plain Flowers
Prima Plain Flowers
Shop at:
SB | AZ
Colorbox Crafters Ink
Shop at:
SB | AZ
Prima Flowers
Prima Flowers
Shop at:
SB | AZ
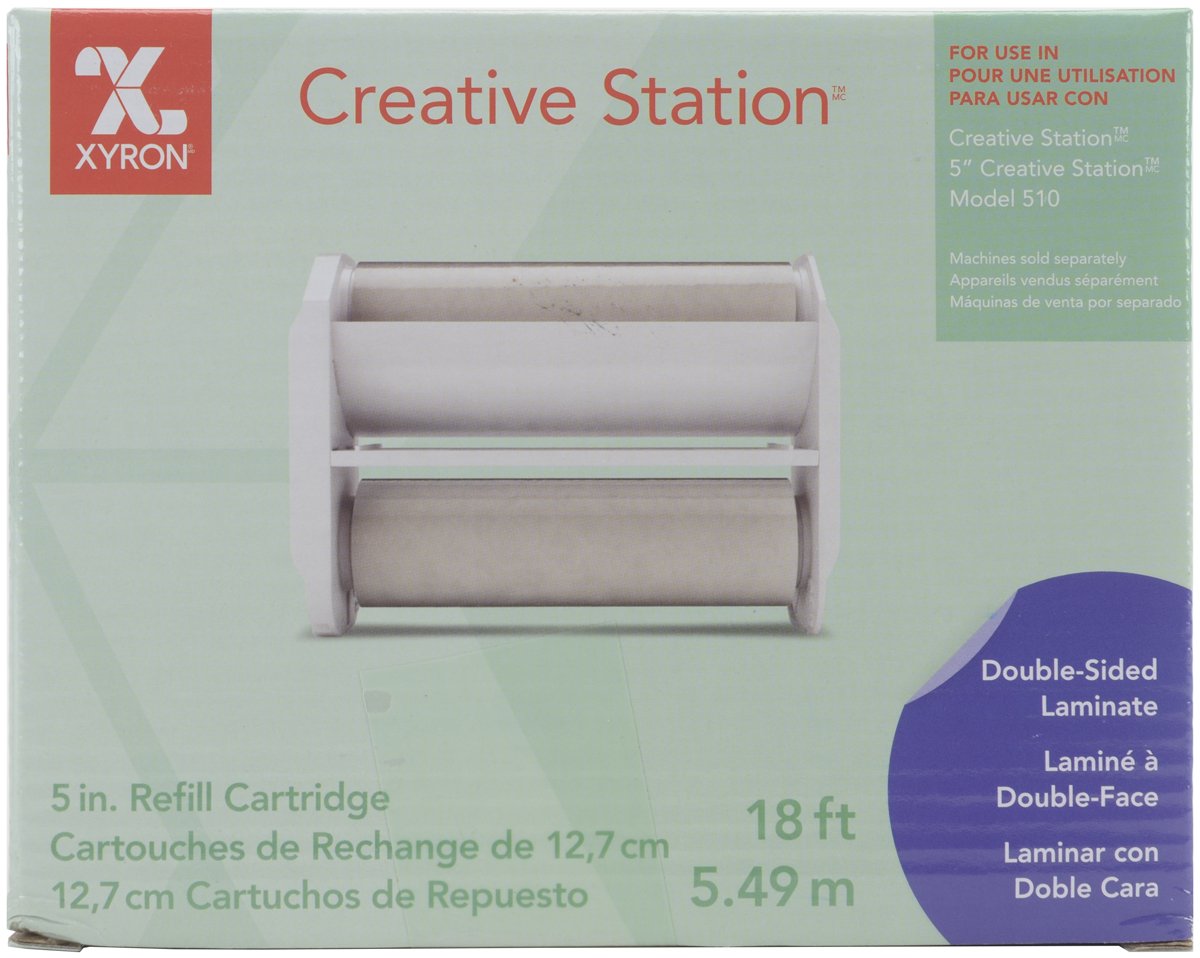
Xyron Laminate 5
Xyron Laminate 5" Refill
Shop at:
AZ
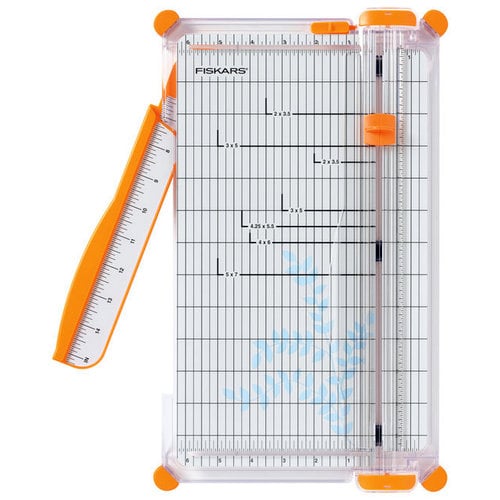
Fiskars Paper Trimmer
Shop at:
SB | AZ | LFL (UK)
Tattered Angles Simply Sheer
Shop at:
AZ | O
Creative Embellishment Chipboard
Shop at:
AZ | O
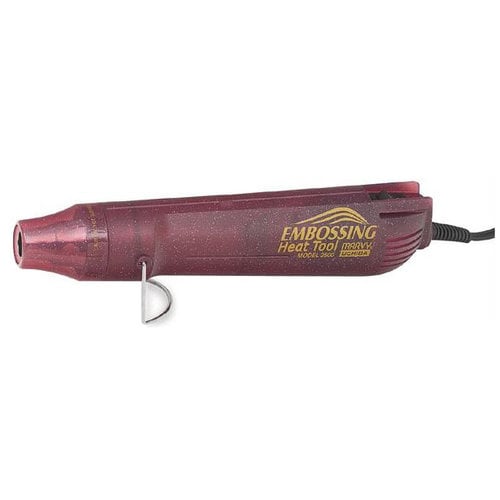
Heat Tool
Heat Tool
Shop at:
SB
Non Stick Craft mat
Non Stick Craft mat
Shop at:
AZ
High Impact Paint - TA
Shop at:
AZ | O
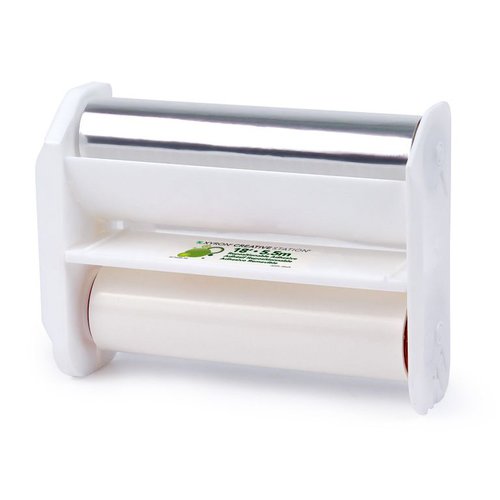
Xyron Reprositiionble Adhesive Refill
Shop at:
SB | AZ
Deflecto Mini Sign Holder
Shop at:
AZ
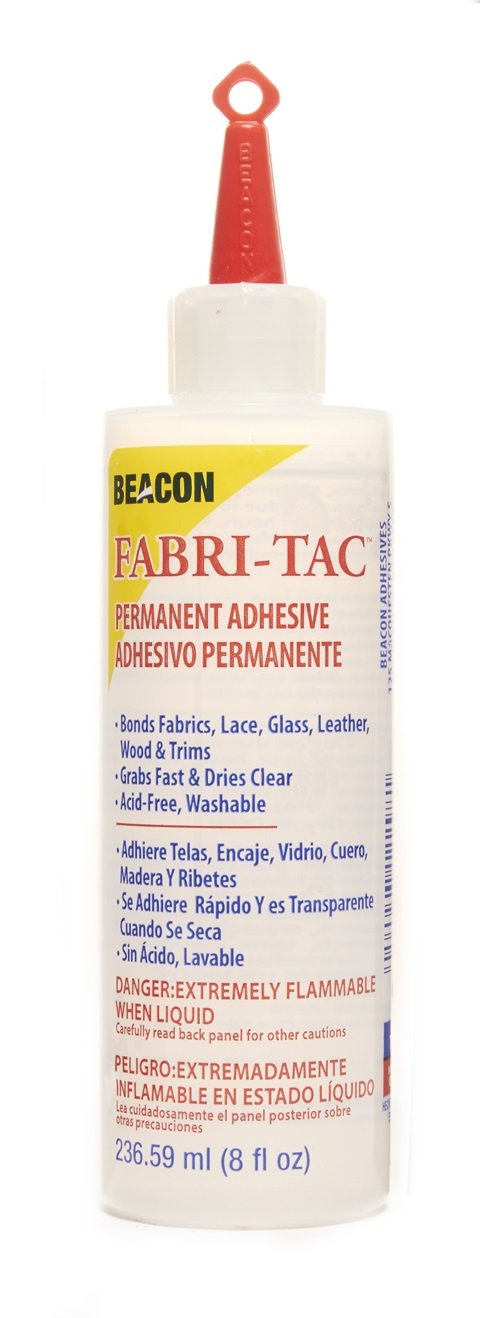
Beacon Fabri-tac
Beacon Fabri-tac
Shop at:
AZ
7 Gypsies Cardstock
7 Gypsies Cardstock
Shop at:
AZ | O


Wednesday, March 30, 2016

Chicken Stock and Washi Tape for the Soul **Eyelet Outlet** w/ recipe and video tutorial

Two of my favorite things to do are crafting and cooking, so why not combine the two together?!?  I made some yummy chicken stock in my crockpot, then used the Eyelet Outlet Washi tape as labels.  I then used the same washi tape for the cute little card when I give some of the chicken stock away to friends and family.


Here is a video tutorial on how to made the labels for the containers, how to make the cards, and the chicken stock recipe!!


Both of these items, the container of homemade chicken broth and the card, could be given as a gift to someone for when they are sick, need a pick me up, or just to let them know you are thinking about them.  So if you are giving a gift you have to have a card to go with it!!


http://www.eyeletoutlet.com/
Spring Bubble Brads, Confetti Washi, Bunny Washi, Geometric Washi


Without further ado here is my chicken stock recipe:


Crockpot Chicken Stock


Makes about 16 cups (6 quart crockpot)
Step 1 - Cook your chicken
Ingredients
1 whole chicken
1 onion rough chopped or a handful of green onions (I used green onions from my garden)
1 whole head of garlic smashed
2- 3 Fresh Rosemary stems
2-3 Fresh Thyme Stems
1 lime - cut in half (or lemon)
Salt and pepper chicken

Instructions

  1. Combine all the ingredients in the slow cooker: Place onion, garlic, and lime in the bottom of the pot.  Add chicken breast up.  Sprinkle with salt and pepper.  Add fresh herbs on top.
  2. Cook on low for 6-8 hours.
Enjoy your yummy chicken for dinner!!!

Step 2 - Make the Stock
Ingredients
Bones from the chicken you just cooked
Veggies, Herbs, and lime from above
Carrots
Celery
Peppers
Eggplant
Squash
Greens
Other herbs (sage, parsley, etc)
Any other veggie you have

Instructions

  1. Combine all the ingredients in the slow cooker: Place all the bones, skin, small bits of chicken, tendons, neck, etc all in the pot.   Roughly chop the vegetables and herbs and scatter them around the chicken.
  2. Cover with water: Add enough water to cover the chicken bones.
  3. Cook for at least 8 hours: Set the slow cooker to "low" and cook for at least 8 hours or just overnight.  When you wake in the morning just turn it off to cool.
  4. Strain the stock: Set a strainer over a large bow l and pour entire stock through the strainer into the bowl.
  5. Store the stock: Divide the stock between several containers and label with washi tape. Cool completely, then cover and refrigerate for up to a week, or freeze for up to 3 months.
Container Supplies
Plastic Storage Containers
Washi Tape - Eyelet Outlet
Marker - Copic

Card Supplies
Card Base - Canvas Corp Brands
Cardstock - Bazzill
Washi Tape - Eyelet Outlet
Brads - Eyelet Outlet
Ink - Prima & Clearsnap
Punch - Marvy
Adhesive -  Tombow
Paper Piercer
Foam mat (mouse pad)
Enjoy!!

Wednesday, March 23, 2016

Ways to Use your Sticker Stash - Sticker Filled Easter Eggs!!!

My kids have tons of Easter egg hunts to go to.  From pre-school, neighborhood, soccer, moms groups, our house, grandparents, and many many more I feel like I am having to fill at least 100 eggs each Easter for these egg hunts.  Now do not get me wrong, i love to do to them, but there is a bit of overkill on the candy that come into my house.  So as my way to solve the problem I am filling my eggs with stickers, but not just any stickers, sticker left in my scrapbook stash!!!

Watch this little video tutorial to learn all about it!!


Filling Easter Eggs with scrapbook stickers from your stash other than candy fills many purposes:

1) It will not melt if it is hot - on Texas it is HOT at Easter.
2) Ants will not get into the candy filled eggs and make it gross!!
3) My kids do not need that much sugar.  If they get eggs filled with toys, erasers, stickers, rings, etc then the better for me.  None of use need that much candy!!!
4) Parents with kids who have food allergies will be super happy.  Finally they do not need to swap the candy for something else, you have already given them something their kids can have!!!
5) You got to finally use your stickers from your sticker stash!!!
6) You saved money by using somehting your already had instead of buying extra "stuff".

Supplies Used
Various Plastic Eggs
Stickers - Creative Memories, Stickapotomus, Basic Grey, Paper House, Pebbles, Adorn It, Jolees, K& Co, Imaginisce, Recollections, Mrs. Grossmans's and Sandylion.

Enjoy!!

Monday, March 21, 2016

Easter Wreath **Canvas Corp Brands & Bella Blvd** w/ Video Tutorial

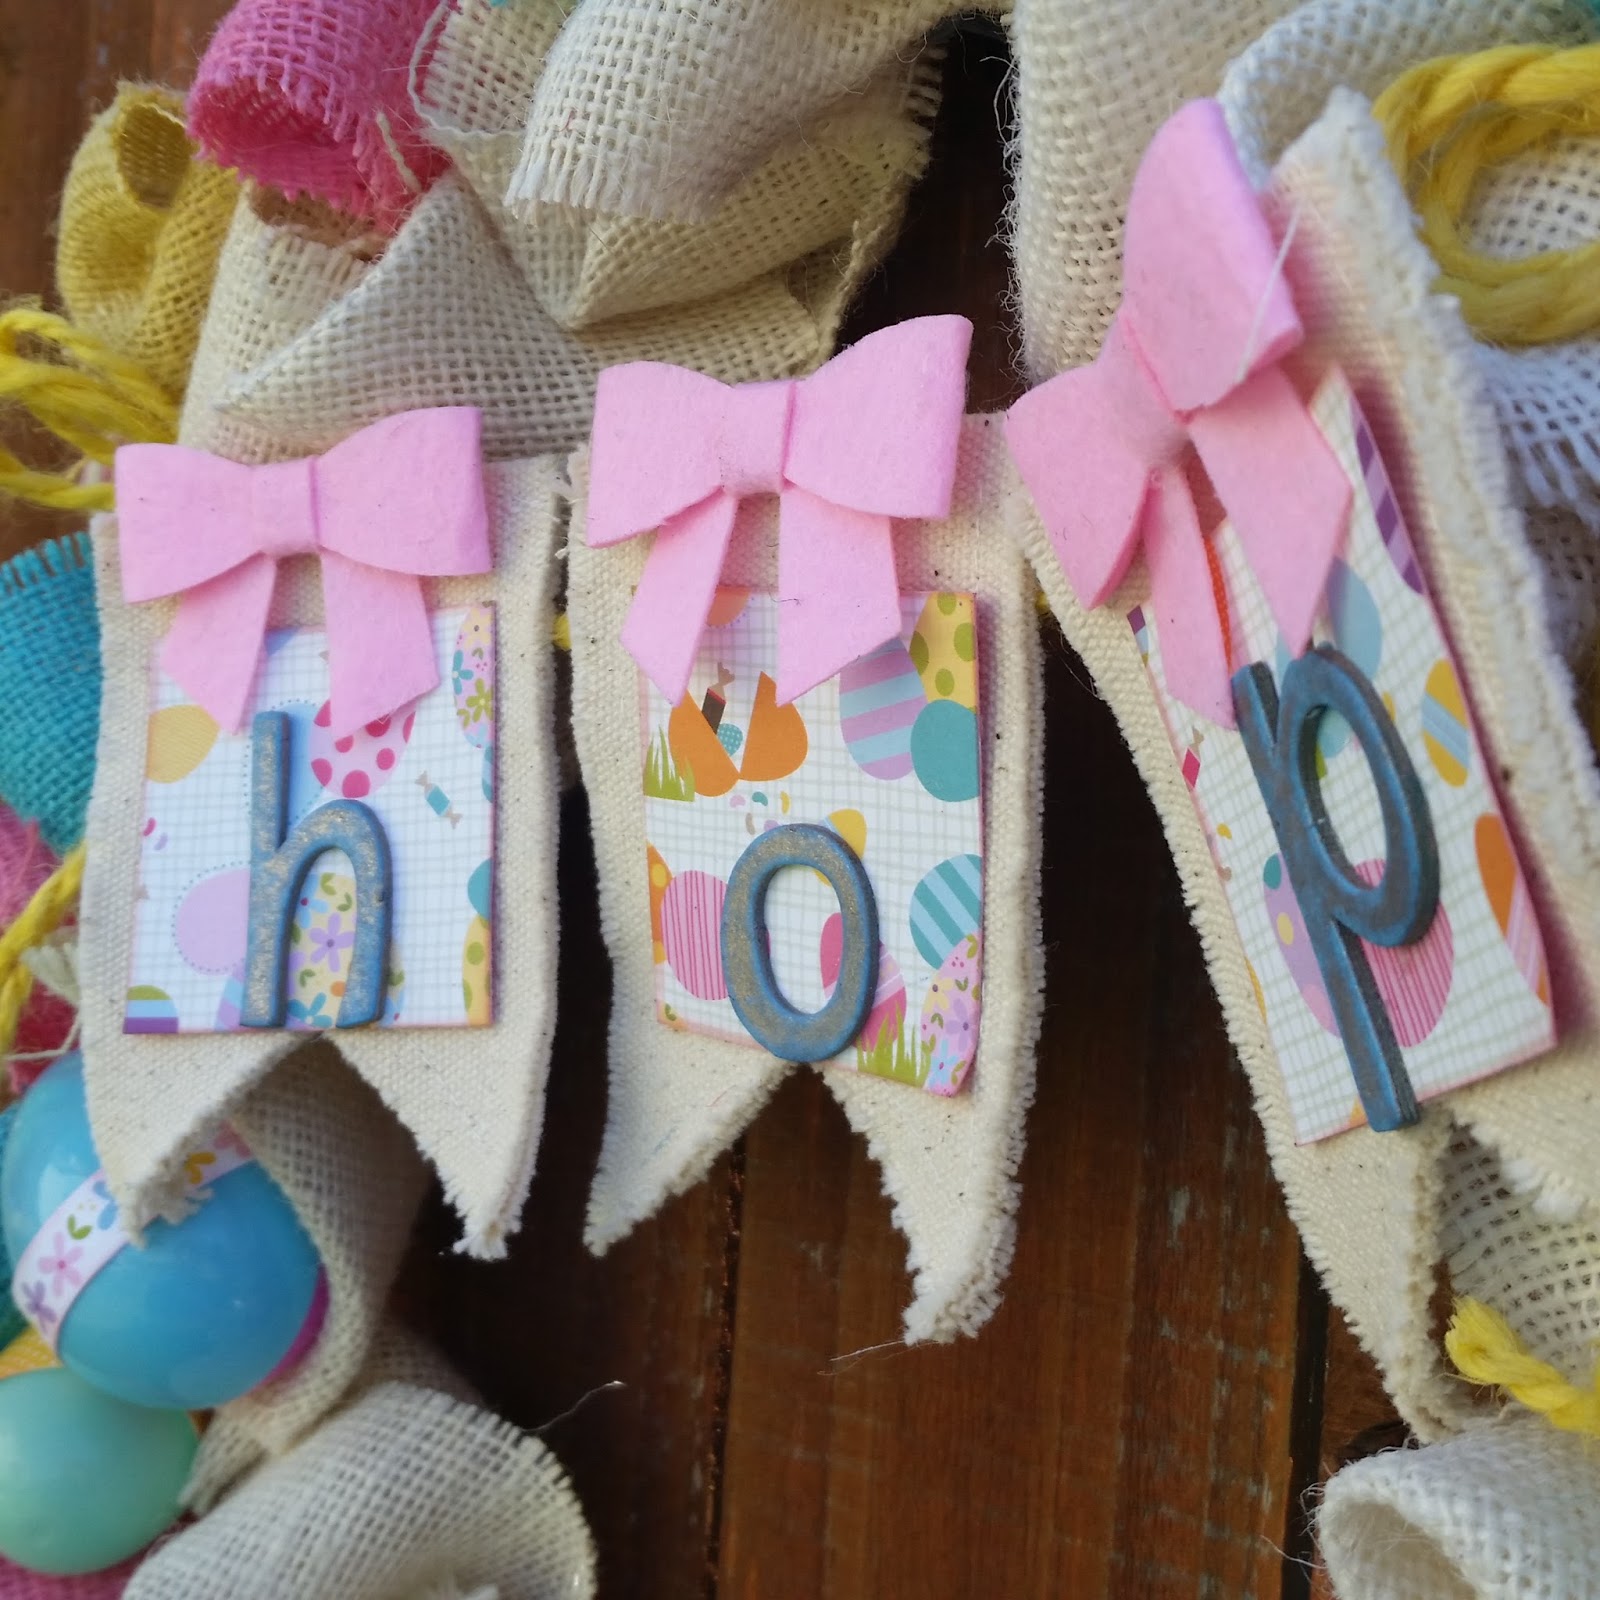
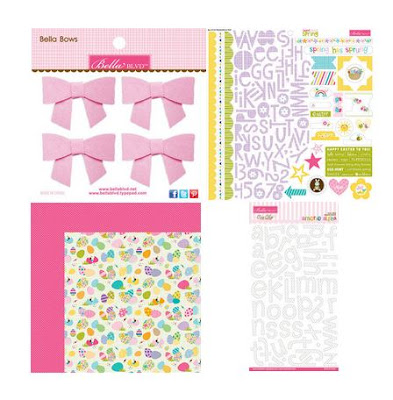
I have been wanting to create spring wreath for some time, and I have finally gotten around to doing it and it came out so cute!!  I got this amazing box of goodies from Bella Blvd and Canvas Corp Brands to show how well they would work together, and how to create something a little different with traditional scrapbook supplies, so it wreath it is!!


Here is an in depth video tutorial on how I made this super cute wreath.


Here are the amazing supplies I used to make this wreath.
http://www.bellablvd.net/shop/

https://shop.canvascorpbrands.com/
Supplies Used
Metal Wreath Base
Fabric/Burlap - Canvas Corp Brands
Rope - Canvas Corp Brands
Mist - Tattered Angels
Chipboard - Bella Blvd
Bows - Bella Blvd
Paper - Bella Blvd
Stickers - Bella Blvd
Hangars - Deflecto
Ink - Prima
Plastic Eggs
Glue - Beacon

Now for the fun stuff about prizes!! 
  1. To be eligible for the prize please leave a comment on one of the Facebook, instagram or Canvas Corp Brands Blog Post and use the #BBCCBTEAMUP
  2. The prize will be chosen randomly from all of the comments based on the #BBCCBTEAMUP
  3. Prize is open to USA and International hoppers
  4. There are 2 prizes one from Canvas Corp Brands and one from Bella Blvd each retail value of over $100
Thanks for stopping by!!

Wednesday, March 16, 2016

Mixed Media Bookmark **C'est Magnifique** March Kit w/video

I love playing with my mixed media and creating something fun.  This time I thought why not make a bookmark to place in my art journal!  I used the March C'est Magnifique kit to create this cute and funky 2 sided bookmark!


Here is the process video for one side of the bookmark.


Thanks for watching and get grungy!!

Supplies Used
Tassel - Webster's Pages - C'est Magnifique March Kit
Dust -  C'est Magnifique March Kit
Chain - C'est Magnifique March Kit
Rope -  C'est Magnifique March Kit
Flower - Prima -  C'est Magnifique March Kit
Marker - Copic
Medium - Prima

Glue - Beacon
Enjoy!

Friday, March 11, 2016

Rotating Carousel Craft Organizer **Deflecto & Canvas Corp** W/video Tutorial

In my mind the key to not being frustrated when crafting is knowing where your supplies are so you do not spend an hour looking for that perfect item for your project.  So in that respect, organization is key!!  For me, I was sorely lacking in my organization of all my little burlap, canvas, and fabric pieces, which also includes my ropes and fringes (pretty much my Canvas Corp stash).  I had them in a bag by my desk all in knots and in a complete mess.  It took forever to untangle it all when i needed to find just one color of piece of something.  So frustrating!!  Plus since it was fabrics and burlap, it would pull apart and shred on me, and a lots a ton of product just due to poor storage.


I had this Deflecto Carousel Rotating Organizer sitting on my shelf empty for the last 3 months wondering what I could use it for.  Why never thought to put these two things together (the organizer and fabric stash) was beyond me, I chalk it up to lack up sleep and kids.  Well now they are a perfect match and check out my video on how I put it all together!!


Not only is the organizer a carousel, so it is super easy to see each bin's contents, they also pull out for easy accessibility, and they are stackable!!

http://www.deflecto.com/craft/
Check out all the supplies this thing holds!!


Products used can be purchased at Amazon.com, or you can click HERE and enter your zip code to see where you can purchase Deflecto Craft products near you.

Now my burlap and canvas supply has a home, yea!!  Plus on a side note, my daughter loves to play with the unit, she thinks it is just a giant rotating building block unit she can put her toys in, lol

Supplies Used
Storage - Deflecto
Rope - Canvas Corp
Fabric - Canvas Corp
Shapes - Canvas Corp
Twine - Target
Enjoy!!

Share This

Related Posts Plugin for WordPress, Blogger...