Friday, June 12, 2020

Growing Cucumbers from Seed to Harvest - Plus Backyard Harvest Collection Tips

Cucumbers are so yummy, so we decided to grow some in our backyard garden.  They are super easy to grow, check out how below, plus tips and easy care instructions.

This post also contains affiliate links and I will be compensated if you make a purchase after clicking on my links.  Various companies provided me with some product to create this project.  The opinions I share are solely my own.


Check out the video below to see how to plant and harvest your own cucumbers!


I started with Marketmore 76' Cucumber seeds, I love the flavor these cucumbers, plus the skin is eatable when it is young and harvest at the right time.  You can see the instructions on the package, but to recap make sure to plant these after any idea of frost.  For Texas I plant mine around March to April, as the plant loves a warmer weather not cold, so it grows a ton faster when the weather is nice and warm and sunny.  A couple of seeds in a mound next to a trellis, chicken wire or tomato cage.  Make sure to plant your mounds at least 2 feet apart.


Cucumbers love to vine up something, so a chicken wire, wood trellis, or tomato cage works.  They have little tendrils you can see in the picture that help with grow up.   You can train them to grow up by weaving the plant in and out of the trellis as it gets bigger.  The flowers are what produce the vegetable, to make sure not to damage them to you get a nice harvest!  You can see a little cucumber in this picture below with the flower still attached at end.


Now it is time to harvest, light twist or use some scissors to cut off your cucumber.  I like to pick mine with they are a bit on the smaller end so it is tender and not bitter.  We eat it with the skin still on, so I pick it when it no longer feels like it had any spines on the skin.


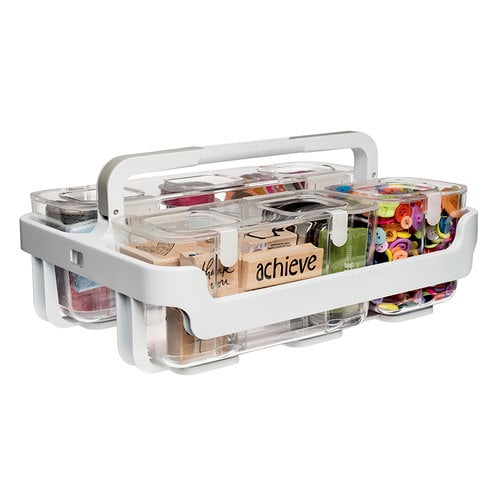
I used my Defelcto caddy to help gather my harvest.  I pulled the lids of off the top of each section to make it easier to gather my harvest.  Don't worry the lids go right back on when you want to replace them.


After I picked my cucumber I harvested a few other veggies in my backyard garden.  The Deflecto caddy made it really easy to pick my fruits, veggies, and herbs and keep everything separate since it has 4 sections.


Best part if this just one of my harvests, I get to do this at lest once a week during the peak early summer growing season in Texas.  


Yummy green beans, peaches, figs, tomatoes, bell peppers, cucumbers, rosemary, sage, mint, and parsley were in the harvest for today!


What will you grow in your backyard ?


Interested in the supplies I used in this project? Most are listed below and some are affiliate links, which generates a me little commission (at not extra cost to you at all) when you click on the link and make a purchase.

Erin Reed Makes Amazon Storefront
Shop at:
AZ
Arbonne
Arbonne
Shop at:
O
Favecrafts
Favecrafts
Shop at:
O
Deflecto Caddy
Deflecto Caddy
Shop at:
SB | AZ
Cucumber Seeds
Cucumber Seeds
Shop at:
AZ
Wood trellis
Wood trellis
Shop at:
AZ


Friday, June 5, 2020

DIY "Beach is My Happy Place" Vinyl wood Sign

I love a good wood sign, and with a little vinyl of it even better!  I made this sign for my parents who live near the beach, so I will be bringing it to them when I visit next.

This post also contains affiliate links and I will be compensated if you make a purchase after clicking on my links.  Various companies provided me with some product to create this project.  The opinions I share are solely my own.


Check out the video to see how to make your own board!


Start off with a wood board and white wash it. A little white paint dilute with water over the entire wood board really makes the plain pine wood amazing!


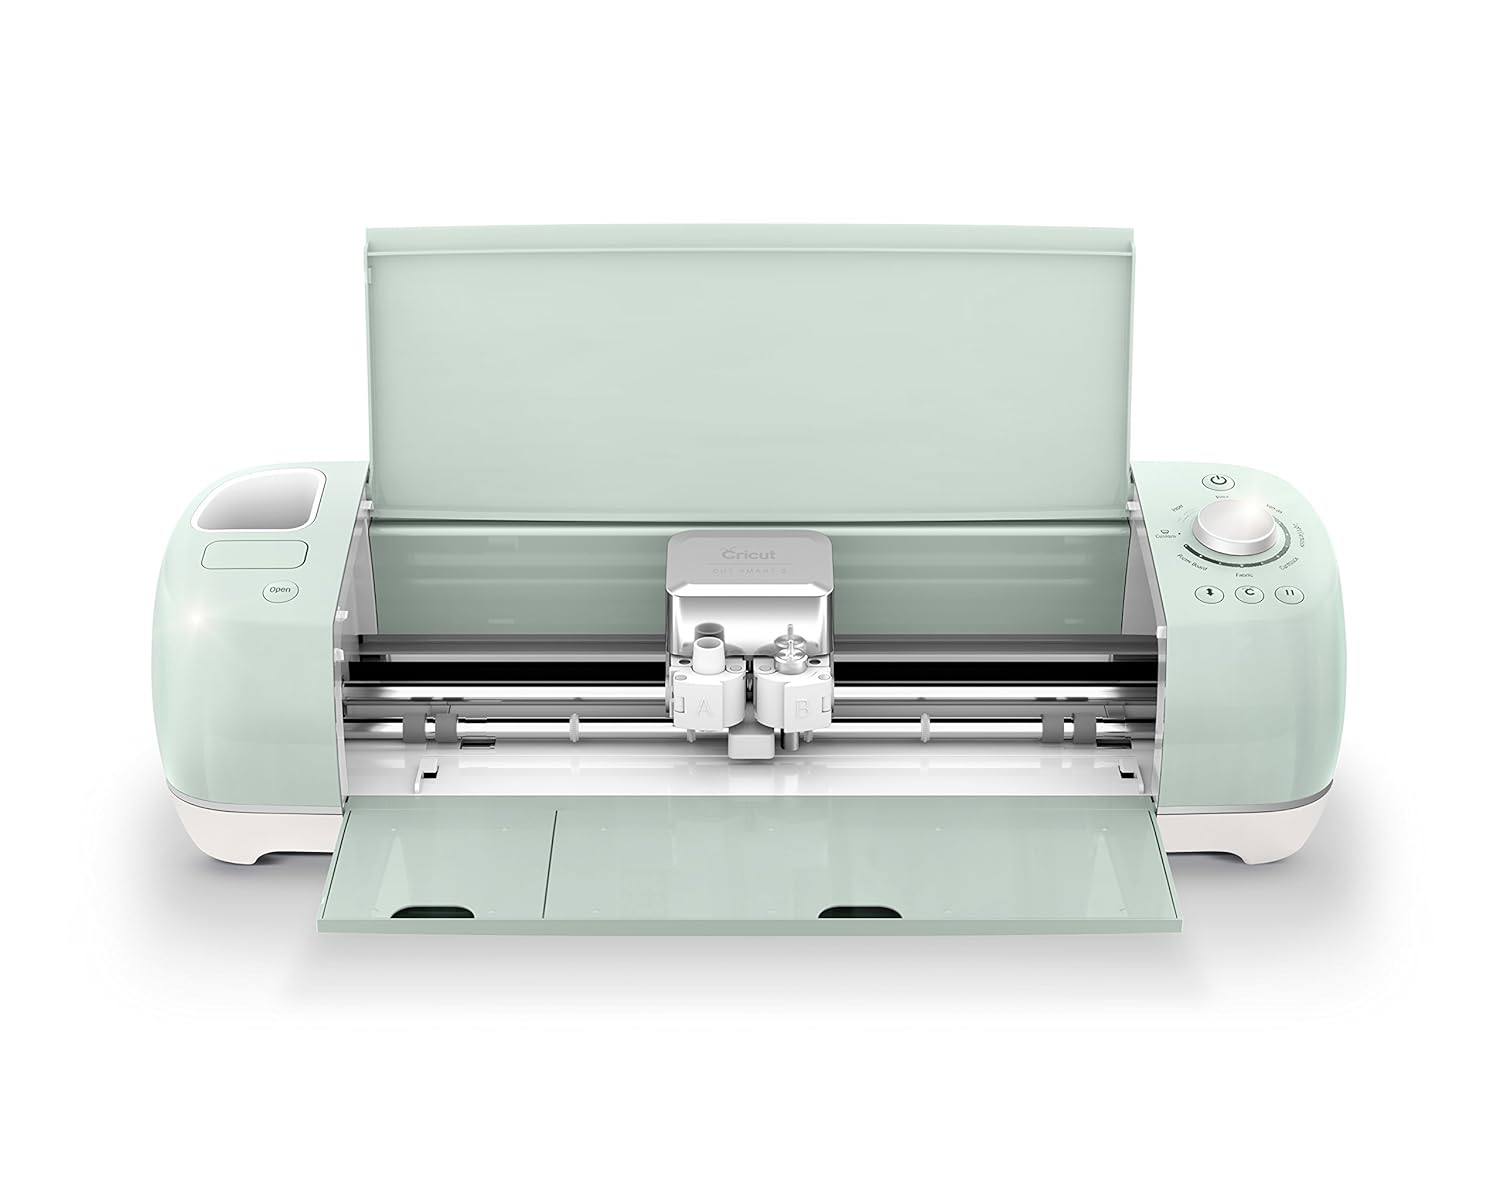
Cut your vinyl on your cutting machine.  I used my old personal Cricut, had it over over 13 years and still works great!  I did a simple font in caps and lower case.  I picked out colors of StyleTechCraft vinyl that looked like ocean water, in both the opal and the craft glossy finishes.  


Next is the weeding and placing of the words to they fit on the word board.  After weeding the parts of the vinyl you do not want out, place it on the transfer tape to stick to your board.  Have fun the the colors and placement of the words, change it up and make it look fun!


Last steps are to place the vinyl on your board, make sure to press it firmly so it sticks and stays in place, and then glue down the rope around the board so it has a pretty finish and hangs nice!


I just love that opal vinyl, it has such a pretty shine to it, holographic almost!  Each angle you look at the sign it will have a different color of green and glue, just like the ocean!


I love the look of this sign. For me my happy place is the beach, but if the beach is not your thing you can always make the sign for the lake, desert, mountains, backyard, boat - really where ever your happy place in life is. You can also chance our the colors to be anything you wish, pink your favorite color make it in pink! Sky is the limit on this DIY sign, make it what ever you like :)


Interested in the supplies I used in this project? Most are listed below and some are affiliate links, which generates a me little commission (at not extra cost to you at all) when you click on the link and make a purchase.

Erin Reed Makes Amazon Storefront
Shop at:
AZ
Arbonne
Arbonne
Shop at:
O
Favecrafts
Favecrafts
Shop at:
O
Fiskars Scissors 8
Fiskars Scissors 8"
Shop at:
AZ
Dynasty Black Gold Brushes
Shop at:
AZ
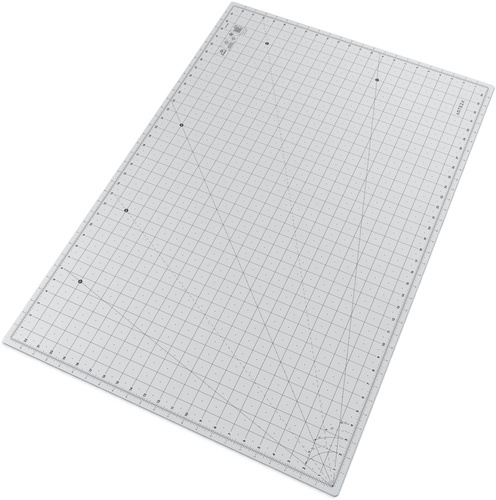
Arteza Giant Craft Mat
Shop at:
O
Supertite Glue
Supertite Glue
Shop at:
O
Styletechcraft Vinyl - Gloss Craft
Shop at:
O
Styletechcraft Vinyl - Opal
Shop at:
O
Cricut Machines
Cricut Machines
Shop at:
AZ
Teal Rope
Teal Rope
Shop at:
AZ
Folkart Multi Surface Paint
Shop at:
AZ
StyleTechCraft Felt Squeegee
Shop at:
O
Large Wood Square Craft Block
Shop at:
AZ


Thursday, May 21, 2020

Crepe Paper Flower Decor

Paper flowers are so much fun to make, and the best part if that you do not have to water them!!  Below I show how to make the same flower, but with a simple tweak to the petal shape it looks like a whole different flower!

This post also contains affiliate links and I will be compensated if you make a purchase after clicking on my links.  Various companies provided me with some product to create this project.  The opinions I share are solely my own.


Here is a video to see how to make these awesome flowers.


The DCWV crepe paper is wonderful to work with, it has a give which allows you to stretch the petals and make some wonderful shapes.   These Petal Paper stacks are being sold at JOANN. DCWV has been a long-time producer of the stack-- a set of coordinated papers. Stacks have been made in so many themes and colors over the years. Happy members of the American Crafts family of products, they continue their pursuit of serving the consumer and their crafty needs with new paper stacks releasing several times a year in updated themes and colors. You can find them online at the DCWV website HERE and in a variety of craft stores. Check out the DCVW Instagram HERE for some amazing inspiration!!


For each flower I made a center with a fringe wrapped around a section of floral wire.  I then cut out around 20-24 petals in a different colors and glued each one around the center.  Some petals are cut with a pointed shape, some are with a rounded shape, this makes for two different looking flowers, but is made with the same technique!


Check out all the other amazing projects from the wonderful designer in the DCC in the link HERE!!


Thanks so much for stopping by!!


Interested in the supplies I used in this project? Most are listed below and some are affiliate links, which generates a me little commission (at not extra cost to you at all) when you click on the link and make a purchase. 


Erin Reed Makes Amazon Storefront
Shop at:
AZ
Arbonne
Arbonne
Shop at:
O
Shareasale
Shareasale
Shop at:
O
Instacart
Instacart
Shop at:
O
Favecrafts
Favecrafts
Shop at:
O
Fiskars Scissors 8
Fiskars Scissors 8"
Shop at:
AZ
Beacon Fabri-tac
Beacon Fabri-tac
Shop at:
AZ
Square Styrofoam Cube
Shop at:
AZ
DCWV Petal Paper
DCWV Petal Paper
Shop at:
O
Arteza Giant Craft Mat
Shop at:
O
Make it by Marko Glue Holder
Shop at:
O


Share This

Related Posts Plugin for WordPress, Blogger...