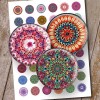
I got these amazing digi files of mandalas a while ago and have been dying to use them, so when I had the opportunity to work with Mod Podge I knew i had to crate something with them.
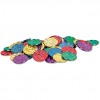
I started with some gold plastic coins my kids got as a fun little party favor, and decoupaged the printed digi files to the coins on both sides. Here is a video on how I made these fun art tokens.
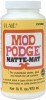
I cut the images out and used the Matte and Glossy Mod Podge to glue and seal the digi papers to the plastic coins. It worked like a charm. I did both sides, and one side I left plain, and they look amazing.
The digi files were a perfect fit for size of the coins, and the Mod Podge took care of the rest!
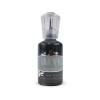
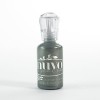
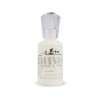
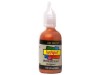
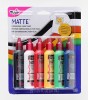
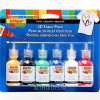
One the other size of the coin I added little dots of paint from various brands of 3D paint such as Nuvo drops, Liquid Pearls, and Scribbles. I went with the colors of the mandalas to make them fun!
The rings of extra color really help make these token pop!
Thanks so much for stopping by and checking out all the fun!!
Supplies Used
Interested
in the supplies I used in this project? Most are listed below and some
are affiliate links, which generates a me little commission (at not
extra cost to you at all) when you click on the link and make a
purchase. Affiliate and product disclosure can be found here.
I love a good wood sign, and with a little vinyl of it even better! I made this sign for my parents who live near the beach, so I will be bringing it to them when I visit next.
This post also contains affiliate links and I will be compensated if you make a purchase after clicking on my links. Various companies provided me with some product to create this project. The opinions I share are solely my own.
Check out the video to see how to make your own board!
Start off with a wood board and white wash it. A little white paint dilute with water over the entire wood board really makes the plain pine wood amazing!
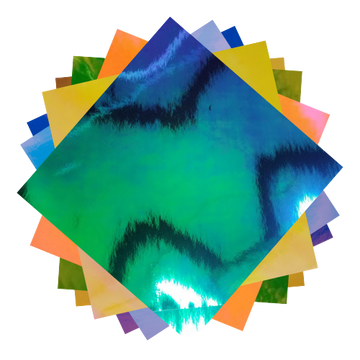
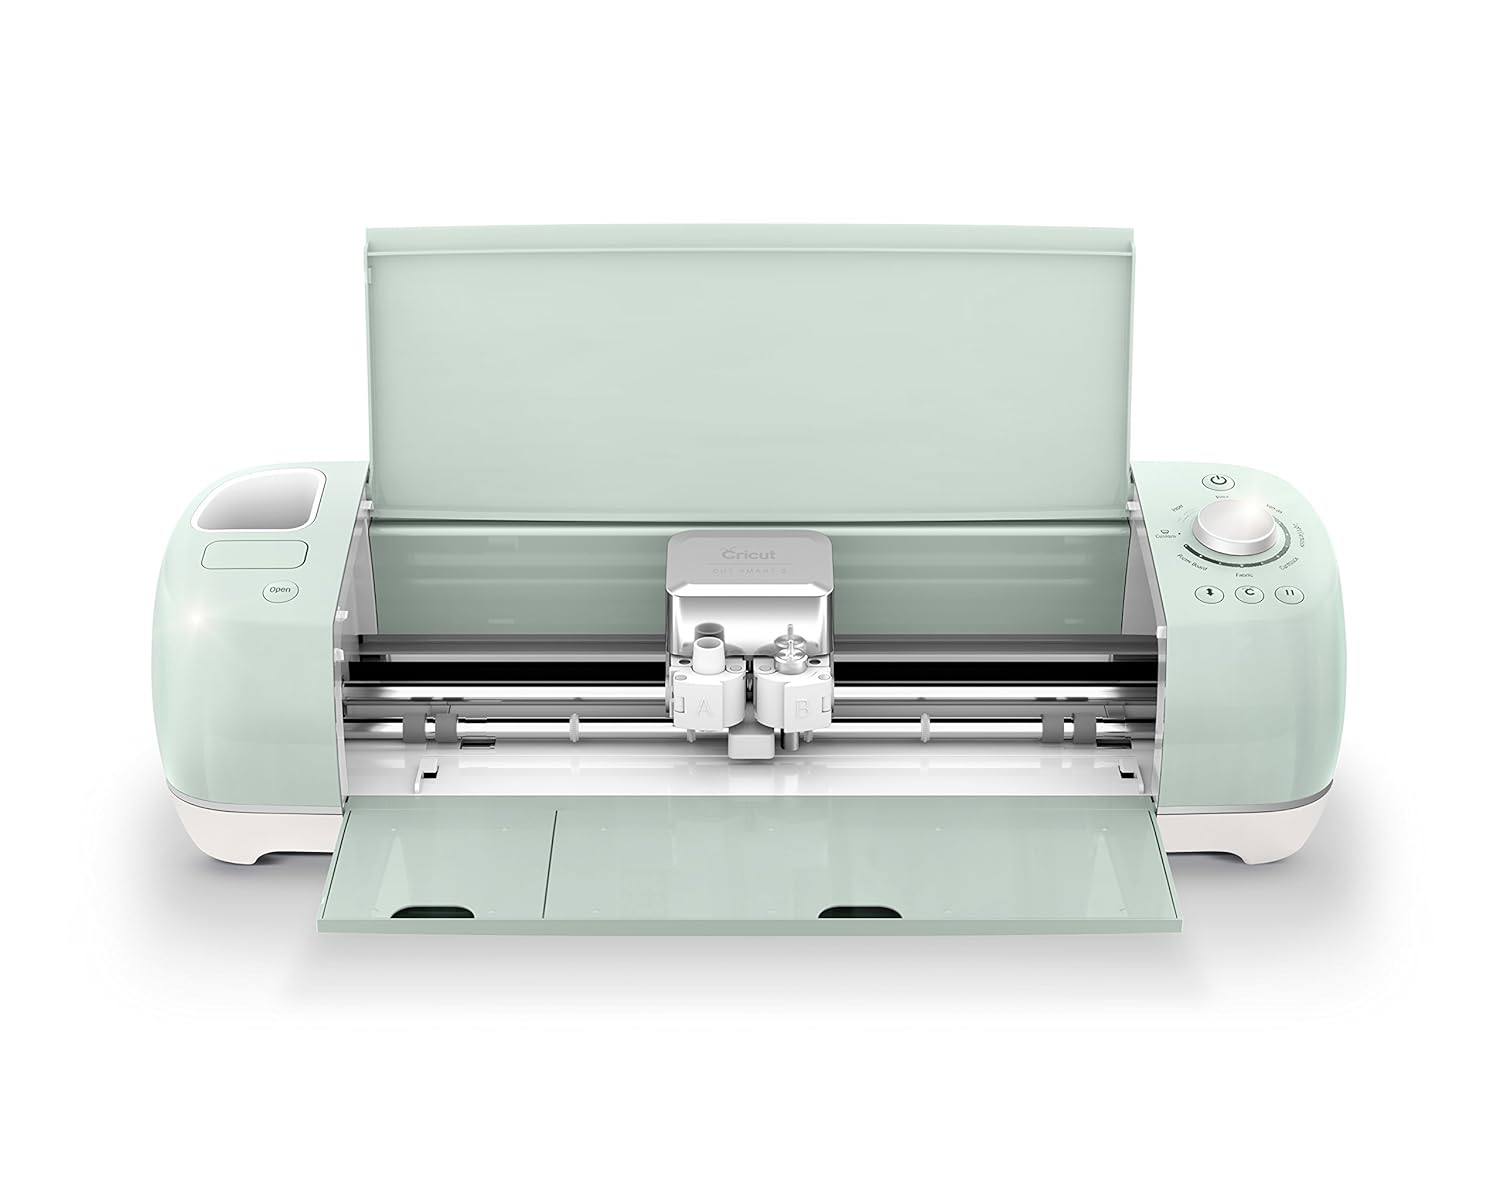
Cut your vinyl on your cutting machine. I used my old personal Cricut, had it over over 13 years and still works great! I did a simple font in caps and lower case. I picked out colors of StyleTechCraft vinyl that looked like ocean water, in both the opal and the craft glossy finishes.
Next is the weeding and placing of the words to they fit on the word board. After weeding the parts of the vinyl you do not want out, place it on the transfer tape to stick to your board. Have fun the the colors and placement of the words, change it up and make it look fun!
Last steps are to place the vinyl on your board, make sure to press it firmly so it sticks and stays in place, and then glue down the rope around the board so it has a pretty finish and hangs nice!
I just love that opal vinyl, it has such a pretty shine to it, holographic almost! Each angle you look at the sign it will have a different color of green and glue, just like the ocean!
I love the look of this sign. For me my happy place is the beach, but if the beach is not your thing you can always make the sign for the lake, desert, mountains, backyard, boat - really where ever your happy place in life is. You can also chance our the colors to be anything you wish, pink your favorite color make it in pink! Sky is the limit on this DIY sign, make it what ever you like :)
Interested in the supplies I used in this project? Most are listed below and some are affiliate links, which generates a me little commission (at not extra cost to you at all) when you click on the link and make a purchase.
Having the kids home right now means that they are in need of activities and stimulation for their creative mind, plus I firmly believe that creating is a form of therapy to help all of cope with the struggles we are facing. Here are 3 art projects that you can do at home with your kids to help get the creative juices flowing for the whole family!
This post also contains affiliate links and I will be compensated if you make a purchase after clicking on my links. Various companies provided me with some product to create this project. The opinions I share are solely my own.
Radial Symmetry
A wonderful way to help kids be creative is to use found items from around the house to make a pattern, a symmetrical pattern in a radial line, like a snowflake. I pulled out beads, sequins, gems, buttons, and other fun little bits I had in my crafty stash and organized them in my Deflecto Caddy Storage tray.
We started off with 6 x 6 inch squares of cardstock paper and used the Supertite dual tip glue pen to apply a thin line of glue.
Even I got into the fun of creating and made some for myself. Here is a few that the kids and I both made.
Take a look at the video for a little more in depth look at how to make these fun pieces of art!
What little bits do you have around the house to make art with?
Jackson Pollock Splatter Painting
Another fun thing to kids into is splatter painting, get their inner abstract artist creative juices flowing. We used some Plaid Folkart acrylic paints watered down and just plain copy paper. We placed the paper inside of a box to help keep the splatters a little more contained.
I found a variety of items from around the house to help achieve the splatter look. Here is the list we used but yu can use all kinds of fun things from around the house to give that cool splatter look:
paint brush
golf ball
tissue paper
bunch of balloons straws
medicine dropper
fork
Check out the video below to see how to use each of the above tools to make your own splatter painting.
What fun items do you have at your house to make a cool splatter painting?
You can use the same painting and turn them into background papers for cards, check out the video below to see how!!
Pom Pom Animals & Monsters
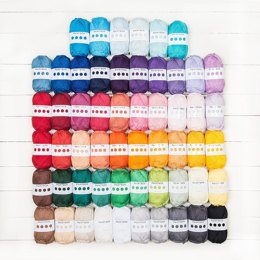
Have a little yarn around the house? Time to be a little creative and make some fun animals! Add some construction paper, google eyes, and felt for the faces, fins, tails, feet, and ears to complete the look of your animal.
Don't have yarn at home, you can buy the kit for the fox, bird, and bunny from Leisure Arts (link at the bottom of the post). Everything is included except glue and scissors. What fun little animal will you make?
Pom Poms a little too hard, try making cute yarn monsters with some chenille stems. They are so cute and really fun to make!
Learn how to make both the animals and the monsters in the video below.
Really, just how cute are these monsters?!?!?
Painted Canvas Art
Part of learning how to paint is to have some guidance of where to paint, so a printed canvas that they can fill in with acrylic paint. Knowing what brush to use, how much paint to add to their brush, how to add water to thin to the paint, letting sections dry before applying more paint are all key elements in learning how to paint on a canvas.
Check out the video to see how my son painted his this canvas that we got from Orange Art Box!!
What color would you make your dino - pink?
There are so many fun things you can do with your kids to help them stay creative - what fun activity will you try today?
Interested in the supplies I used in this project? Most are listed below and some are affiliate links, which generates a me little commission (at not extra cost to you at all) when you click on the link and make a purchase.