Showing posts with label beach. Show all posts

Friday, June 5, 2020

DIY "Beach is My Happy Place" Vinyl wood Sign

I love a good wood sign, and with a little vinyl of it even better!  I made this sign for my parents who live near the beach, so I will be bringing it to them when I visit next.

This post also contains affiliate links and I will be compensated if you make a purchase after clicking on my links.  Various companies provided me with some product to create this project.  The opinions I share are solely my own.


Check out the video to see how to make your own board!


Start off with a wood board and white wash it. A little white paint dilute with water over the entire wood board really makes the plain pine wood amazing!


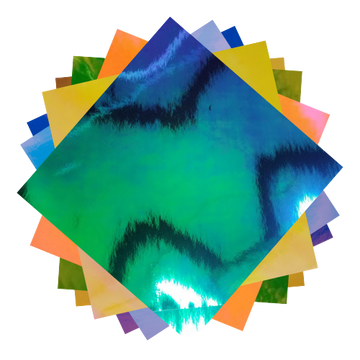
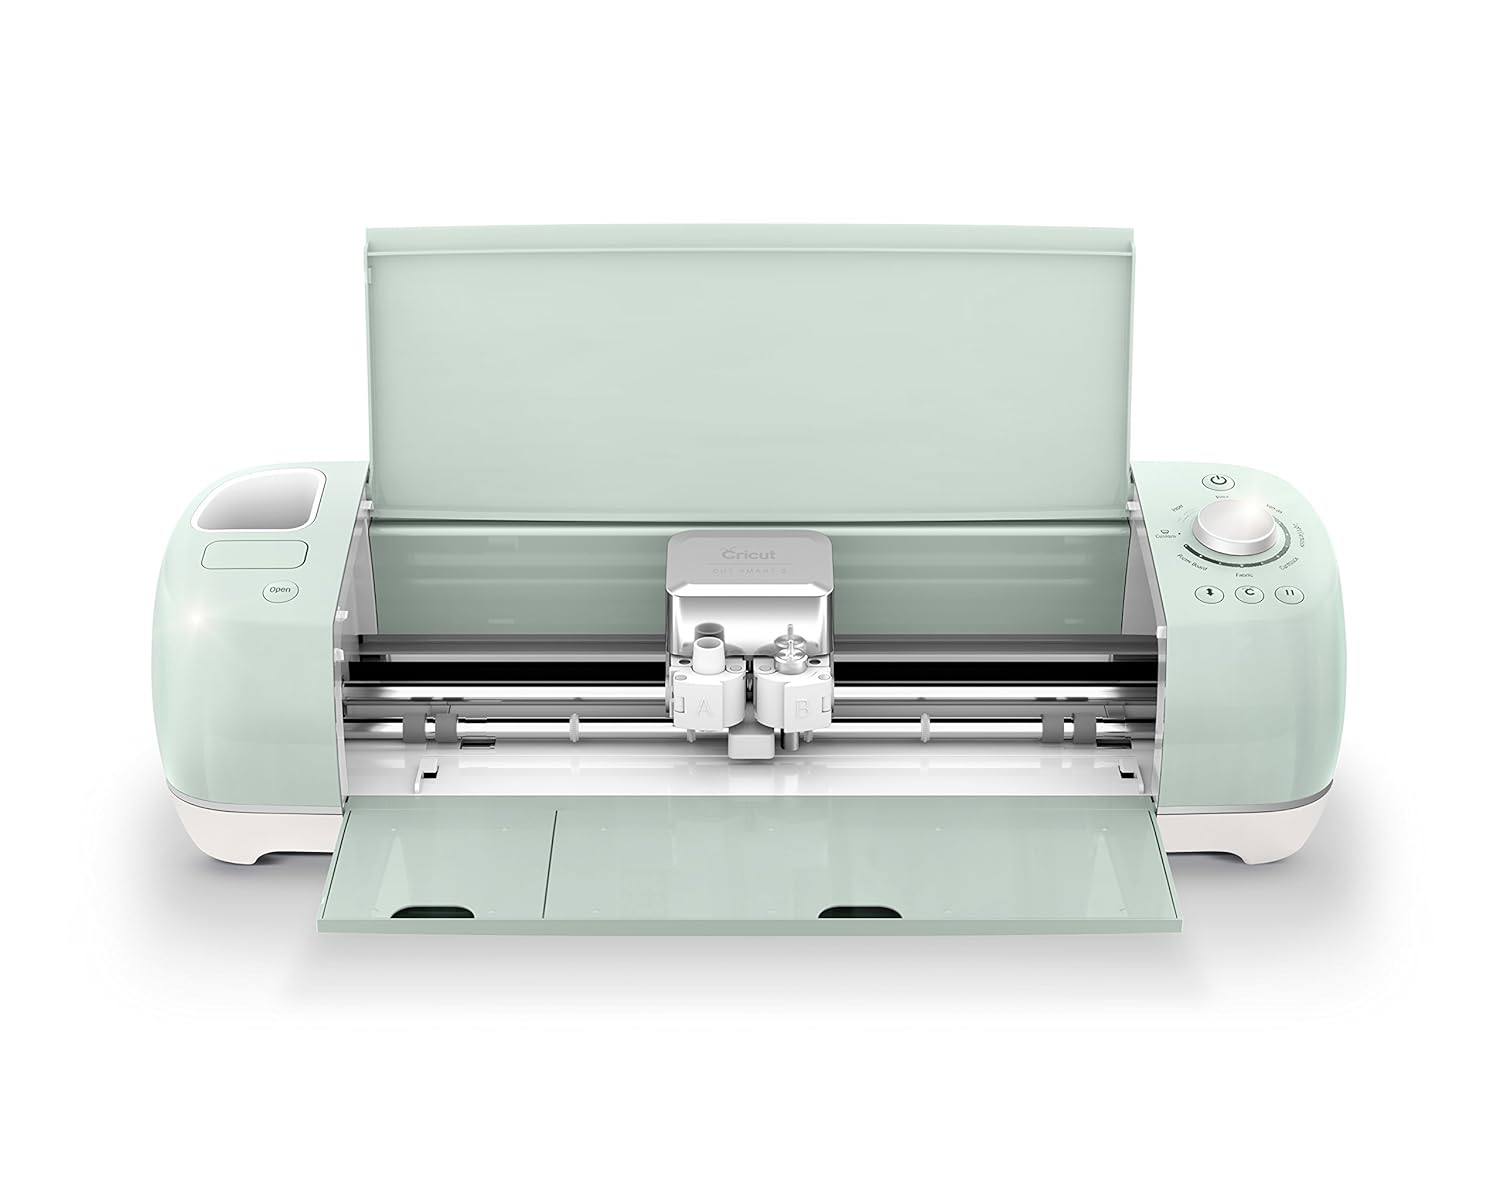
Cut your vinyl on your cutting machine.  I used my old personal Cricut, had it over over 13 years and still works great!  I did a simple font in caps and lower case.  I picked out colors of StyleTechCraft vinyl that looked like ocean water, in both the opal and the craft glossy finishes.  


Next is the weeding and placing of the words to they fit on the word board.  After weeding the parts of the vinyl you do not want out, place it on the transfer tape to stick to your board.  Have fun the the colors and placement of the words, change it up and make it look fun!


Last steps are to place the vinyl on your board, make sure to press it firmly so it sticks and stays in place, and then glue down the rope around the board so it has a pretty finish and hangs nice!


I just love that opal vinyl, it has such a pretty shine to it, holographic almost!  Each angle you look at the sign it will have a different color of green and glue, just like the ocean!


I love the look of this sign. For me my happy place is the beach, but if the beach is not your thing you can always make the sign for the lake, desert, mountains, backyard, boat - really where ever your happy place in life is. You can also chance our the colors to be anything you wish, pink your favorite color make it in pink! Sky is the limit on this DIY sign, make it what ever you like :)


Interested in the supplies I used in this project? Most are listed below and some are affiliate links, which generates a me little commission (at not extra cost to you at all) when you click on the link and make a purchase.

Erin Reed Makes Amazon Storefront
Shop at:
AZ
Arbonne
Arbonne
Shop at:
O
Favecrafts
Favecrafts
Shop at:
O
Fiskars Scissors 8
Fiskars Scissors 8"
Shop at:
AZ
Dynasty Black Gold Brushes
Shop at:
AZ
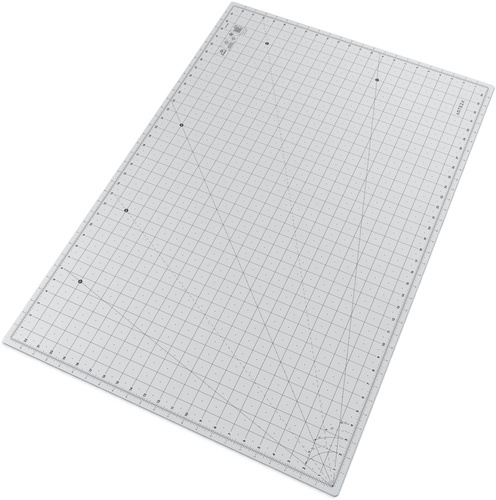
Arteza Giant Craft Mat
Shop at:
O
Supertite Glue
Supertite Glue
Shop at:
O
Styletechcraft Vinyl - Gloss Craft
Shop at:
O
Styletechcraft Vinyl - Opal
Shop at:
O
Cricut Machines
Cricut Machines
Shop at:
AZ
Teal Rope
Teal Rope
Shop at:
AZ
Folkart Multi Surface Paint
Shop at:
AZ
StyleTechCraft Felt Squeegee
Shop at:
O
Large Wood Square Craft Block
Shop at:
AZ


Friday, July 26, 2019

Upcycled Ombre Tissue Jars

I love a good upcycle and jars especially!!  I tend to keep fun shaped jars for years waiting for the perfect project.  Today is the day for that perfect project and these jars and a little tissue paper.

This post also contains affiliate links and I will be compensated if you make a purchase after clicking on my links.  Various companies provided me with some product to create this project.  The opinions I share are solely my own.


Check out my video to see how easy these are to make!!


I started with out a couple of small fun shaped jars.  I really do not even remember where these came from, but they did have a lid that I chose not to use for this project.  They are small, only about 3 inches tall.  I then grabbed some of my kids tissue squares from their craft supply and picked out the colors that I liked, you know it had to be blue, hehe. Last I grabbed my Xyron Creative Station Lite with the permanent adhesive refill inside and I was all set to make some fun jars.


This is such a no muss no fuss project as you make the tissue squares sticky.  Just pop them inside the Xyron Creative Station Lite and turn them into stickers!


Then you just add the sticky tissue squares to the jars.  My jar I scattered all the squares and did not follow any kind of pattern to fill the jar.  I like it, but I wanted to try something a little different with the next 2.


For the last two jars I decided to do an ombre effect with the 3 colors of tissue, one going top top bottom, and the other jar going from bottom to top.  I love how they turned out, and they even look like they would be a perfect fit in a beach house!


I just love how easy these are to make, and such a great craft for the kids too!!!


What fun upcycle are you going to make?

Supplies Used
Interested in the supplies I used in this project?  Most are listed below and some are affiliate links, which generates a me little commission (at not extra cost to you at all) when you click on the link and make a purchase.  Affiliate and product disclosure can be found here.


Amazon Storefront
Amazon Storefront
Shop at:
AZ
Favecrafts
Favecrafts
Shop at:
O
Xyron Creative Station Lite
Shop at:
AZ
Xyron 5
Xyron 5" Permanent Refill
Shop at:
AZ
Tissue Squares
Tissue Squares
Shop at:
AZ


Friday, May 31, 2019

DIY Etched Hula Themed Drink Cocktail Glasses

Summer parties are the best, and so are the fun cocktails that you have at the parties!!  So why not make the glasses a bit of fun for this fun event!!

This post also contains affiliate links and I will be compensated if you make a purchase after clicking on my links.  Various companies provided me with some product to create this project.  The opinions I share are solely my own.


Check out the video to see how to make these fun cocktail glasses!!!


I first stared out etching the Dollar Tree glasses with Etchall creme and vinyl to make the V at the top of the glass mimicking a shirt.


I then took some Expo trims fringe and flowers to make the hula skirt at the bottom of the glass.  The fun part is these little hula skirt are reusable (as is the Etchall creme) so you can use this for more then one party!!!


Just check out the etching on the glass, it is so fun and easy!!


These little hula skirts also work as a fun way to make sure know whose glass is whose if you make each color of fringe and flower different!!!


Supplies Used
Interested in the supplies I used in this project?  Most are listed below and some are affiliate links, which generates a me little commission (at not extra cost to you at all) when you click on the link and make a purchase.  Affiliate and product disclosure can be found here.


Brightech - Lightview Magnifer Lamp - Video Set Up
Shop at:
O
Amazon Storefront
Amazon Storefront
Shop at:
AZ
Favecrafts
Favecrafts
Shop at:
O
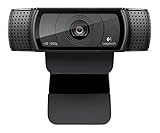
Logitech Camera
Logitech Camera
Shop at:
AZ
Dollar Tree
Dollar Tree
Shop at:
DT
Fiskars Scissors 8
Fiskars Scissors 8"
Shop at:
AZ
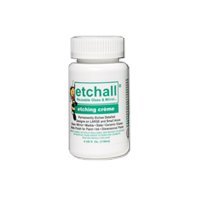
Etchall Creme
Etchall Creme
Shop at:
AZ | O
Etchall Squeegee
Etchall Squeegee
Shop at:
AZ | O
Etchall Vinyl
Etchall Vinyl
Shop at:
AZ | O
DT Summer
DT Summer
Shop at:
DT
Dt Glasses
Dt Glasses
Shop at:
DT
Thread
Thread
Shop at:
AZ
Sewing Needles
Sewing Needles
Shop at:
AZ
Expo 4
Expo 4" CHAINETTE FRINGE TRIM
Shop at:
AZ
Expo 2
Expo 2" Chainette Trim
Shop at:
AZ


Share This

Related Posts Plugin for WordPress, Blogger...