Friday, March 22, 2019

Sand Painted Glass Jars Using Mod Podge Ultra Spray

I have a ever growing collection of glass jars that I keep for crafty fun, ready to upcycle and make into something amazing.  This time I got to use a few of my jars to make some cool colored jars that have sand out on the outside with the help of the NEW Mod Podge Ultra!

This post also contains affiliate links and I will be compensated if you make a purchase after clicking on my links.  Various companies provided me with some product to create this project.  The opinions I share are solely my own.


Check out the video for full details on how to make this project!


March is National Craft Month and we are sharing our creations using Mod Podge Ultra, the newest member of the Mod Podge family by Plaid.  Make sure to check out the Designer Craft Connection blog for all the other wonderful projects using the NEW Mod Podge Ultra!!  Click on the image below to see the full list of all the projects.


I started out using jars that I have saved for a while, cleaned them up and made sure all the labels were removed.  I also pulled out some Activa colored sand and vinyl to act as a mask.


I used the vinyl to mask the jars.  I had fun and made each jar pattern a bit different.


I then sprayed the Mod Podge onto the open spaces of the glass jar and added the sand to those spaces one color at a time.


I removed the vinyl after about 1 hour and let the jars set over night before adding the natural jute ribbon at the top.  You can use these jars for a ton of different uses such as a vase, votive, or even to hold your utensils for an out door party!


So many different patterns can be made, and the colors of the sand can be anything you want from a single color to a full rainbow!


Interested in the supplies I used in this project?  Most are listed below and some are affiliate links, which generates a me little commission (at not extra cost to you at all) when you click on the link and make a purchase.  Affiliate and product disclosure can be found here.


Brightech - Lightview Magnifer Lamp - Video Set Up
Shop at:
O
Amazon Storefront
Amazon Storefront
Shop at:
AZ
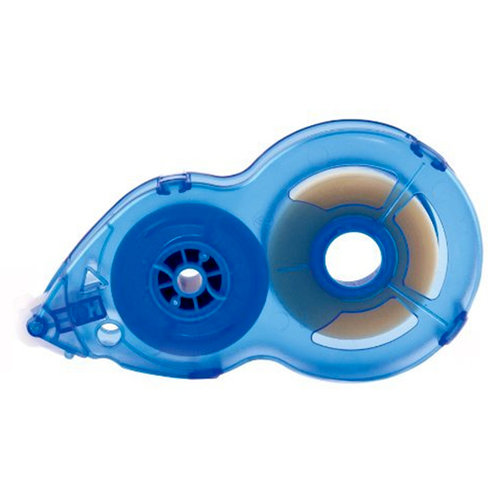
Xyron Mega Runner Refil
Shop at:
SB | AZ
Logitech Camera
Logitech Camera
Shop at:
AZ
Black Craft Mat
Black Craft Mat
Shop at:
AZ
Supertite All Purpose Univseral Glue
Shop at:
O
Tape Technologies Inc Vinyl - Glitter
Shop at:
AZ
Canning Jars
Canning Jars
Shop at:
AZ
Mod Podge Spray
Mod Podge Spray
Shop at:
AZ
Activa Scenic Sand
Activa Scenic Sand
Shop at:
AZ
Natural Jute Rope Braid
Shop at:
AZ
Mod Podge Tool Kit
Mod Podge Tool Kit
Shop at:
AZ


Saturday, March 16, 2019

DIY Candles using Paprika for Dye & Fresh Flowers in an Etched Votive

I love making gifts for people, and creating something that gives a feeling of warmth, caring, and it smells great is always a plus.  So with this in mind I tried my hand at candle making.  It is so easy and really fun to make! 

This post also contains affiliate links and I will be compensated if you make a purchase after clicking on my links.  Various companies provided me with some product to create this project.  The opinions I share are solely my own.


I started by etching the votives that the candles are going into.  I used Etchall creme with vinyl as a mask to give sections of the glasses an etched or frosted look and then leaving part of the glass plain.


Check out this video tutorial to see how to etch the glass and also make the candles.


I then gathered all my supplies to make the candles.  Watch the video to see how each was used and how to make the candles!


They look really cool when filled and you can see the flowers popping out of the dyed wax in the etched votive.  You can really see the etching in these votives, and each votive is a bit different!


They look so pretty when lit, and the smell from the orange essence is amazing!!  It is also a great way to preserve the flowers in my garden at the peak of spring.


These burn wonderfully and smell great!!  I am going to keep this batch for myself, but I will be making more to give for gifts :)

Interested in the supplies I used in this project?  Most are listed below and some are affiliate links, which generates a me little commission (at not extra cost to you at all) when you click on the link and make a purchase.  Affiliate and product disclosure can be found here.


Amazon Storefront
Amazon Storefront
Shop at:
AZ
Logitech Camera
Logitech Camera
Shop at:
AZ
Etchall Creme
Etchall Creme
Shop at:
AZ | O
Etchall Squeegee
Etchall Squeegee
Shop at:
AZ | O
Paprika
Paprika
Shop at:
AZ
Etchall Vinyl
Etchall Vinyl
Shop at:
AZ | O
Black Craft Mat
Black Craft Mat
Shop at:
AZ
Glass Votives
Glass Votives
Shop at:
AZ
Parafin Wax
Parafin Wax
Shop at:
AZ


Thursday, March 7, 2019

Paper Tube Seed Starters - Cute Party Favor or Gift!

Now is the time to start getting your seeds ready to be planted for the spring, but there are a ton of plants that cannot be directly planted outside yet until after the final freeze of the year.  So seed starters are the way to go.  Best part of these fun little seed starters is that everyone can do them and they are great as a party favor or for a little gift!

This post also contains affiliate links and I will be compensated if you make a purchase after clicking on my links.  Various companies provided me with some product to create this project.  The opinions I share are solely my own.


Check out the video on how easy and fun these are to make!


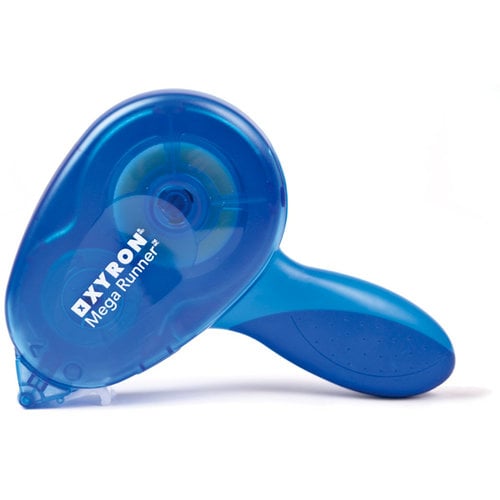
I started with a few saved paper towel and toiled paper rolls. Cleaned off all the paper and then cut them to be about 2 inches tall. Then add 1 thin layer of newspaper to the bottom. I used a paper circular that came in the mail since we do not get the paper anymore. I The Xyron Tape Runner to stick the newspaper to the tube at the bottom so the dirt will not fall out.


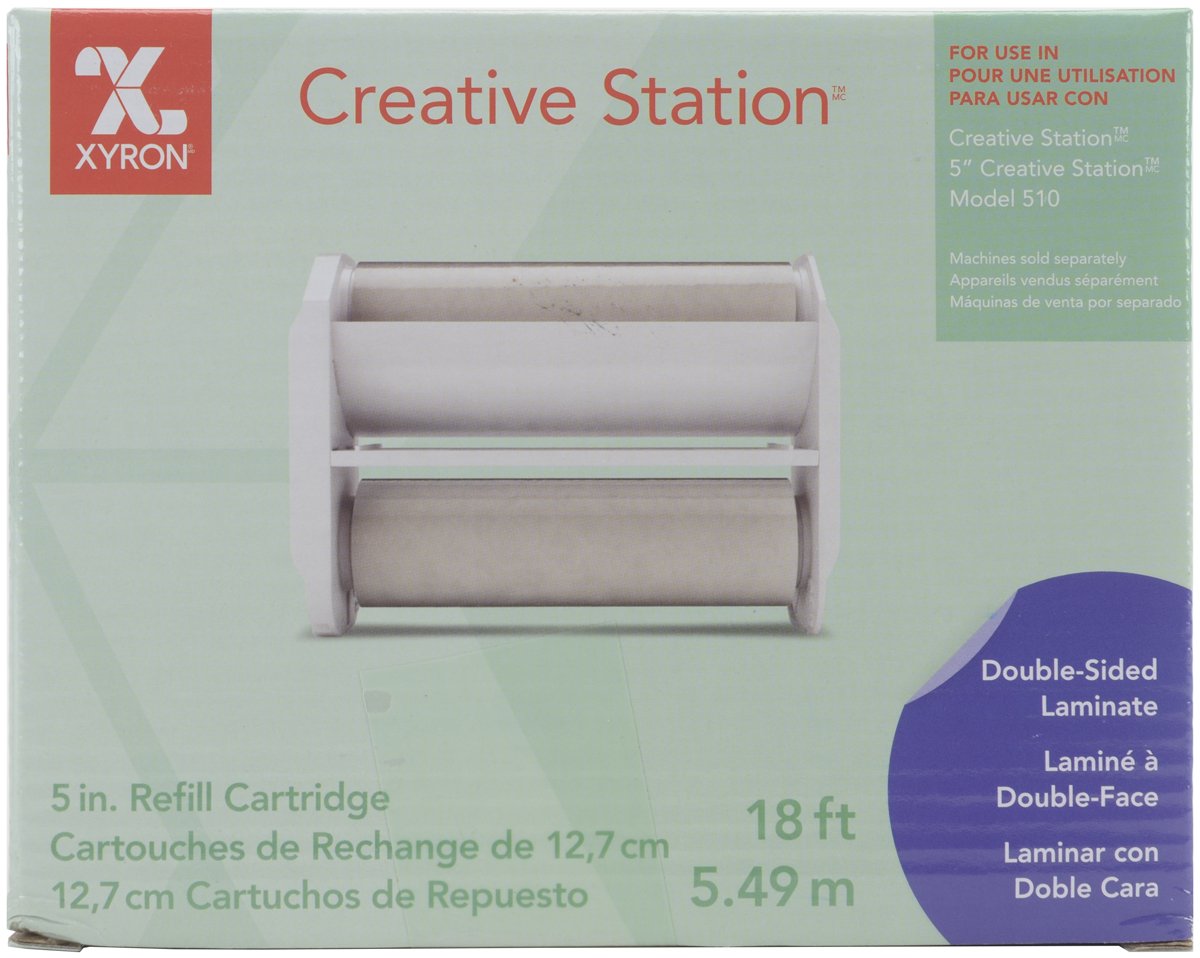
I added a decorative cover with paper that can be easily removed when ready to plant. These are a fun little addition to the seed starts that can be added if you are making these as a party favor or as a gift. I used my Xyron Creative Station with the permanent adhesive refill to make the little hearts sticky for the front of the decorative cover.


You can make little plant markers that are water proof with the Xyron Creative Station and the Laminate refill. Just make little sticks out of paper, write the name of the plant on the paper, and run the paper through the laminate refill in the Xyron Creative Station. Once you plant the seedlings in your ground you can transfer the plant makers.


I love these little seed starters, they are so easy to make and help me get my garden going a bit early. What do you grow in your garden?


Interested in the supplies I used in this project?  Most are listed below and some are affiliate links, which generates a me little commission (at not extra cost to you at all) when you click on the link and make a purchase.  Affiliate and product disclosure can be found here.


Brightech - Lightview Magnifer Lamp - Video Set Up
Shop at:
O
Xyron Tape Runner Refil
Shop at:
AZ
Logitech Camera
Logitech Camera
Shop at:
AZ
Rinea Foiled Paper
Rinea Foiled Paper
Shop at:
O
Xyron Creative Station Lite
Shop at:
AZ
Xyron tape runner
Xyron tape runner
Shop at:
AZ
Xyron Mega Runner
Xyron Mega Runner
Shop at:
SB
Xyron 5
Xyron 5" Permanent Refill
Shop at:
AZ
Fiskars Scissors 8
Fiskars Scissors 8"
Shop at:
AZ
Xyron Laminate 5
Xyron Laminate 5" Refill
Shop at:
AZ
Cardstock 8.5x11 Card Paper
Shop at:
SB | AZ
Fiskars Paper Trimmer
Shop at:
SB | AZ
EK Punch
EK Punch
Shop at:
AZ
Black Craft Mat
Black Craft Mat
Shop at:
AZ
Nuvo Glitter Markers
Shop at:
SB | T
TC Save the Date Papers
Shop at:
SB
Seed packs
Seed packs
Shop at:
AZ


Share This

Related Posts Plugin for WordPress, Blogger...