Showing posts with label canvas. Show all posts

Thursday, May 31, 2018

Playing with Grafix Artist Shrink Film on ATCs & Inchies

I love to get messy and have fun with mediums, paints, mists, stencils, and a new-ish fun item shrink film!!  now shrink film is not new, but it is fun to pull out again and play!!  I just got this new new set of Shrink film in from Grafix from their artist series and they are so cool, so I had to play.


I love these houses.  It is so simple to create with these designs, you just cut, color, and shrink!!  Check out the video to see how I create these fun set of mixed media ATCs.


The Grafix Artist Shrink film is super easy to use.  Just cut out the shape, color with alcohol markers, and shrink in the over or with a heat gun!  This design is called HOUSE and deigned by Art by Marlene.


I added layers of stencils from The Crafter's Workshop (also by Art by Marlene) with their various mediums and then added a couple of fun tags that I misted with Tattered Angels Glimmer Mists and then topped with the shrink film houses.


I also used the Grafix shrink film called SCRIPT also by Art by Marlene for the words in the top corner of each ATC.


I love blue and green, and the pops of the mists and the colors on the houses was a perfect blend!


The mediums from TCW are so amazing!  That little bit of metallic paste popping out paired with the stencils just rocks!!


I love making this trio of ATC I had to make more, but why not something a little bit different, inchies!!


They are not really true inchies, but actually 1.25 x 1.25 inch squares, but close enough.  I also used the Nuvo Glitter markers to add that bit of glitter and shine to the shrink film houses.  They look so cool, but I did have to set them with a little spray sealant to secure the marker to the shrink film.


I also made a larger set that measured 2x2 inch squares to fit the larger houses that were left on the Shrink film sheets.


Here is a video on how I made the inchies!!


To hold all the little pieces of shrink film to the layers of mediums, mists, and paints I used the Supertite All-Purpose Universal Glue.  It is perfect for this project as it has a fast grab and hold is amazing!!


I also have a coupon code for Supertite glue, it is the liquid glue I used to hold all the embellishments together and onto the cards and it is a wonderful glue that is so much cheaper than other glues out on the market, plus it has less chemicals!!

Coupon for 10% off your Supertite order of $5 or more 

Supplies Used

Interested in the supplies I used in this project?  Most are listed below and some are affiliate links, which generates a me little commission (at not extra cost to you at all) when you click on the link and make a purchase.  Affiliate and product disclosure can be found here.
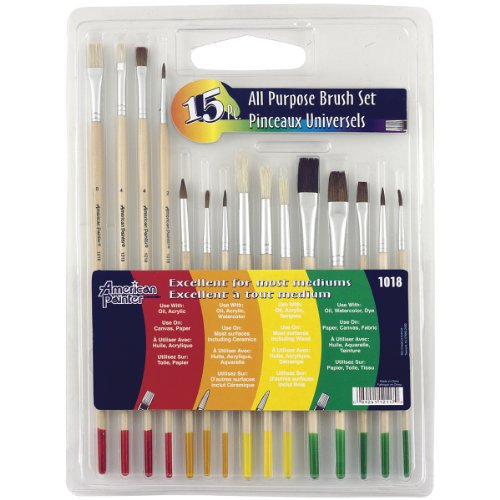

Paint Brushes
Paint Brushes
Shop at:
SB
TCW Stencils
TCW Stencils
Shop at:
SB | O
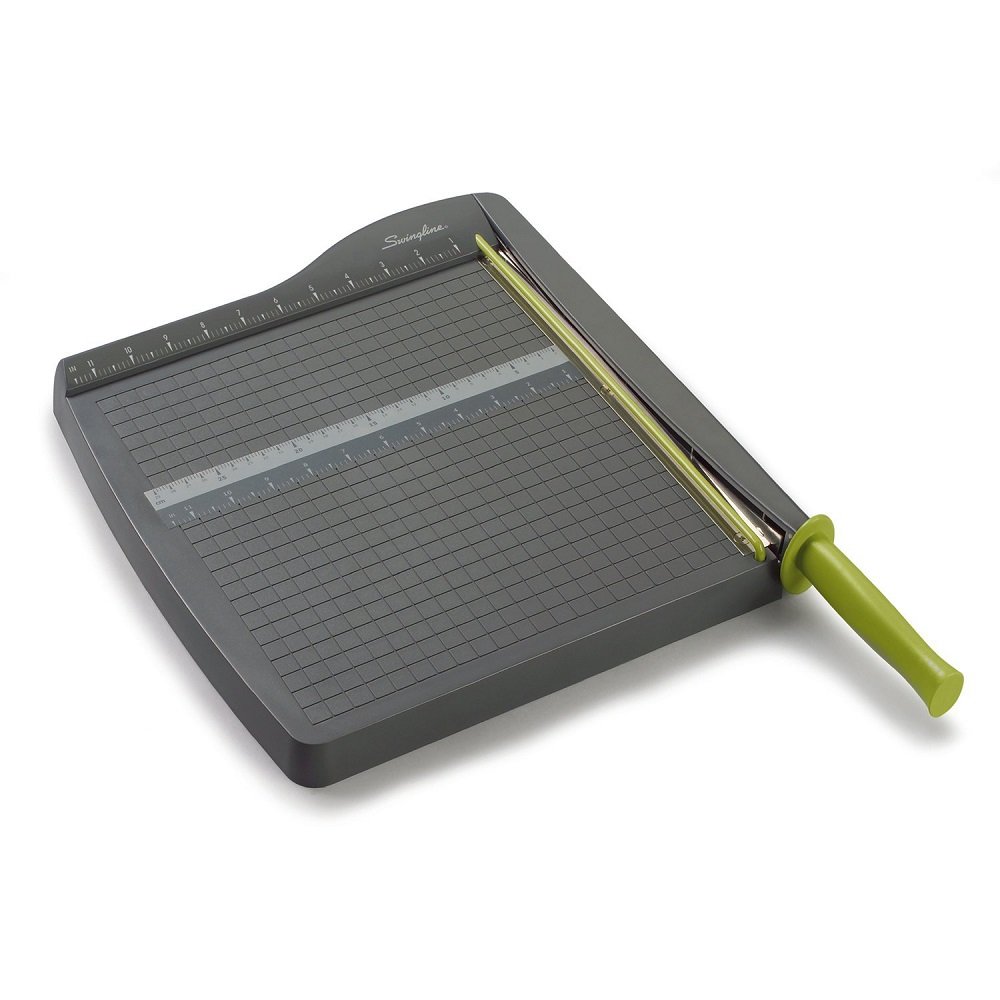
Swingline Paper Trimmer / Cutter, Guillotine
Shop at:
AZ
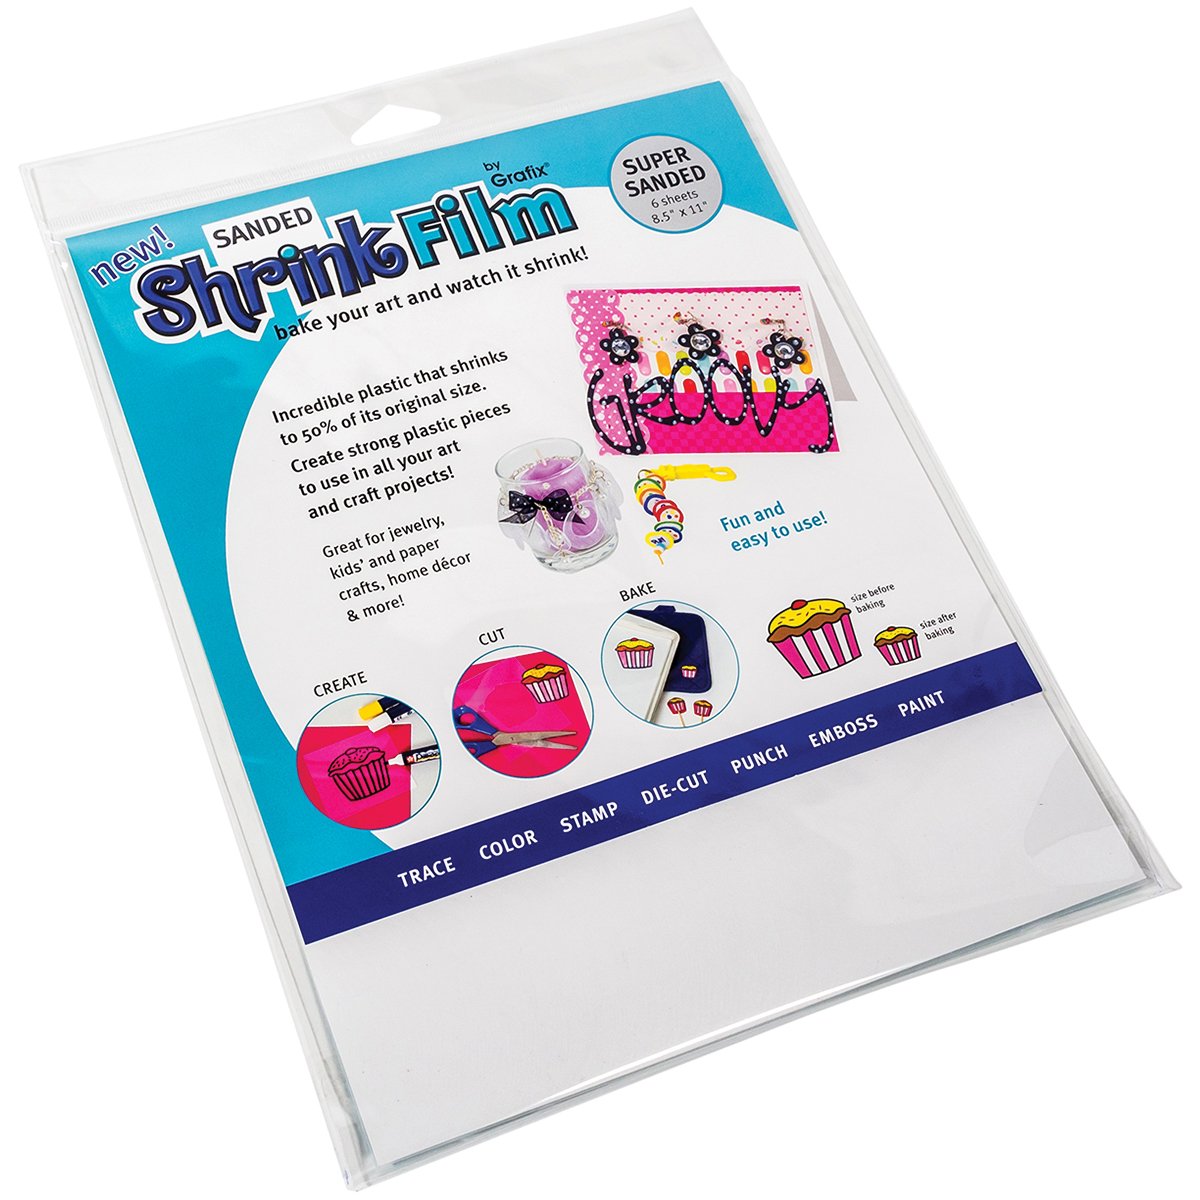
Grafix Shrink Film
Grafix Shrink Film
Shop at:
AZ
Tattered Angels Glimmer Mist
Shop at:
SB | AZ | O
Fiskars Scissors
Fiskars Scissors
Shop at:
AZ | LFL (UK)
Prima Silicone Brush
Shop at:
SB | AZ
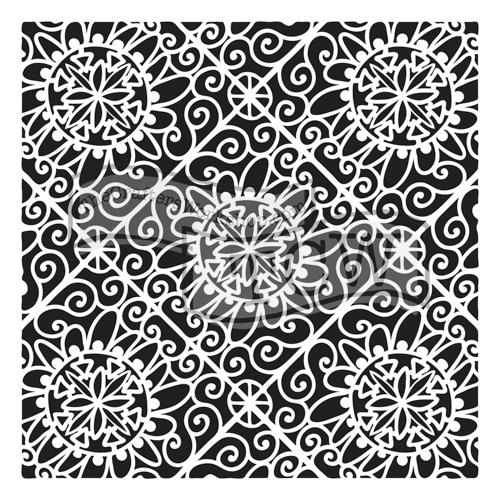
TCW Lacy Tiles Stencil
Shop at:
SB
Stylefile Markers
Stylefile Markers
Shop at:
AZ | O
TCW Star Stencil
TCW Star Stencil
Shop at:
AZ
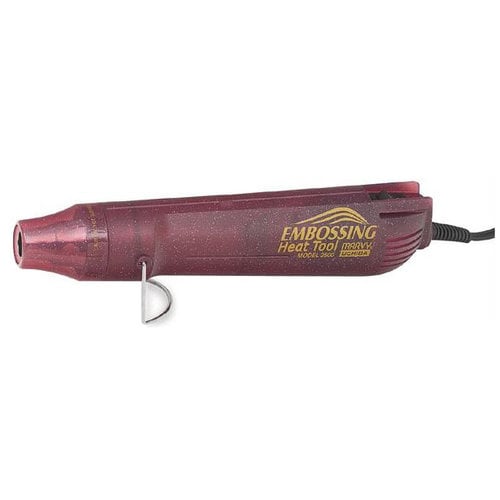
Heat Tool
Heat Tool
Shop at:
SB
Non Stick Craft mat
Non Stick Craft mat
Shop at:
AZ
Black Craft Mat
Black Craft Mat
Shop at:
AZ
Supertite Glue
Supertite Glue
Shop at:
O
Nuvo Glitter Markers
Shop at:
SB | T
Supertite All Purpose Univseral Glue
Shop at:
O
TCW Modeling Paste
TCW Modeling Paste
Shop at:
SB
TCW Black Modeling Paste
Shop at:
SB


Saturday, March 24, 2018

Mixed Media Altered Photowall Printed Canvas

I found this amazing printed canvas from Photowall and thought how cool would it be to alter it to make a one of a kind piece of art work?!?!  So I did just that!


Here is the video on how to assemble and how I altered this printed Photowall Canvas.


It all start with me picking out a fun canvas from Photowall and I fell in love with this graphic print, and there are so many to pick from, this is just one of hundreds.  You can even upload you own graphics and they will print it on canvas for you!!  You can also pick out the size you want it printed on.  I picked out a 50cm x 50cm print.  This is the print from the website I picked out called Tapestry Tiles 1.


It came delivered straight to my house (with FREE SHIPPING) and all I had to do was assemble it, which is really easy and I show you how on the the video.  Here is the best part, you can save 20% on any order thru April 29th 2018 using my special code at their website!!!

Use Code for 20% off your Order
ErinReedCampaign2018
Plus FREE SHIPPING in USA

I decided I wanted to make this a one of a kind work of art, so with the grid system it made it super easy to add elements into the 9 grids.  I chose not to do all 9 squares, but stick to 5.  Each of the squares I filled would represent something, actually a person or a unit  - family.  Each square on the corners represents one of children.  


First is my eldest Morgan.  He is amazing with numbers, but is a chaotic, so this tile is all about him


Next is my daughter Kristen.  She passed away a little over 9 years ago so the wings were perfect for her. She is my personal angel.


Next we have my son Brandon and he is my little bird who loves to fly.  He is so fast and tries to leave the nest and be on his own to keep up with his older brother.


Last we have my daughter Catherine.  She personally picked out the little fairy, and it is perfect since she is such a girly girl and loves to dress up and be a princess!


In the center of the canvas I made a single burlap square that represent the family.  We are all about love and being together.  I kept this section simple but powerful.


This became a very personal canvas to me, as I do not get to add all 4 of my children on a project a one time unless it is in the abstract.  This now hangs in my bedroom as a soothing pieces of art knowing that even though my children cannot be together physically they can be artistically.

Supplies Used
Interested in the supplies I used in this project?  Most are listed below and some are affiliate links, which generates a me little commission (at not extra cost to you at all) when you click on the link and make a purchase.  Affiliate and product disclosure can be found here.


Paint Brushes
Paint Brushes
Shop at:
SB
Fiskars Scissors
Fiskars Scissors
Shop at:
AZ | LFL (UK)
CCB Mini Clothespins
Shop at:
AZ
Paint Puck
Paint Puck
Shop at:
AZ
Helmar Craft Glue
Helmar Craft Glue
Shop at:
AZ
CCB Burlap Fringe
CCB Burlap Fringe
Shop at:
AZ
CCB Burlap Sheet
CCB Burlap Sheet
Shop at:
AZ | O
Tim Holtz Grungeboard
Shop at:
AZ
CCB 12x12 Cardstock
CCB 12x12 Cardstock
Shop at:
AZ | O
CCB Rope
CCB Rope
Shop at:
AZ
CCB Shapes
CCB Shapes
Shop at:
AZ
Non Stick Craft mat
Non Stick Craft mat
Shop at:
AZ
High Impact Paint - TA
Shop at:
AZ | O
CCB Burlap Flower
CCB Burlap Flower
Shop at:
AZ | O
TA Color Wash
TA Color Wash
Shop at:
O
Photowall
Photowall
Shop at:
O


Share This

Related Posts Plugin for WordPress, Blogger...