Showing posts with label halloween. Show all posts

Friday, October 18, 2019

Halloween Trick or Treat Candy Bar with Allergy Safe Treats!

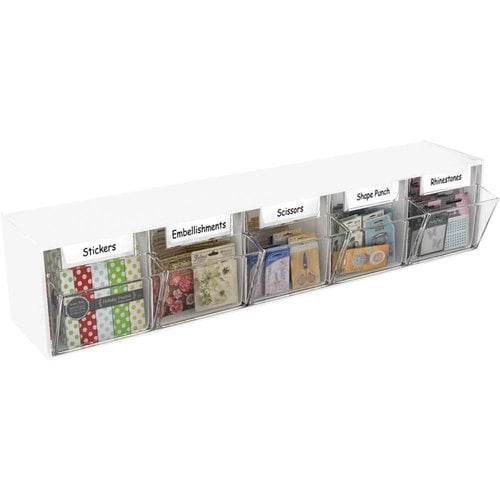
The kids and I love Halloween, so we decided to make a treat bar by the front door to let the kids in the area come pick out treats, candy and non candy treats for the Teal Pumpkin Project, and the best part is they get to choose what they want in their bags because everything is already separated out for them in the tilt bins!

This post also contains affiliate links and I will be compensated if you make a purchase after clicking on my links.  Various companies provided me with some product to create this project.  The opinions I share are solely my own.


Check out our video below!


The Deflecto tilt bins are perfect for helping to sorting out items, and even better for the kids to see what types of treats and candies there are for them to pick out!


I even put in some non food treat for the kids with food allergies in the form of glow in the dark vampire teeth.  Such a great treat to pass out to kids that only cost $1 at Dollar Tree.  They have a TON of non candy little treats that you can pass out to help keep all kinds inclusive for Halloween.  Plus even the kids without food allergies love the non candy treats too!


I made a Teal Pumpkin for the Teal Pumpkin Project to show that we do have allergy safe items at our house and also on this candy bar.


Here is a video on how I made this teal glitter glam pumpkin.


If you want to learn more about the Teal Pumpkin Project check out the info below.


The kids love the candy bar and can't wait for their friends to come over and pick out some fun treats, but in the mean time Cat is going to dig in and have a few of her own!


What will you put into your Halloween Treat bar?


Happy Halloween from our family to yours!

Supplies Used
Interested in the supplies I used in this project?  Most are listed below and some are affiliate links, which generates a me little commission (at not extra cost to you at all) when you click on the link and make a purchase.  Affiliate and product disclosure can be found here.


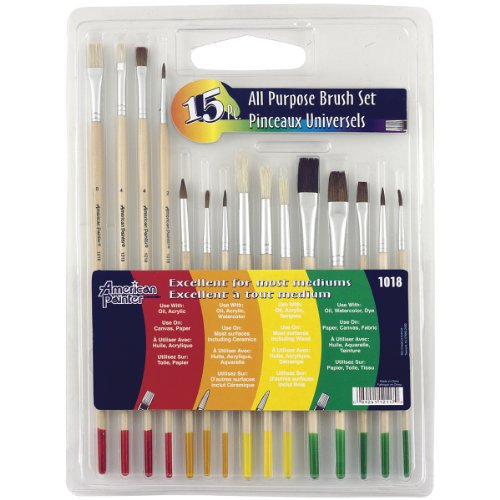
Dynasty Paint Brushes
Shop at:
AZ
Amazon Storefront
Amazon Storefront
Shop at:
AZ
Joy Iron On Metallic Leters
Shop at:
AZ
Dollar Tree Halloween
Shop at:
DT
Deflecto Tilt Bins
Deflecto Tilt Bins
Shop at:
SB | AZ
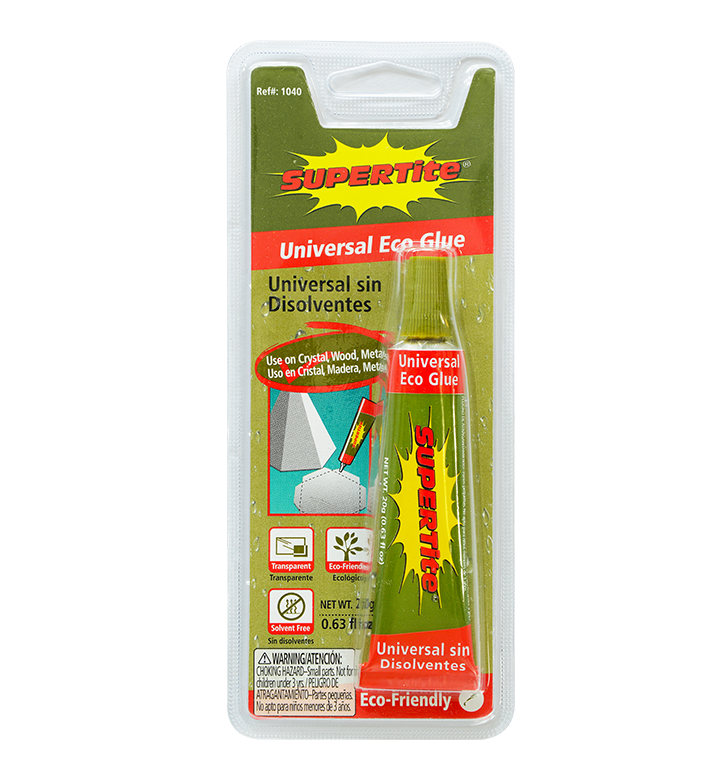
Supertite Universal Eco Glue
Shop at:
O
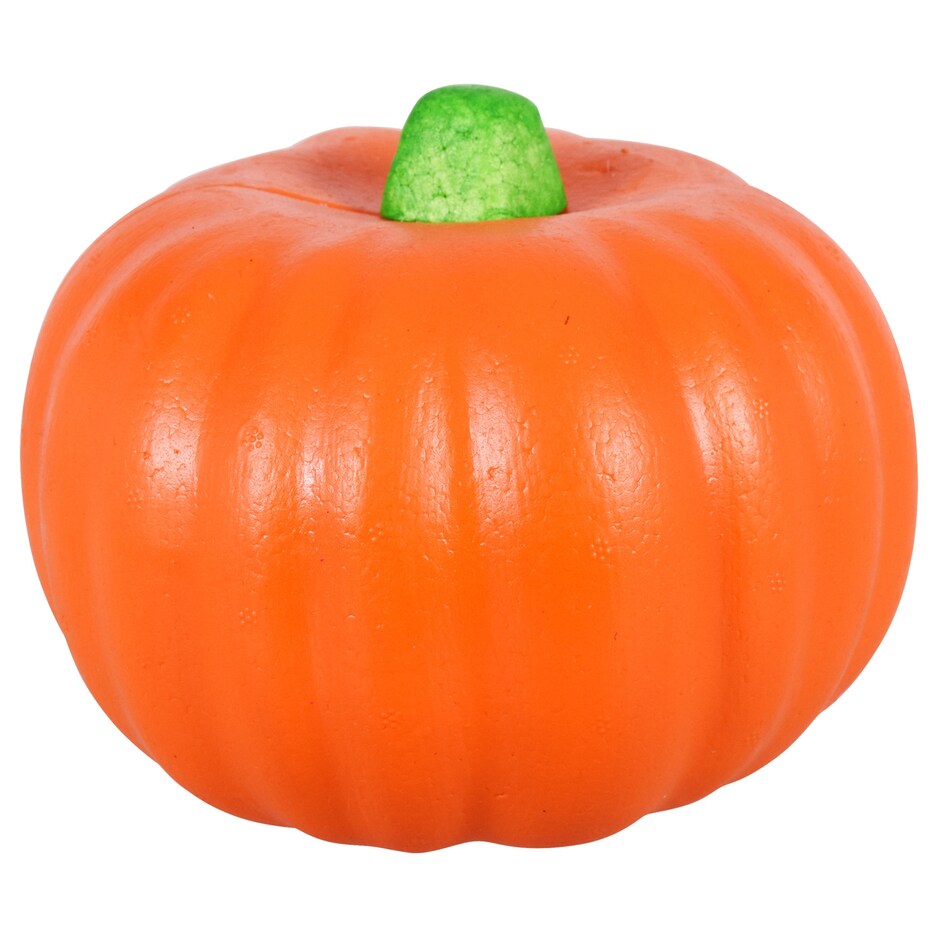
Dollar Tree Pumpkin
Dollar Tree Pumpkin
Shop at:
DT
Glitterific Paint
Glitterific Paint
Shop at:
AZ
Color Shift Paint
Color Shift Paint
Shop at:
AZ


Saturday, October 5, 2019

Double Z Fun Fold Halloween Cards 2 Ways - Plus Waterfall Pull Interactive and Corner Back fold Cards!

I love fun fold cards, and these double Z fold cards are so cool, and yet so easy!!!  I made 2 different kinds, one vertical and one horizontal; one simple and one complex.  A little something for everyone!!  Don't forget to check the bottom of the post for the waterfall & corner fold cards!!

This post also contains affiliate links and I will be compensated if you make a purchase after clicking on my links.  Various companies provided me with some product to create this project.  The opinions I share are solely my own.


Here is a video to learn how to make each of these cards.

The first card I made was a scene with a horizontal fun fold card.  I layered up with lots of the stamps and dies from Maker's Movement to make a trick or treat scene that opens up to make a larger scene when pulled open.


Measurements
Cut cardstock to make an A2 sized card that is horizontal (4.25 x 11 opened)
Fold top in half to make top fold over for the Z fold.
Cut 1 x 11 strip for 2nd Z fold - fold in half, then fold right side in half again.


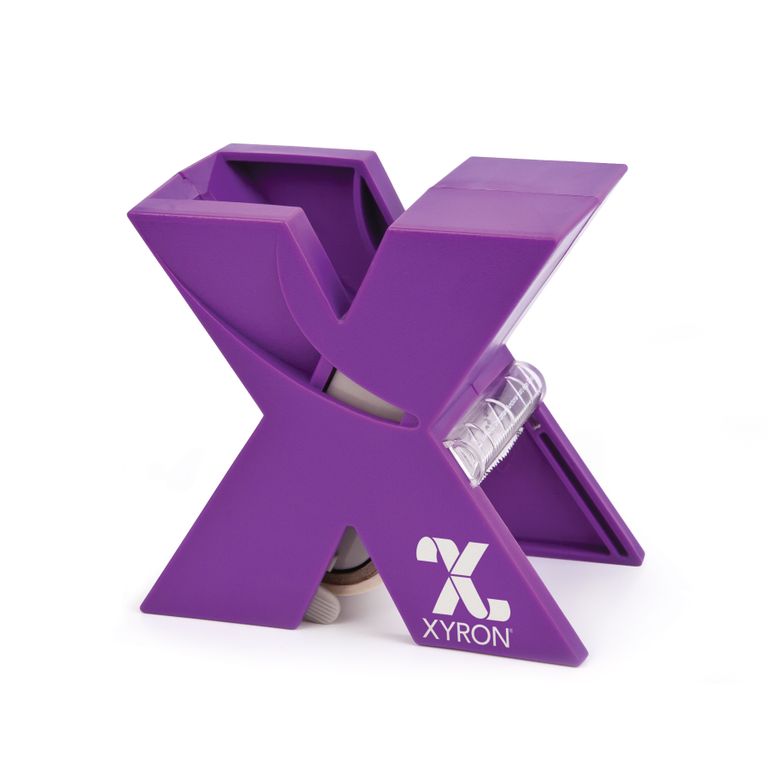
The second card is a simple version with a vertical fun fold.  I only used a couple of the stamped and colored Maker's Movement images and then some fun colored paper.  All the elements are held together with Xyron adhesive.  The larger elements with the Xyron Tape runner, and the little die cut pieces with the Xyron Sticker Maker.


Measurements
Cut cardstock to make an A2 sized card that is horizontal (5.5 x 8.5 opened)
Fold top in half to make top fold over for the Z fold.
Cut 1 x 8.5 strip for 2nd Z fold - fold in half, then fold right side in half again.


Now for the waterfall cards!!!


Check out the video to make these fun cards!


Measurements
Base A2 sized card - 4.25 x 5.5
Mat 1 - 4 x 5.25
Mat 2 - 3.75 x 5

Squares - 4 - 2x 2
Band 1 x 3.75
Waterfall Band - 9 x 1 7/8 - Score 2, 2.75, 3.5, 4.25


Now for the corner fold cards!!


Check out how to make these fun cards in the video below.


These are so fun to make, and there is a little hidden part inside!


What fun fold will you make?!?!?


Supplies Used

Interested in the supplies I used in this project?  Most are listed below and some are affiliate links, which generates a me little commission (at not extra cost to you at all) when you click on the link and make a purchase.  Affiliate and product disclosure can be found here.

Amazon Storefront
Amazon Storefront
Shop at:
AZ
Xyron Tape Runner Refil
Shop at:
AZ
Xyron Create-a-Sticker
Shop at:
SB
Xyron tape runner
Xyron tape runner
Shop at:
AZ
Neenah 8.5x11 Card Paper
Shop at:
SB | AZ
Fiskars Paper Trimmer
Shop at:
SB | AZ
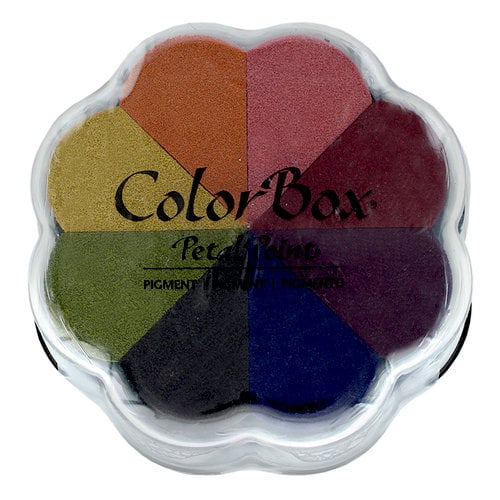
Clearsnap Petal Point Ink
Shop at:
SB
Colored Cardstock
Colored Cardstock
Shop at:
SB
Arteza Giant Craft Mat
Shop at:
O
SSS Round Scallop Stamp Block
Shop at:
SSS
Bazzill Cardstock
Bazzill Cardstock
Shop at:
SB
SB.com Daubers
SB.com Daubers
Shop at:
SB
SSS Black Ink
SSS Black Ink
Shop at:
SSS
Crossover 2 Die Cut Machine
Shop at:
AZ
Arteza Alcohol Pens
Arteza Alcohol Pens
Shop at:
O
Pink & Main Paper Pack
Shop at:
SSS
Maker's Movement Trick or Treat Yo' Self Stamp
Shop at:
SSS
Maker's Movement Trick or Treat Yo' Self Die
Shop at:
SSS


Tuesday, October 9, 2018

8 Ideas for DIY Crafty Pumpkin Decor

Something about fall and autumn bring out the fun in wanting to decorate or make pumpkins.  I have made quite a few different varieties over the years, and a new new ones this year too!!  Let's get to some pumpkin inspiration :)


1) Sequin Pumpkins

Let's start with the traditional mini pumpkin you see at the grocery store or at a pumpkin farm.  I took a variety of sequins and glitter and made some cute sparkly pumpkins.  A little glue and you imagination is all it takes to make these pumpkins
super fun to make!


Here is a video to show to to make these fun pumpkins.

2) DIY Rustic Felt Pumpkins


I love the looks of felt on a pumpkin, and these pumpkins will never wilt and are so easy to make!!  You can make them in any color you want, or even multiple colors!!


Start with some felt, a stick, raffia, and some glue.  It really is that easy!  Check out the video to see how these are made!


I also made a teal one for the Teal Pumpkin Project to support families s with food allergies.  Click HERE to see what the Teal Pumpkin Project is all about.


Here is how I made the teal felt pumpkin.


3) Clay Pumpkins


For these cuties I used a air dry clay to mold into the shape of a pumpkin and color the white clay with paint and mists to give each pumpkin a really cool shade or yellow and orange.  Check out the video to see how I made these.


4) Rustic Rope & Flower Pumpkins


Heading back to the little pumpkins you get at the grocery store, this time I picked out some fun multicolored ones and added rope to the grooves and a little floral accent to the top.  Check out the full tutorial HERE.

5) Crystal Spider Glam Pumpkin


I love the look of this spooky pumpkin with the crystal spider and web at the top.  Check out the video to see how easy this is to make!


6) Princess Pumpkins


Not all pumpkins need to be orange or black, this time I had some fun and made them all pretty in pink and teal - or you could even call them unicorn pumpkins!!  Check out the video to see how to make these pretty pumpkins.


7) Painted Dollar Tree Teal Pumpkin


Not all pumpkins need to be orange, white, or black - go with a color!!  This pumpkin is teal for the Teal Pumpkin Project mentioned above, but you can still make a pumpkin any color you want with a little paint!


Supplies Used
Interested in the supplies I used in this project?  Most are listed below and some are affiliate links, which generates a me little commission (at not extra cost to you at all) when you click on the link and make a purchase.  Affiliate and product disclosure can be found here.


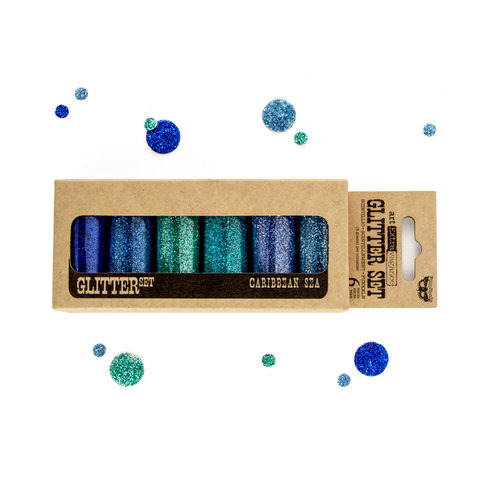
Glitter
Glitter
Shop at:
SB
Prima Glass Beads
Prima Glass Beads
Shop at:
SB
Shareasale
Shareasale
Shop at:
O
Paint Brushes
Paint Brushes
Shop at:
SB
Tailwind
Tailwind
Shop at:
O
Fiskars Scissors
Fiskars Scissors
Shop at:
AZ | LFL (UK)
Dollar Tree
Dollar Tree
Shop at:
DT
Tattered Angels DIY & Decor Paint
Shop at:
AZ | O
Jute trim
Jute trim
Shop at:
AZ
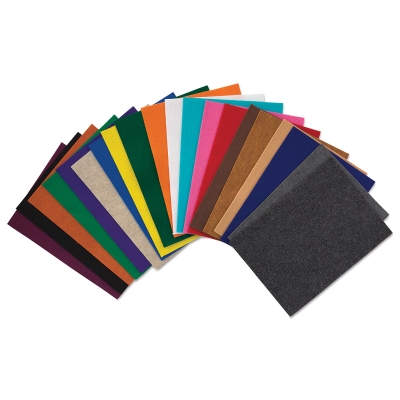
Kunin Felt Classic
Kunin Felt Classic
Shop at:
AZ | O
Kunin Felt Premiun
Kunin Felt Premiun
Shop at:
O
Tattered Angles Simply Sheer
Shop at:
AZ | O
CCB Rope
CCB Rope
Shop at:
AZ
Makin's Clay
Makin's Clay
Shop at:
AZ
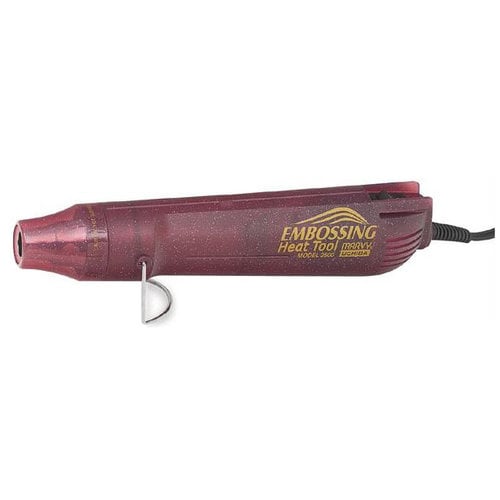
Heat Tool
Heat Tool
Shop at:
SB
Non Stick Craft mat
Non Stick Craft mat
Shop at:
AZ
Sequins
Sequins
Shop at:
SB | AZ
Expo 1/4
Expo 1/4" Ric Rac Trim
Shop at:
AZ
Black Craft Mat
Black Craft Mat
Shop at:
AZ
Supertite Glue
Supertite Glue
Shop at:
O
Supertite All Purpose Univseral Glue
Shop at:
O
Piercer
Piercer
Shop at:
AZ
Expo Tulle
Expo Tulle
Shop at:
SB
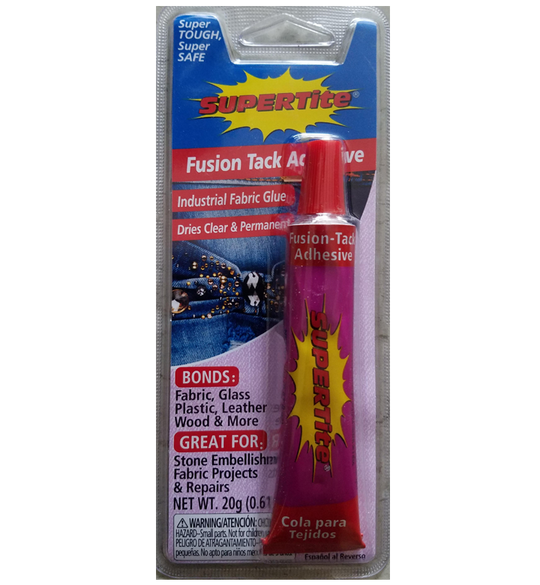
Supertite Fabric Tack Glue
Shop at:
AZ
Expo Crystal Spider
Expo Crystal Spider
Shop at:
AZ
Dollar Tree Pumpkin
Dollar Tree Pumpkin
Shop at:
DT


Share This

Related Posts Plugin for WordPress, Blogger...