Showing posts with label arteza. Show all posts

Thursday, February 20, 2020

Fun NEW Coloring Activity for Everyone!!

I love a good craft that I can do with the whole family, plus something that is not messy and looks great when it is finished!  Check it out below!

This post also contains affiliate links and I will be compensated if you make a purchase after clicking on my links.  Various companies provided me with some product to create this project.  The opinions I share are solely my own.


See how easy it is to create little fun art pieces with Color it Acrylic!


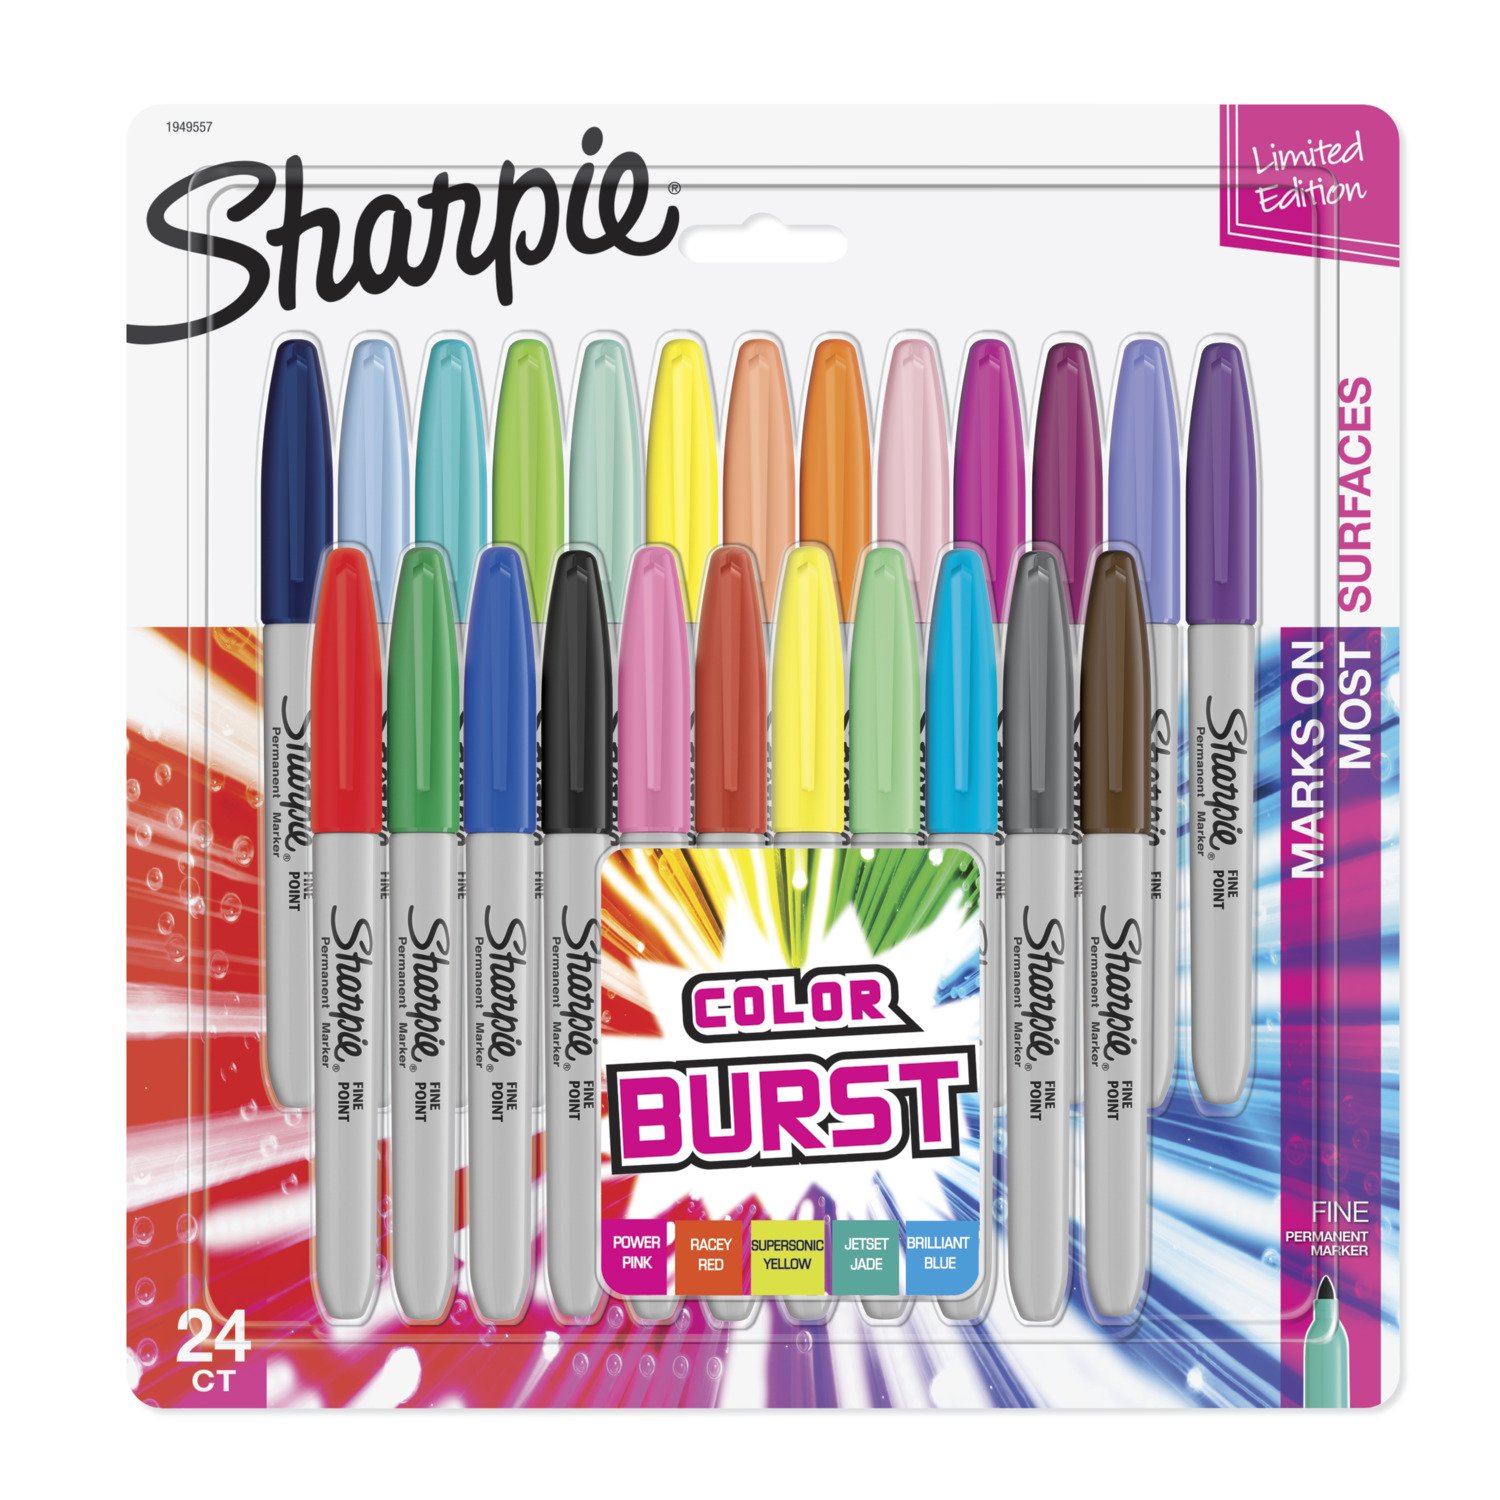
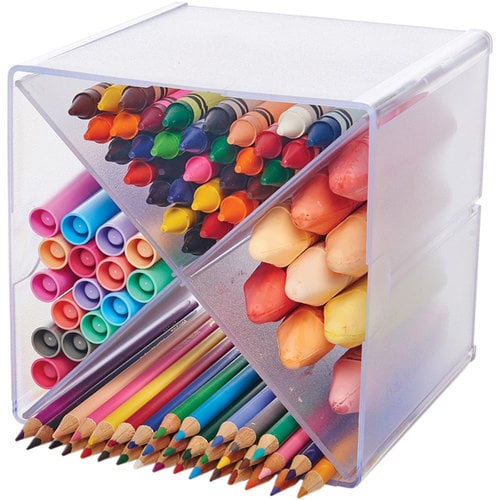
It all starts with the blank acrylic pieces that you color with any type of alcohol based marker (sharpie, Copic, etc).  I organized my markers on my desk (and then gave to my daughter to use on her craft table) in a little container from Deflecto.  


I use this little container so do not have my markers rolling around on the desk, and I do not have to keep going back over and over to grab new markers from from wall unit organizer also using Deflecto X Cube storage.  


It helps keep everything right in front of me so I can just have fun and color!  The Deflecto organizer hold 16 markers, so perfect for a little portable organizer!  These little acrylic pieces look so cool when they are colored in, just look at the butterfly!


It is so easy to make art, what will you make today!


Interested in the supplies I used in this project? Most are listed below and some are affiliate links, which generates a me little commission (at not extra cost to you at all) when you click on the link and make a purchase. 

Amazon Storefront
Amazon Storefront
Shop at:
AZ
Stylefile Markers
Stylefile Markers
Shop at:
AZ | O
Sharpie
Sharpie
Shop at:
AZ
Deflecto Storage X Cube
Shop at:
SB | AZ
Arteza Alcohol Pens
Arteza Alcohol Pens
Shop at:
O
Deflecto Marker Storage
Shop at:
SB | AZ
Color it Acrylic
Color it Acrylic
Shop at:
O

Wednesday, January 8, 2020

Partial Die Cut Two Fold Fun Fold Winter Snowmen Cards

Fun fold cards are a blast, and in this card I teach you how to blend a 2 fold fun fold card with a half die front fold for a cute winter snowman card!

This post also contains affiliate links and I will be compensated if you make a purchase after clicking on my links.  Various companies provided me with some product to create this project.  The opinions I share are solely my own.


See how to make these card in the video below!!


The key to these cards is the special die that cuts only half of the image out.  You can do the same thing on your own projects, just roll your image only half way through the die cut machine, or cut your dies in half.


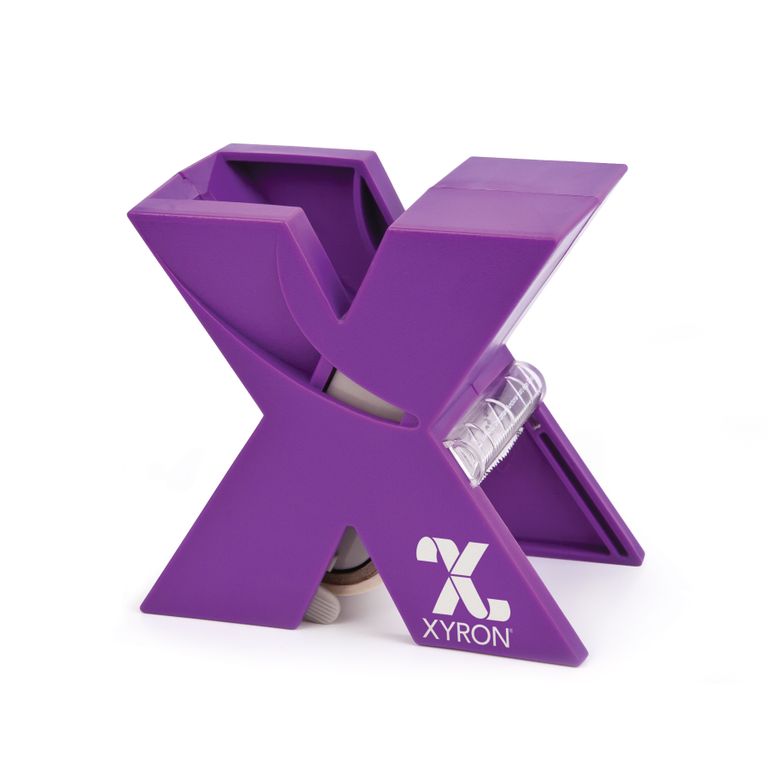
To hold all the super cute papers and elements together I used my Xyron tape runner.  It is the perfect adhesive that is so easy to use and also super strong!!!


Now here is the best part, why it is a fun fold card!!!


Look how it it opens, so cool!!  The measurements are below.

Measurements Base - 4.25 x 8.5 - score at 5"
Inside card - 3.75 x 9.5 - score at 5 (extra will be cut off when you die cut half of the stamped image - final size 3.75 x 9


Interested in the supplies I used in this project? Most are listed below and some are affiliate links, which generates a me little commission (at not extra cost to you at all) when you click on the link and make a purchase. 

Arbonne
Arbonne
Shop at:
O
Amazon Storefront
Amazon Storefront
Shop at:
AZ
Xyron Tape Runner Refil
Shop at:
AZ
Fiskars Scissors
Fiskars Scissors
Shop at:
AZ
Xyron tape runner
Xyron tape runner
Shop at:
AZ
Neenah 8.5x11 Card Paper
Shop at:
SB | AZ
Misti
Misti
Shop at:
SB | AZ
Fiskars Paper Trimmer
Shop at:
SB | AZ
Adornit Paper Collections
Shop at:
O
Lawn Fawn Cardstock
Lawn Fawn Cardstock
Shop at:
SB
SB.com Neenah 4.25 x 5.5 paper
Shop at:
SB
European Papercrafts
Shop at:
O
SB.com Hybrid Inks
SB.com Hybrid Inks
Shop at:
SB
Crossover 2 Die Cut Machine
Shop at:
AZ
Copic Markers
Copic Markers
Shop at:
SSS
Arteza Alcohol Pens
Arteza Alcohol Pens
Shop at:
O
Gemini Snowman Stamp set
Shop at:
AZ
SSS Winter Hugs Stamp Set
Shop at:
SSS


Saturday, October 5, 2019

Double Z Fun Fold Halloween Cards 2 Ways - Plus Waterfall Pull Interactive and Corner Back fold Cards!

I love fun fold cards, and these double Z fold cards are so cool, and yet so easy!!!  I made 2 different kinds, one vertical and one horizontal; one simple and one complex.  A little something for everyone!!  Don't forget to check the bottom of the post for the waterfall & corner fold cards!!

This post also contains affiliate links and I will be compensated if you make a purchase after clicking on my links.  Various companies provided me with some product to create this project.  The opinions I share are solely my own.


Here is a video to learn how to make each of these cards.

The first card I made was a scene with a horizontal fun fold card.  I layered up with lots of the stamps and dies from Maker's Movement to make a trick or treat scene that opens up to make a larger scene when pulled open.


Measurements
Cut cardstock to make an A2 sized card that is horizontal (4.25 x 11 opened)
Fold top in half to make top fold over for the Z fold.
Cut 1 x 11 strip for 2nd Z fold - fold in half, then fold right side in half again.


The second card is a simple version with a vertical fun fold.  I only used a couple of the stamped and colored Maker's Movement images and then some fun colored paper.  All the elements are held together with Xyron adhesive.  The larger elements with the Xyron Tape runner, and the little die cut pieces with the Xyron Sticker Maker.


Measurements
Cut cardstock to make an A2 sized card that is horizontal (5.5 x 8.5 opened)
Fold top in half to make top fold over for the Z fold.
Cut 1 x 8.5 strip for 2nd Z fold - fold in half, then fold right side in half again.


Now for the waterfall cards!!!


Check out the video to make these fun cards!


Measurements
Base A2 sized card - 4.25 x 5.5
Mat 1 - 4 x 5.25
Mat 2 - 3.75 x 5

Squares - 4 - 2x 2
Band 1 x 3.75
Waterfall Band - 9 x 1 7/8 - Score 2, 2.75, 3.5, 4.25


Now for the corner fold cards!!


Check out how to make these fun cards in the video below.


These are so fun to make, and there is a little hidden part inside!


What fun fold will you make?!?!?


Supplies Used

Interested in the supplies I used in this project?  Most are listed below and some are affiliate links, which generates a me little commission (at not extra cost to you at all) when you click on the link and make a purchase.  Affiliate and product disclosure can be found here.

Amazon Storefront
Amazon Storefront
Shop at:
AZ
Xyron Tape Runner Refil
Shop at:
AZ
Xyron Create-a-Sticker
Shop at:
SB
Xyron tape runner
Xyron tape runner
Shop at:
AZ
Neenah 8.5x11 Card Paper
Shop at:
SB | AZ
Fiskars Paper Trimmer
Shop at:
SB | AZ
Clearsnap Petal Point Ink
Shop at:
SB
Colored Cardstock
Colored Cardstock
Shop at:
SB
Arteza Giant Craft Mat
Shop at:
O
SSS Round Scallop Stamp Block
Shop at:
SSS
Bazzill Cardstock
Bazzill Cardstock
Shop at:
SB
SB.com Daubers
SB.com Daubers
Shop at:
SB
SSS Black Ink
SSS Black Ink
Shop at:
SSS
Crossover 2 Die Cut Machine
Shop at:
AZ
Arteza Alcohol Pens
Arteza Alcohol Pens
Shop at:
O
Pink & Main Paper Pack
Shop at:
SSS
Maker's Movement Trick or Treat Yo' Self Stamp
Shop at:
SSS
Maker's Movement Trick or Treat Yo' Self Die
Shop at:
SSS


Share This

Related Posts Plugin for WordPress, Blogger...