Showing posts with label christmas. Show all posts

Saturday, December 21, 2019

DIY Foil Labels for Homemade Canned Gifts Plus Roasted Jalapeno Ranch Dip Recipe

I love to hand out handmade gifts to people, and when I can make something with elements from my garden, even better!  This year it is roasted jalapeno ranch dip!  I grew the onions, jalapenos, garlic and cilantro myself!  Then it is all about the label and the handmade card for the final look!

This post also contains affiliate links and I will be compensated if you make a purchase after clicking on my links.  Various companies provided me with some product to create this project.  The opinions I share are solely my own.


Check out how I made the foil labels in the video below


DIY FOIL LABELS

1) Print out your labels on a laser printer.  It needs to be a laser printer as that will allow the foil to stick to the toner and make it pretty!

2) Run your labels thorough your Glaminator with the color of the foil of your choice.  I picked green to go with the color of the dip!  Now they are all pretty and shiny!


3) Cut them up into individual labels.  I rounded the corners to make them look a little neater.  Then ran them through my Xyron Creative Station Lite to turn them into stickers!!


4) Now you just pop them onto your jars!  Easy since they are now stickers!


Now for the recipe for the dip!!  it is so yummy and a great way to use up my jalapenos!

Roasted Jalapeno Ranch Dip

Ingredients
2 quarts Sour Cream
12 Jalapenos
5 whole green onions
3 large cloves of garlic
1 lime
1 bunch fresh cilantro
3 tbsp dried dill
1 tbsp salt

Directions

1) Cut in half and seed jalapenos and place on cookie sheet skin side up for 20 min at 425F to roast.  Let cool completely.
2) Rough chop onions, garlic, cilantro (stem included) and place into blender with 2 cups of sour cream.  Blend.
3) Add zest and juice of the whole lime to the blender.
4) Add cooled jalapenos, dill, and salt and blend again.
5) Pour blended ingredients into a large bowl and add in the rest our the sour cream and mix.
6) Taste to see if you need more salt, dill, or lime.  Keep chilled.

Tips!!

1) Add more or less jalapenos depending if you want more or less heat!  Totally up to you!
2) You can do half sour cream and half mayo if you wish - work great that way too!

This dip is great on so many things here are just a few suggestions

1) Fresh veggies
2) Chicken Strips
3) On Chili
4) Tacos
5) Tortilla Chips
6) Eggs
7) Potatoes

What are you making for your friends and family this year?

Interested in the supplies I used in this project? Most are listed below and some are affiliate links, which generates a me little commission (at not extra cost to you at all) when you click on the link and make a purchase. 


Arbonne
Arbonne
Shop at:
O
Amazon Storefront
Amazon Storefront
Shop at:
AZ
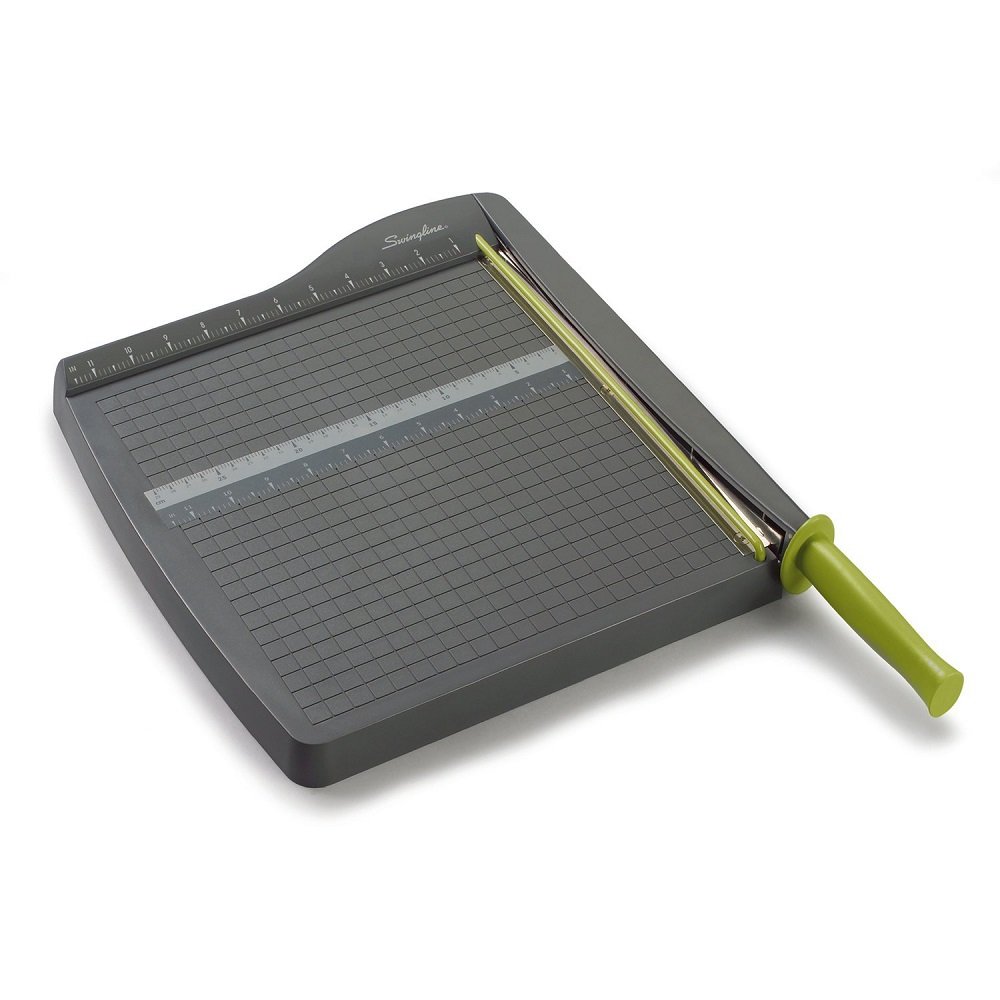
Swingline Paper Trimmer / Cutter, Guillotine
Shop at:
AZ
Xyron Creative Station Lite
Shop at:
AZ
Xyron 5
Xyron 5" Permanent Refill
Shop at:
AZ
Fiskars Scissors 8
Fiskars Scissors 8"
Shop at:
AZ
Canning Jars
Canning Jars
Shop at:
AZ
Xyron Glamintor Machine
Shop at:
AZ
Xyron Glamintor Tansfer Foil Color pack
Shop at:
AZ


Friday, December 13, 2019

Rustic String Art Ornaments

Handmade Christmas ornaments are a wonderful tradition we love to do in our family, and each year we make a few new ones.  Here is a fun set we made this year!!

This post also contains affiliate links and I will be compensated if you make a purchase after clicking on my links.  Various companies provided me with some product to create this project.  The opinions I share are solely my own.


This year we made some string art on wood slices with yarn!!  I help my younger kids put in the nails, but they had a blast doing the yarn.   Check otu the video below to see how to make these fun ornaments.


Start off first with gather your supplies (links are all down below), and to help you organize all the supplies I used my Deflecto Caddy Storage Tray.  The tray made it so easy to keep everything organized and for the kids to find the supplies they wanted to finished their ornament!


All the little bits of yarn, nails, twine, and wood slices fit so wonderfully!


Start by drawing your design onto the wood slice and then nailing in your nails.  I chose a nice small nail, 3/4" long.  Make sure not to go all the way through, and include enough nails to make your design make sense.  To make life easy, stick with simple ones like a star and tree, it is just a triangle!!!!


Add a little loop to the end of your yarn with a knot and then start winding it around the nails!


Tie off the end of the yarn with a little knot when you have made enough loops.  Don't forget to add the twine to the top to to make it an ornament!


What kinds of fun ornaments will you make today?


Interested in the supplies I used in this project? Most are listed below and some are affiliate links, which generates a me little commission (at not extra cost to you at all) when you click on the link and make a purchase. Affiliate and product disclosure can be found here.

Arbonne
Arbonne
Shop at:
O
Amazon Storefront
Amazon Storefront
Shop at:
AZ
Fiskars Scissors 8
Fiskars Scissors 8"
Shop at:
AZ
Love Knitting Paint Box Yarn
Shop at:
O
Patons Alpaca Blend Yarn
Shop at:
AZ
Arteza Slices
Arteza Slices
Shop at:
O
Deflecto Caddy Storage Tray
Shop at:
SB
3/4
3/4" Nails
Shop at:
AZ
Craft hammer
Craft hammer
Shop at:
AZ


Tuesday, November 26, 2019

Christmas Fun Fold Cards - Scrapbook.com Holiday Card Parade

I just love fun fold cards, and why not make some that are a little Christmas inspired with some layers and ink blending!! Check below for all the details and also for the amazing giveaway!

This post also contains affiliate links and I will be compensated if you make a purchase after clicking on my links.  Various companies provided me with some product to create this project.  The opinions I share are solely my own.


Today I have the privilege of hopping with Scrapbook.com as a part of the inspiring Handmade Holiday Papercrafting Parade filled with fabulously festive holiday crafting. Join me and many others as we celebrate a week of unbelievable deals on Scrapbook.com's fabulous exclusive products! Be sure to leave a crafty comment at EVERY stop along the way of this amazing parade hop to qualify for an unbelievable GIVEAWAY!


20 of your favorite crafters have used tons of Scrapbook.com Exclusive products to provide you with plenty of holiday cardmaking inspiration! You'll love seeing how we used products like the Exclusive Hybrid Inks, the revolutionary Domed Blending Tool, festive stencils, cheery stamps and so many more! Come join us on this parade of Handmade Holiday Cardmaking Inspiration! 

November 26 - November 30 - Black Friday WEEK
Scrapbook.com Exclusive Products are at their Lowest Prices - 30%, 40% and 50% OFF!
A FREEBIE is offered each day, too!
Nov 26-28: Scrapbook.com Exclusive Doodlebug Pin
Nov 29-30: Scrapbook.com Exclusive Adhesive SAMPLER Pack

I love fun fold cards, they have such a wonderful impact when you open them, and really they are not all that hard to make!

Check out how to make these cards in the video below.


Here are the measurements to make these center step fun fold cards.
Use a 5.5 x 8.5 card and fold in half
Score from 0 - 1 inch from the edge on both sides of the card at 1, 2, and 5.25 inches
Cut long wise from 1 - 5.25 (where you scored) on both side of the card.


Don't forget tot stamp on the inside!!


You'll be so inspired after visiting each of the 20 stops that you'll want to create designs of your own, we just know it! Why not enter to win a Scrapbook.com Gift Certificate for yourself? 
GIVEAWAY INFO
Scrapbook.com is giving away a $100 Gift Certificate to ONE lucky winner! To be eligible, leave a comment letting us know a bit about your holidays at each of the 20 hop stops along with your email. It's that easy! Share a favorite tradition, a cherished memory, or a memorable handmade gift! 
Giveaway closes Tuesday, December 3, 2019, at midnight MST. The winner will be notified and announced no later than Monday, December 9, 2019. The winner will be notified through the email provided and has 72 hours to respond to claim their prize for complete official rules, click here

GOOD LUCK!
HANDMADE HOLIDAY PARADE STOPS
Leave a comment at each of these official stops to enter the Giveaway! 


-- HOP OVER TO YouTube --

Good luck to everyone in the hop, I know all these amazing designers will inspire you in your papercrafting endeavors!!

Supplies Used Interested in the supplies I used in this project? Most are listed below and some are affiliate links, which generates a me little commission (at not extra cost to you at all) when you click on the link and make a purchase. Affiliate and product disclosure can be found here.


Xyron Mega Runner Refil
Shop at:
SB | AZ
Sizzix Big Shot Plus
Shop at:
SB | O
SB.com Double Sided Foam Adhesive
Shop at:
SB
Xyron Mega Runner
Xyron Mega Runner
Shop at:
SB
SB.com Star Nesting Dies
Shop at:
SB
SB.com Stamp Blocks
SB.com Stamp Blocks
Shop at:
SB
SB.com Neenah A2 scored paper
Shop at:
SB
Fiskars Paper Trimmer
Shop at:
SB | AZ
Kraft Cardstock
Kraft Cardstock
Shop at:
SB
Black Cardstock
Black Cardstock
Shop at:
SB
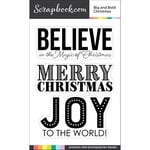
SB.com Big Bold Christmas Stamp Set
Shop at:
SB
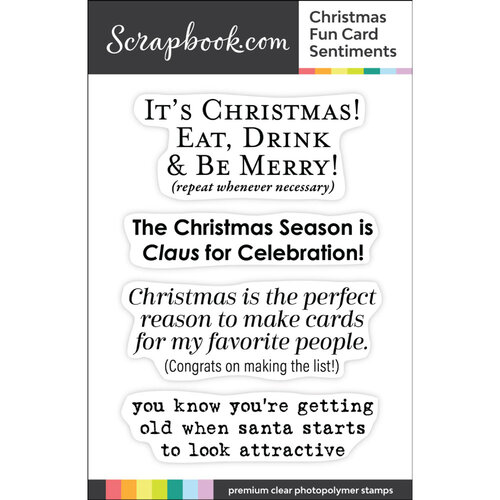
SB.com Christmas Fun Stamp Set
Shop at:
SB
SB.com Neenah 4.25 x 5.5 paper
Shop at:
SB
Thickers Alpha Stickers
Shop at:
SB
SB.com Hybrid Inks
SB.com Hybrid Inks
Shop at:
SB
SB.com Ink Blending Dome Tools
Shop at:
SB
SB.com Double Sided Adhesive
Shop at:
SB


Share This

Related Posts Plugin for WordPress, Blogger...