Showing posts with label ornament. Show all posts

Friday, December 13, 2019

Rustic String Art Ornaments

Handmade Christmas ornaments are a wonderful tradition we love to do in our family, and each year we make a few new ones.  Here is a fun set we made this year!!

This post also contains affiliate links and I will be compensated if you make a purchase after clicking on my links.  Various companies provided me with some product to create this project.  The opinions I share are solely my own.


This year we made some string art on wood slices with yarn!!  I help my younger kids put in the nails, but they had a blast doing the yarn.   Check otu the video below to see how to make these fun ornaments.


Start off first with gather your supplies (links are all down below), and to help you organize all the supplies I used my Deflecto Caddy Storage Tray.  The tray made it so easy to keep everything organized and for the kids to find the supplies they wanted to finished their ornament!


All the little bits of yarn, nails, twine, and wood slices fit so wonderfully!


Start by drawing your design onto the wood slice and then nailing in your nails.  I chose a nice small nail, 3/4" long.  Make sure not to go all the way through, and include enough nails to make your design make sense.  To make life easy, stick with simple ones like a star and tree, it is just a triangle!!!!


Add a little loop to the end of your yarn with a knot and then start winding it around the nails!


Tie off the end of the yarn with a little knot when you have made enough loops.  Don't forget to add the twine to the top to to make it an ornament!


What kinds of fun ornaments will you make today?


Interested in the supplies I used in this project? Most are listed below and some are affiliate links, which generates a me little commission (at not extra cost to you at all) when you click on the link and make a purchase. Affiliate and product disclosure can be found here.

Arbonne
Arbonne
Shop at:
O
Amazon Storefront
Amazon Storefront
Shop at:
AZ
Fiskars Scissors 8
Fiskars Scissors 8"
Shop at:
AZ
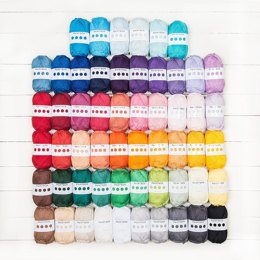
Love Knitting Paint Box Yarn
Shop at:
O
Patons Alpaca Blend Yarn
Shop at:
AZ
Arteza Slices
Arteza Slices
Shop at:
O
Deflecto Caddy Storage Tray
Shop at:
SB
3/4
3/4" Nails
Shop at:
AZ
Craft hammer
Craft hammer
Shop at:
AZ


Thursday, November 1, 2018

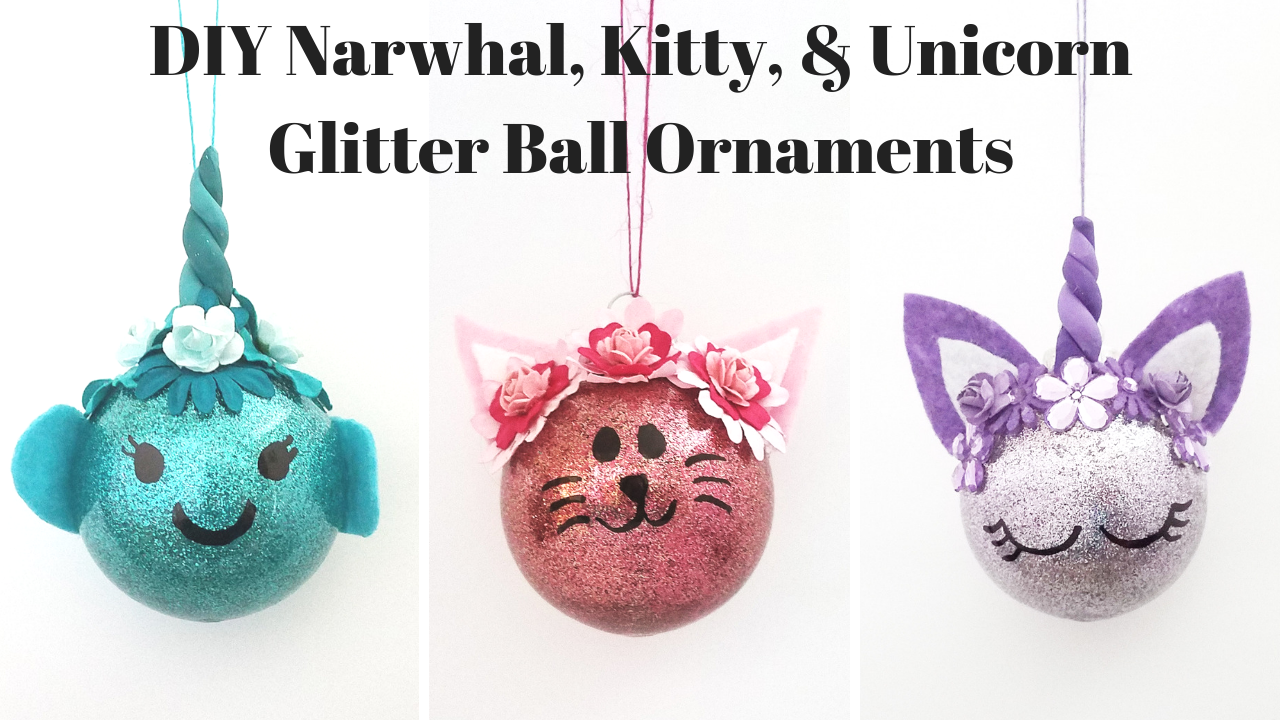
3 DIY Glitter Ornament Balls Using Dollar Tree Supplies - Kitty, Unicorn, & Narwhal

I love the looks of the glitter ball ornaments, so I decided to make a few!  I love the look of the unicorn, but I also made a kitty cat and a Narwhal. Check out how to make these in my post below!

I was compensated for this post. This post also contains affiliate links and I will be compensated if you make a purchase after clicking on my links.


Here is the video on how to make each of these cute glitter ball ornaments.


I picked up most the supplies I needed to make these fun ornaments at my local Dollar Tree.  Makes it so easy to make fun crafts with my kids or for myself when the supplies are cheap!  


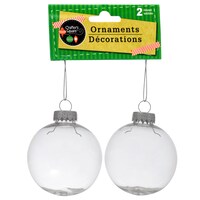
I started off with the small plastic ornament balls from Dollar Tree, and you get 2 for $1 - wow!!!  I filled the ornaments balls with Supertite Glue from the Dual Tip Max Glue Pen.  It has a nice small squeeze tip and the glue is thinner to is can swirl around inside the ball to coat all the edges.  Once filled, flip upside down to remove any glue that has settled.

Coupon for 10% off your Supertite order of $5 or more 


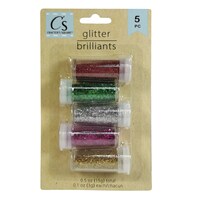
Fill the ornaments with glitter and shake to get all the Dollar Tree glitter stuck to the sides of the inside of the ball.


Let the glitter ball rest on something to let all the excess glitter and glue drip out before placing the cap back on the ball.


$1 Craft Supplies at Dollar Tree!


Now it is time to add fun things to the outside of the balls.  I made 3 different types of animals, if you consider a unicorn an animal, and I say YES to that, hehe.  First I started out making the kitty cat.  I cut out some felt for the ears, added some Dollar Tree gems and flowers for a crown and drew on the face with an alcohol marker.


I then made a unicorn with some air dry clay for the horn and also added in the felt ears, flowers, gems, and drew on the face.


The I thought what about a narwhal, it is the unicorn of the sea!!  How cute would that be!  So I made it all teal, with felt flippers, the clay horn, some flowers, and drew on the cutie face.  I used the Supertite Universal All Purpose Glue to stick all the elements to the outside of the ornament ball.


After I was done making my ornaments, my daughter got in on making them and had a blast.  Check out the couple she made.  It was hard to catch her to take the picture, it got warm and sunny today so she is outside playing - woot!!


So what glitter ball animals will you make?


Supplies Used

Interested in the supplies I used in this project?  Most are listed below and some are affiliate links, which generates a me little commission (at not extra cost to you at all) when you click on the link and make a purchase.  Affiliate and product disclosure can be found here.

Shareasale
Shareasale
Shop at:
O
Tailwind
Tailwind
Shop at:
O
TubeBuddy
TubeBuddy
Shop at:
O
Dollar Tree
Dollar Tree
Shop at:
DT
Prima Plain Flowers
Prima Plain Flowers
Shop at:
SB | AZ
Fiskars Scissors 8
Fiskars Scissors 8"
Shop at:
AZ
Jute Twine
Jute Twine
Shop at:
AZ
Kunin Felt Classic
Kunin Felt Classic
Shop at:
AZ | O
Stylefile Markers
Stylefile Markers
Shop at:
AZ | O
Makin's Clay Mat
Makin's Clay Mat
Shop at:
AZ
DT Christmas Supplies
Shop at:
DT
DT Clear Ball Ornaments
Shop at:
DT
DT Glitter
DT Glitter
Shop at:
DT
DT Jewel Flowers
DT Jewel Flowers
Shop at:
DT
DT Clay
DT Clay
Shop at:
DT
Black Craft Mat
Black Craft Mat
Shop at:
AZ
Supertite Glue
Supertite Glue
Shop at:
O
Supertite All Purpose Univseral Glue
Shop at:
O
Supertite - Dual Tip Max Glue Pen
Shop at:
AZ


Wednesday, September 12, 2018

EASY Marker Watercolor Backgrounds for Cards & Ornaments

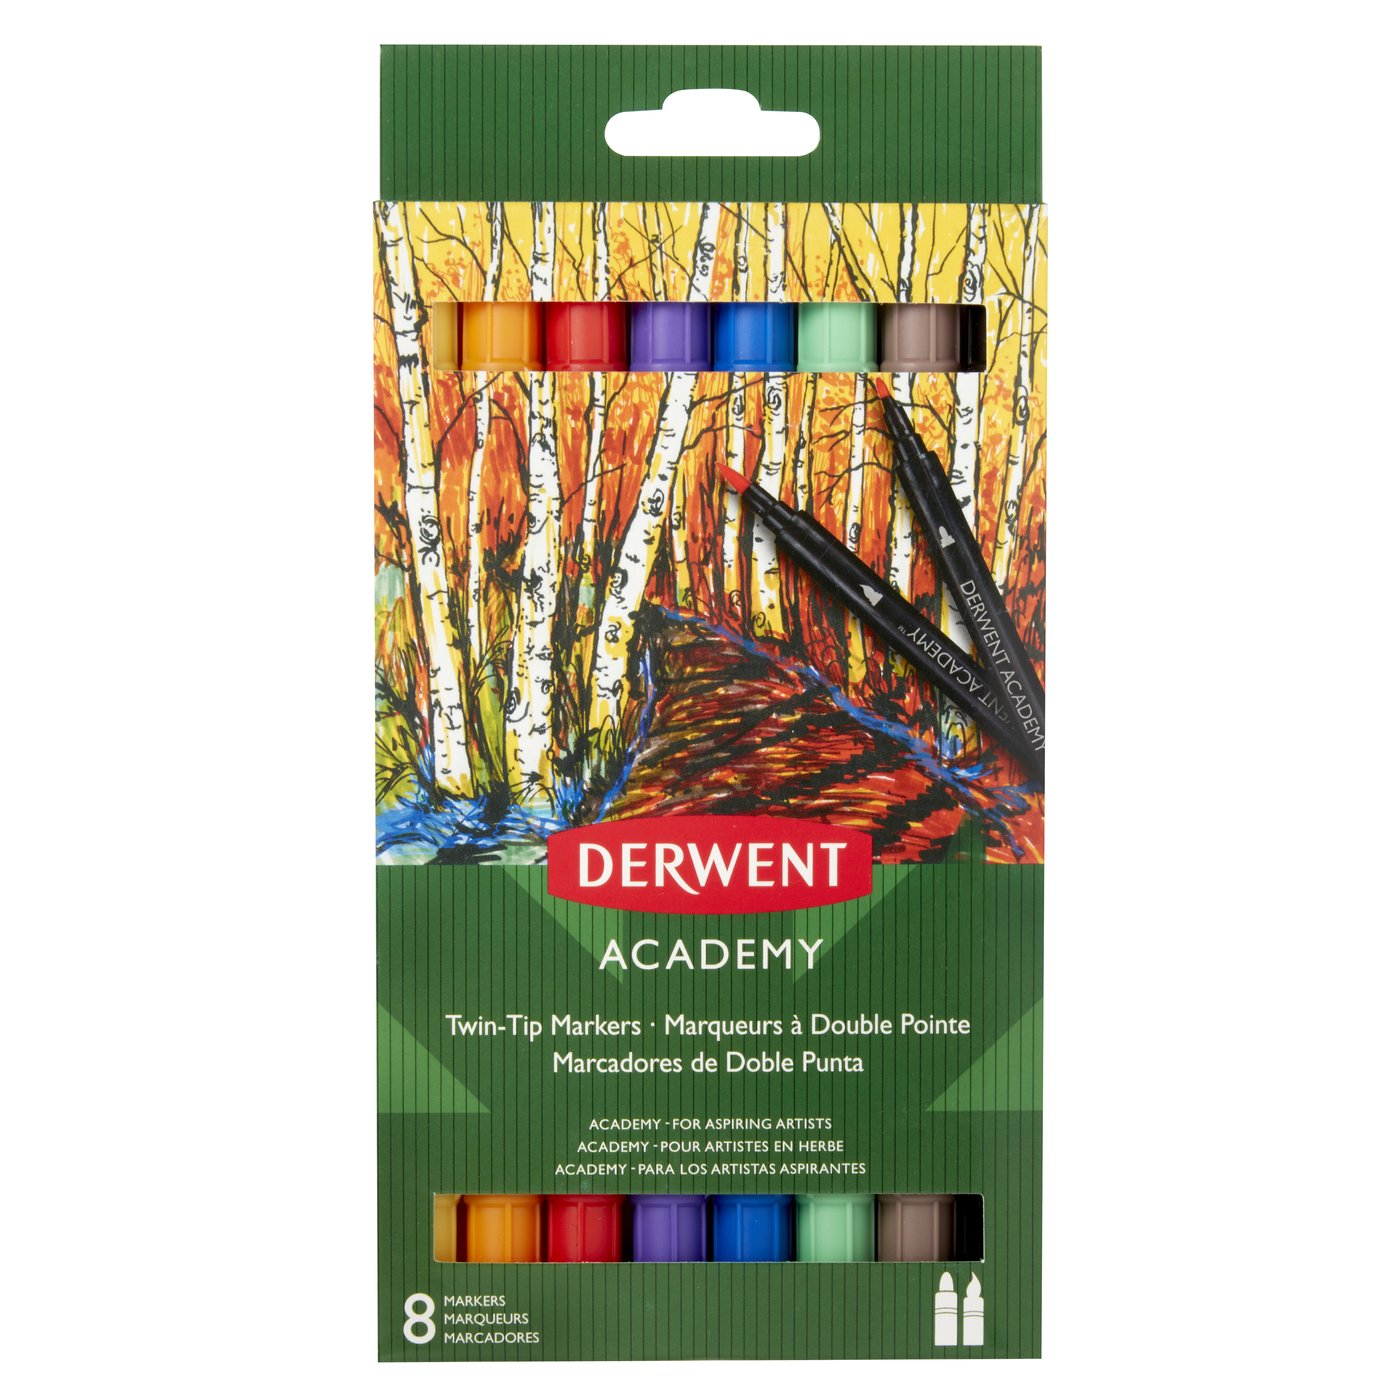
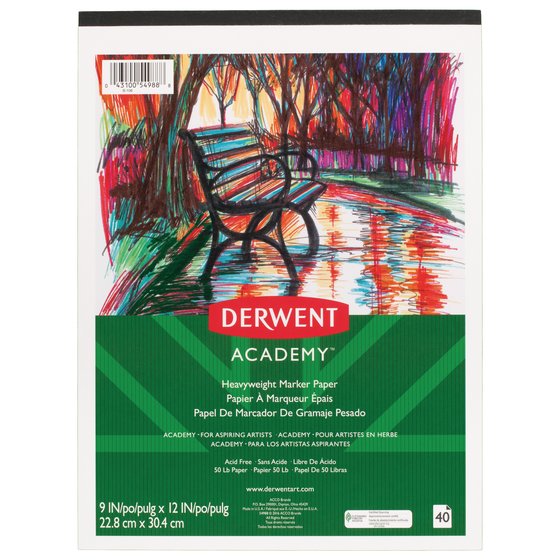
Ever wonder how easy it is to get a water color look on paper without the fuss of using watercolor paints?  Check out how using Derwent Academy Water Soluble Markers and Marker Paper pad to make Christmas Cards and Snowflake Ornaments.

Various companies provided me with some product to create this project.  The opinions I share are solely my own.


Here is the video to learn how fun this watercolor technique is and how to make these fun snowflakes.


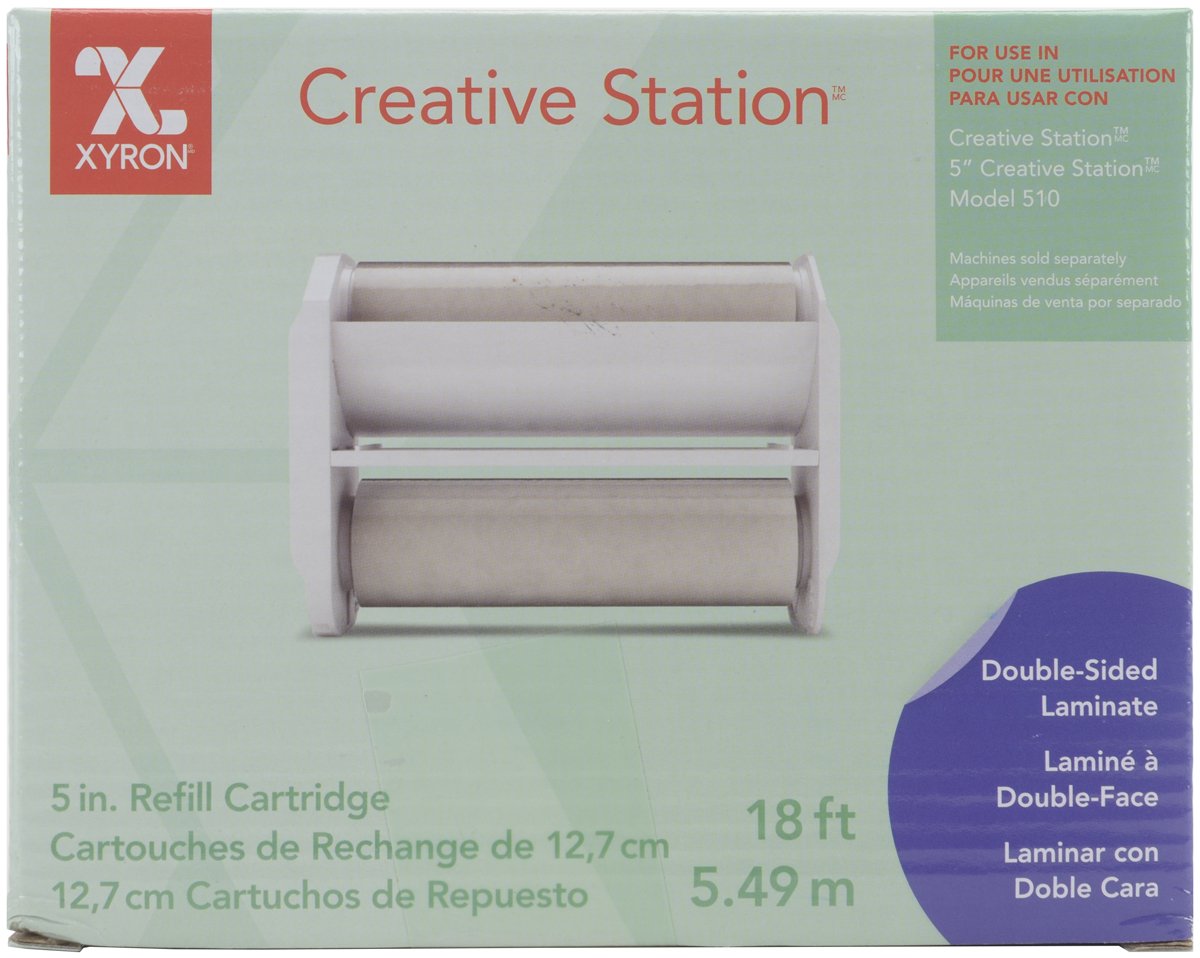
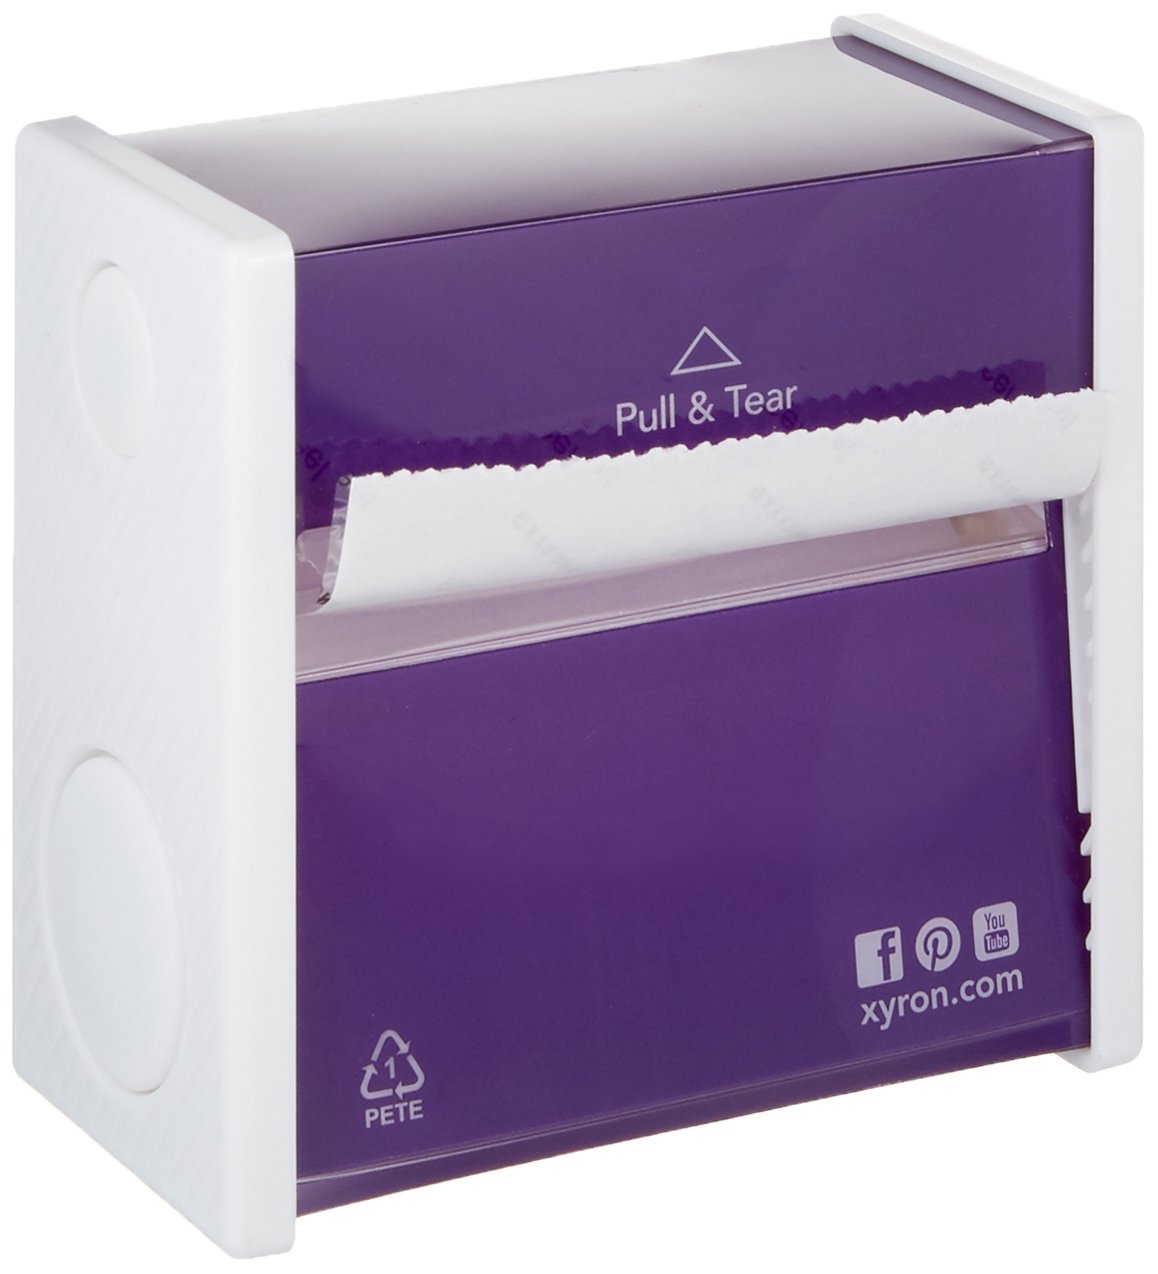
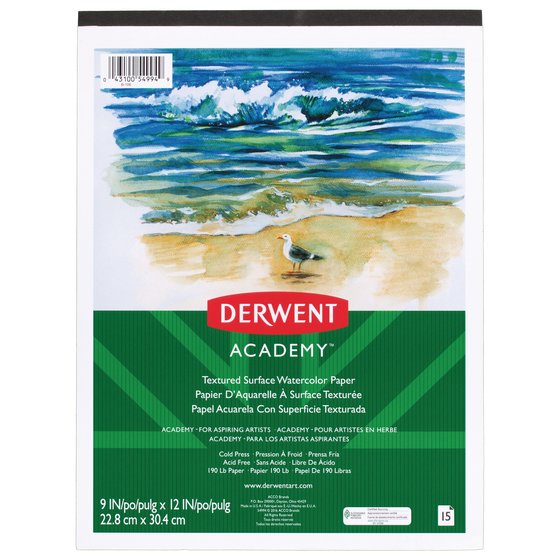
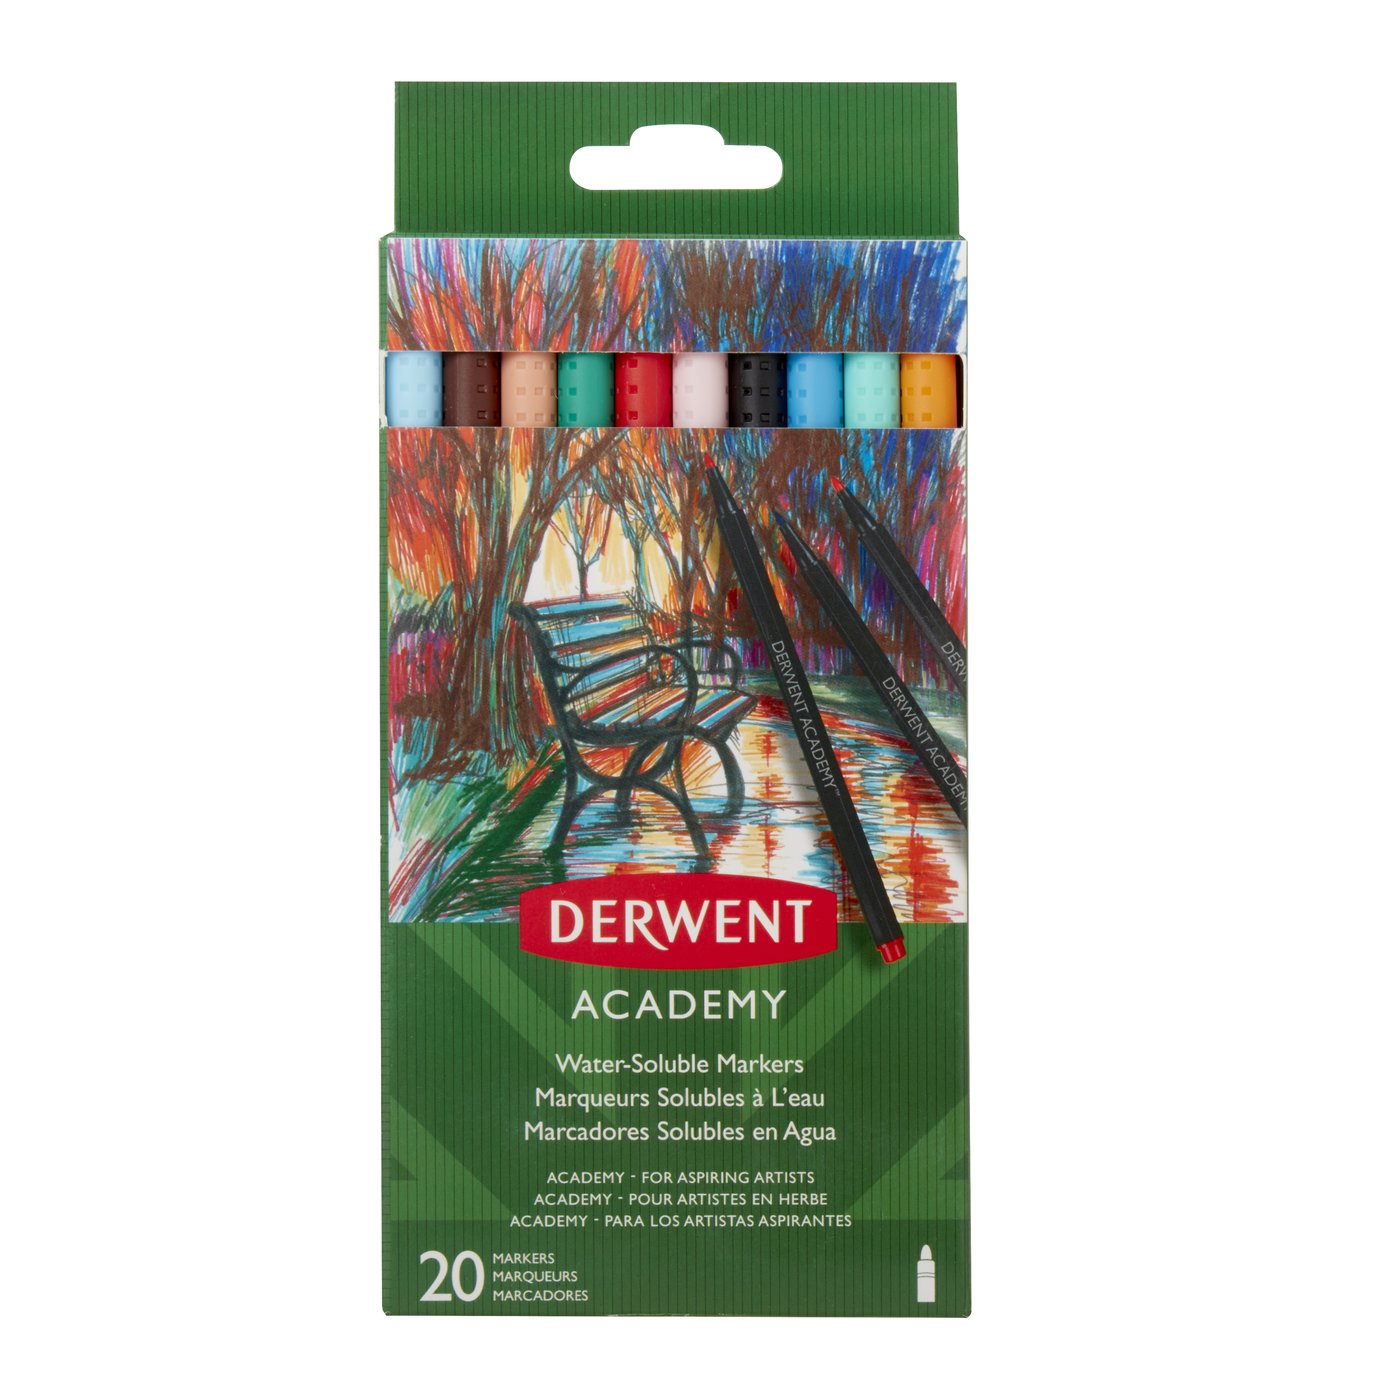
I started by using the Xyron Creative Station Lite with the Double Sided Laminated Refill  to make a small couple of sheets of laminated paper.  Use a white or just off white paper that is not super flimsy, the Derwent Watercolor Paper Pad was super for this!  All you then need to do is pick out a couple of colors from the Derwent Academy Art Markers and color them onto the laminated sheet and spray with a little water.


The laminated paper repels the marker and the water help add some more liquid to the color to help transfer it to the Derwent Academy Marker Paper Pad.  This paper held the color wonderfully and it made a really cool watercolor effect.


Change up the colors of the makers to get some really cool effects on the papers!


I used the first batch of solid color watercolor backgrounds to make some Christmas cards with a calligraphy JOY using the Derwent Academy Twin-Tip Markers on the brush side of the pen, but I am super new to calligraphy and they just did not look quite right.  I am not going to throw them away, but it got me to thinking of what else I could possibly make the watercolor paper I had just made.


So I dug into my dies and found this really cool snowflake die set that can be made into ornaments.  So off I went to make some foil and watercolor ornaments in a variety of colors!  The first one used the blue and green watercolor paper which I die cut into a small snowflake and then outlines with the blue and green makers and paired with Rinea foiled papers in silver and Tonic Nuvo Drops accents.


On the back I stamped out Merry Christmas using the Derwent Academy Twin-Tip Markers brush tip in blue to ink the stamp and stuck the whole snowflake together with the Xyron 3" Sticker Maker.


I repeated the same idea of a snowflake as above but this time with the purple and red watercolor background.  I used a purple marker to accent the snowflake and a red maker to stamp the in the back and paired it with more Tonic Nuvo drops and Copper Rinea Foiled paper.


For the next batch of snowflakes I did not add the stamp to the back, and this time I used the watercolor paper in the middle of the snowflake cutting and pairing it with different colors of Rinea Foiled paper in lavender and turquoise.


There are so many other fun idea you can make with this easy background watercolor paper using Derwent Markers, these are just a few for the holiday season!  What will you make with your watercolor paper?


Supplies Used
Interested in the supplies I used in this project?  Most are listed below and some are affiliate links, which generates a me little commission (at not extra cost to you at all) when you click on the link and make a purchase.  Affiliate and product disclosure can be found here.


Shareasale
Shareasale
Shop at:
O
Tailwind
Tailwind
Shop at:
O
Swingline Paper Trimmer / Cutter, Guillotine
Shop at:
AZ
Fiskars Scissors
Fiskars Scissors
Shop at:
AZ | LFL (UK)
Rinea Foiled Paper
Rinea Foiled Paper
Shop at:
O
Tonic Nuvo Crystal Drops
Shop at:
SB | T | LFL (UK)
Xyron Creative Station Lite
Shop at:
AZ
Cuttlebug
Cuttlebug
Shop at:
AZ
Cuttlebug Plate C
Cuttlebug Plate C
Shop at:
SB | AZ
Sizzix
Sizzix
Shop at:
O
Sizzix Dies
Sizzix Dies
Shop at:
SB
Umbrella Inks
Umbrella Inks
Shop at:
SB
Xyron Laminate 5
Xyron Laminate 5" Refill
Shop at:
AZ
Jute trim
Jute trim
Shop at:
AZ
Xyron 3
Xyron 3" Sticker Maker
Shop at:
SB | AZ | LFL (UK)
Black Craft Mat
Black Craft Mat
Shop at:
AZ
Tonic Studios
Tonic Studios
Shop at:
T
Piercer
Piercer
Shop at:
AZ
Round Stamp Block
Round Stamp Block
Shop at:
O
Derwent Watercolor Pad
Shop at:
O
Derwent Academy 20 pk Markers
Shop at:
O
Derwent Academy Twin Tip 8pk Markers
Shop at:
O
Derwent AcademyMarker Paper Pad
Shop at:
O

Share This

Related Posts Plugin for WordPress, Blogger...