The kids and I love to make fun crafts for Easter, and you ca't get any more Easter than bunnies and chicks! So we pulled out some Popsicle sticks, ink, google eyes and got to work making some cute Easter decorations!
This post also contains affiliate links and I will be compensated if you make a purchase after clicking on my links. Various companies provided me with some product to create this project. The opinions I share are solely my own.
Check out the video to see how to make these fun critter craft stick characters!
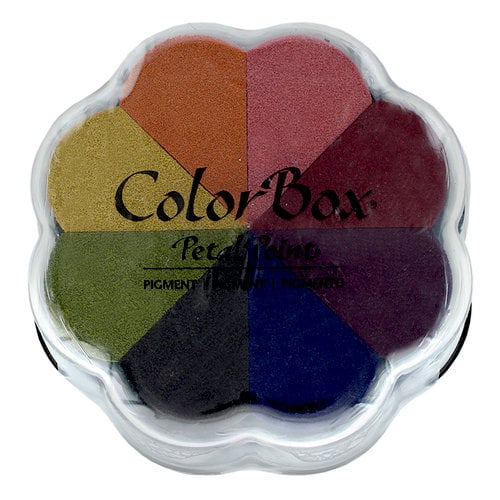
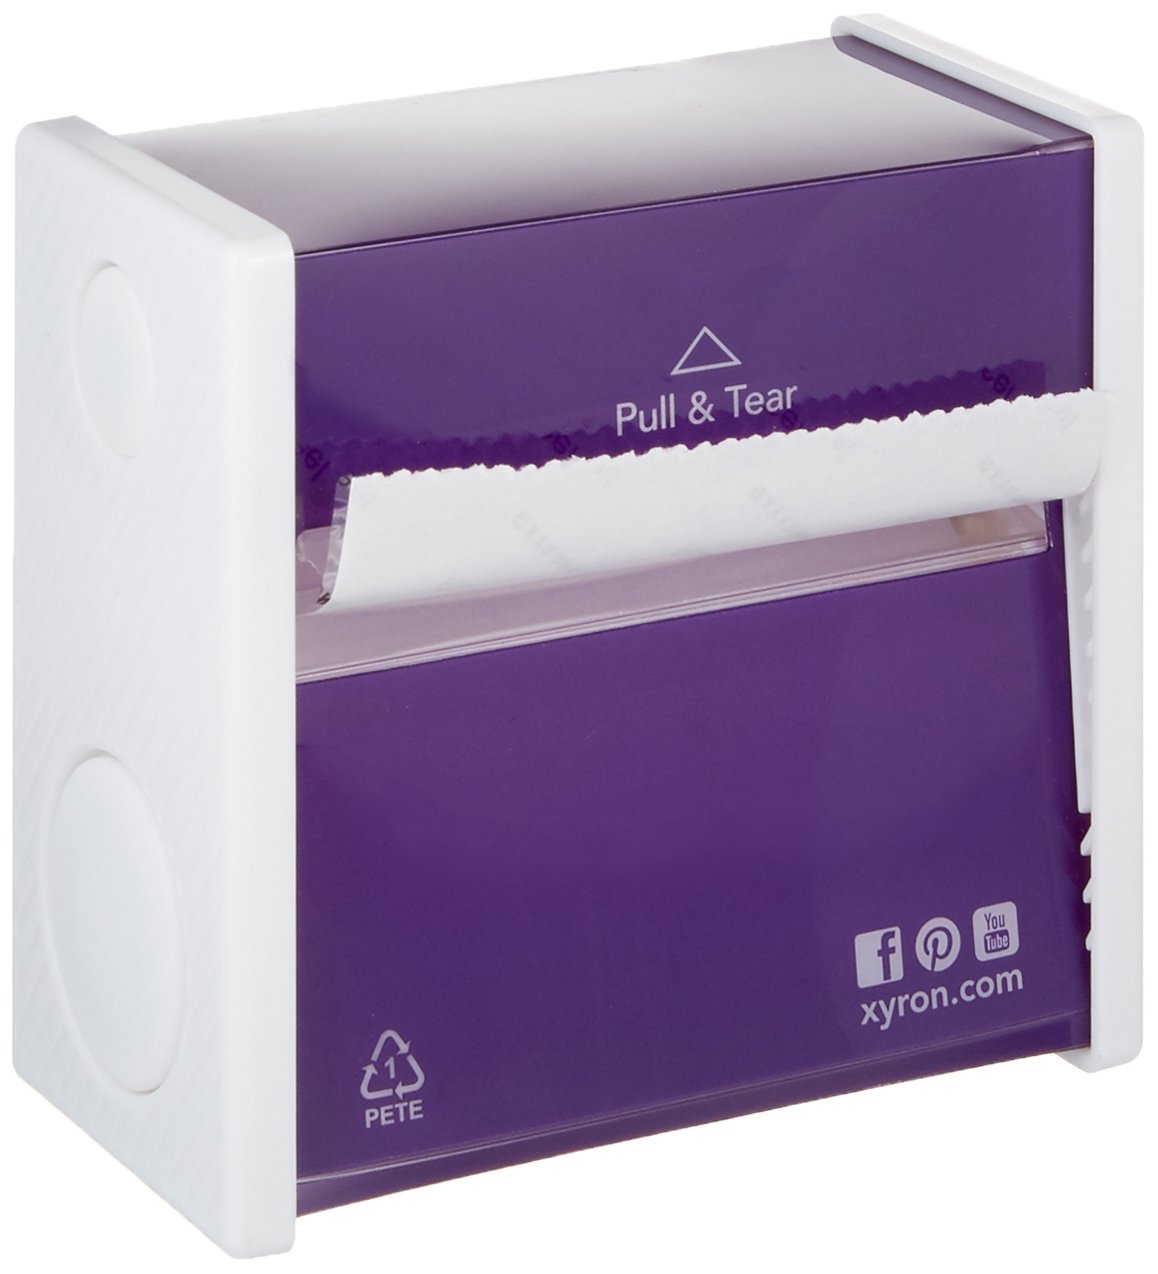
The bunnies are so cute!! My daughter make the pink one and I made the grey one. We started off with natural wood craft sticks and colored with with Clearsnap Inks. All the elements are stuck together with Xyron adhesive via the Xyron Creative Station Lite. It makes the craft so easy! My daughter loves to run the Creative Station, and she is 6, it is that easy to use!
I used a die to cut out the bunny ears and face elements, except for the google eyes, because google eyes are just so cute!
Making the paper the sticky part with the Xyron Creative Station Lite makes this craft so easy. All you have to do is stick all the elements to the sticky paper and you are done!!
These chick were a blast since all the sticks were already colors. I picked the yellow chick, but my daughter made a purple and pink one! I love that she picks colors that are so fun and not the norm!
What fun craft will you make with your kids this Easter?
Supplies Used
Interested in the supplies I used in this project? Most are listed below and some are affiliate links, which generates a me little commission (at not extra cost to you at all) when you click on the link and make a purchase. Affiliate and product disclosure can be found here.
My younger two kids are at the age when we are losing teeth, so I thought lets make some cute tooth pillows to add to the fun of losing tooth. So instead of the generic tooth fairy, we made tooth monster pillow, which are the shape of a tooth, but flipped upside down! Add a little pouch in the front and make it all out of fun colors of felt and you are set!
Check at the bottom of the post for the GIVEAWAY info!!
This post also contains affiliate links and I will be compensated if you make a purchase after clicking on my links. Various companies provided me with some product to create this project. The opinions I share are solely my own.
Here is a video on how to make these fun pillows
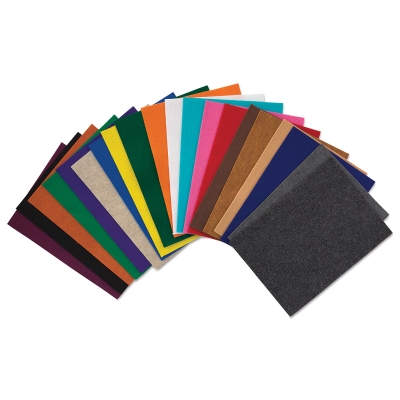
A few really simple supplies are needed to make these cute pillows. First I start by making a paper template of a tooth, which is the monster flipped upside down, then a few fun colors of Kunin felt, some buttons, and a needle and thread. I also used some Joy Iron on Varsity letters for the back of each little tooth monster so my kids would not fight over whose was whose, let's hope that works, hehe.
I started off making the orange pillow as my practice one, but shortly after my son came over and asked to learn how to sew. AWESOME!!! He is 8 and I fully feel that everyone should learn the basics of sewing with a needle and thread. So half of this little orange monster he sewed all on his own!
I then make the blue one for the video, I changed up a few things, like sewing on all the teeth and altering the shape a tiny bit, but really these are so easy and fun it is a great starting off project for kids to learn how to sew. They are both filled with Fairfield World Poly-fil as a stuffing!
So to stop the kids from fighting we put the first initial of each kid on the back of the pillow. They are Joy Iron on letter in the Varsity font and perfect for this project! The blue one my son picked for himself, so he got the black B on the back.
My daughter picked the orange monster as her tooth pillow, so she got a red C on the back.
What color of tooth monster will your little one pick to make?
Ready for a fun giveaway? Check out how easy it is to enter and win some amazing prizes!!
Interested in the supplies I used in this project? Most are listed below and some are affiliate links, which generates a me little commission (at not extra cost to you at all) when you click on the link and make a purchase. Affiliate and product disclosure can be found here.
Brightech - Lightview Magnifer Lamp - Video Set Up
Shop at: O
I love to give little gifts for Easter, and cute little treat bags are the best!! Not only are these super easy to make, but they also are personalized with a iron on letter!
This post also contains affiliate links and I will be compensated if you make a purchase after clicking on my links. Various companies provided me with some product to create this project. The opinions I share are solely my own.
Check out how easy it is to make these fun treat bags in the video below.
Interested in the supplies I used in this project? Most are listed below and some are affiliate links, which generates a me little commission (at not extra cost to you at all) when you click on the link and make a purchase. Affiliate and product disclosure can be found here.
I love Spring and Easter! The cute bunnies, flowers, rainbows, fresh veggies - and the best part is you can put them all on a card! So now onto the fun and pretty cards that are all about spring and Easter!
This post also contains affiliate links and I will be compensated if you make a purchase after clicking on my links. Various companies provided me with some product to create this project. The opinions I share are solely my own.
First is a set of cute Easter cards using colored bunnies, how adorable are those bunnies?!?!
Here is the video on how I made these cute cards.
The Xyron 3" Sticker maker made adding the little bunnies, eggs, and carrots so easy and fast. Just run them through and pop them on like stickers!!
For the second set of cards I did a layered flower stamp. I just love the look of these cards, so elegant and so simple!
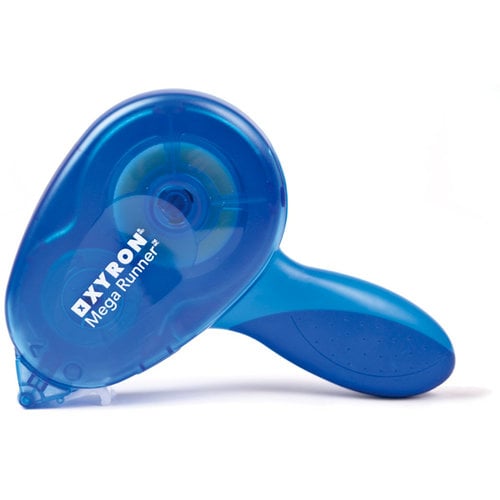
Check out how I made the card in this video using my Xyron Mega runner to stick everything together!
Next is a card that is all about spring and cuteness! I just love these bunnies!!
This card with the pull tab has a little interactive element!
See how to make both of these card in the video below.
I used my Xyron Tape Runner and 3" Sticker maker to put all the elements of the cards together, makes it so easy!!
I just love my Xyron 3" Sticker for those little die cut embellishments!
Next is a trio of cards that are all similar, but a little different. They all have the same layout, but change up the color of the ink background and stamp and you card looks totally amazing!
Once again the Xyron 3" Maker makes laying up the die cut sentiment so easy, just run each layer through to make it a sticker and pop it on your card. Check out how in the video!
Next is a fun Easter egg shapes card that just screams spring! I love how just one layered embellishments make the whole card look amazing! Best part is this whole card is held together with my Xyron Mega Runner!!
Check out the video here!
Last is a set of cards that uses ephemera flowers that are already cut and colors, make card making so easy!
So easy and fun, check out how to make these cards in the video below!
Now with all this fun inspiration it is your turn to make some Spring and Easter cards!!
Interested in the supplies I used in this project? Most are listed below and some are affiliate links, which generates a me little commission (at not extra cost to you at all) when you click on the link and make a purchase. Affiliate and product disclosure can be found here.