Showing posts with label joy iron on. Show all posts

Monday, April 1, 2019

Felt Monster Tooth Fairy Pillows

My younger two kids are at the age when we are losing teeth, so I thought lets make some cute tooth pillows to add to the fun of losing tooth.  So instead of the generic tooth fairy, we made tooth monster pillow, which are the shape of a tooth, but flipped upside down!  Add a little pouch in the front and make it all out of fun colors of felt and you are set!

Check at the bottom of the post for the GIVEAWAY info!!

This post also contains affiliate links and I will be compensated if you make a purchase after clicking on my links.  Various companies provided me with some product to create this project.  The opinions I share are solely my own.


Here is a video on how to make these fun pillows


A few really simple supplies are needed to make these cute pillows.  First I start by making a paper template of a tooth, which is the monster flipped upside down, then a few fun colors of Kunin felt, some buttons, and a needle and thread.  I also used some Joy Iron on Varsity letters for the back of each little tooth monster so my kids would not fight over whose was whose, let's hope that works, hehe.


I started off making the orange pillow as my practice one, but shortly after my son came over and asked to learn how to sew.  AWESOME!!!  He is 8 and I fully feel that everyone should learn the basics of sewing with a needle and thread.  So half of this little orange monster he sewed all on his own!


I then make the blue one for the video, I changed up a few things, like sewing on all the teeth and altering the shape a tiny bit, but really these are so easy and fun it is a great starting off project for kids to learn how to sew.  They are both filled with Fairfield World Poly-fil as a stuffing!


So to stop the kids from fighting we put the first initial of each kid on the back of the pillow.  They are Joy Iron on letter in the Varsity font and perfect for this project! The blue one my son picked for himself, so he got the black B on the back.


My daughter picked the orange monster as her tooth pillow, so she got a red C on the back.


What color of tooth monster will your little one pick to make?

Ready for a fun giveaway?  Check out how easy it is to enter and win some amazing prizes!!


a Rafflecopter giveaway

Check out all the other wonderful projects made using Kunin Felt and Fairfield World products.
Supplies Used
Interested in the supplies I used in this project?  Most are listed below and some are affiliate links, which generates a me little commission (at not extra cost to you at all) when you click on the link and make a purchase.  Affiliate and product disclosure can be found here.

Brightech - Lightview Magnifer Lamp - Video Set Up
Shop at:
O
Amazon Storefront
Amazon Storefront
Shop at:
AZ
Favecrafts
Favecrafts
Shop at:
O
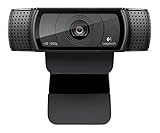
Logitech Camera
Logitech Camera
Shop at:
AZ
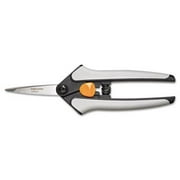
Fiskars Scissors
Fiskars Scissors
Shop at:
AZ | PHP
Fiskars Scissors 8
Fiskars Scissors 8"
Shop at:
AZ
Neenah 8.5x11 Card Paper
Shop at:
SB | AZ
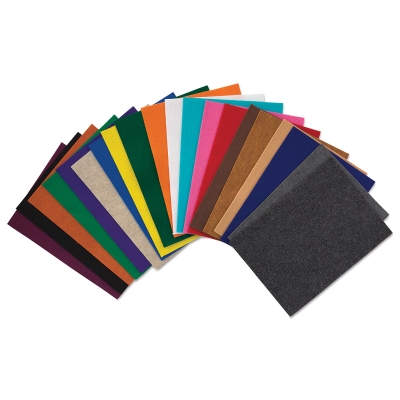
Kunin Felt Classic
Kunin Felt Classic
Shop at:
AZ | O
Kunin Felt Premiun
Kunin Felt Premiun
Shop at:
O
Iron
Iron
Shop at:
AZ
Sewing Needles
Sewing Needles
Shop at:
AZ
Fairfield Poly-fil
Fairfield Poly-fil
Shop at:
AZ
Buttons
Buttons
Shop at:
AZ
Black Craft Mat
Black Craft Mat
Shop at:
AZ
Joy Iron on Varsity Letters
Shop at:
AZ


Sunday, March 31, 2019

DIY Felt Easter Bunny Treat Bags

I love to give little gifts for Easter, and cute little treat bags are the best!!  Not only are these super easy to make, but they also are personalized with a iron on letter!

This post also contains affiliate links and I will be compensated if you make a purchase after clicking on my links.  Various companies provided me with some product to create this project.  The opinions I share are solely my own.


Check out how easy it is to make these fun treat bags in the video below.


Interested in the supplies I used in this project?  Most are listed below and some are affiliate links, which generates a me little commission (at not extra cost to you at all) when you click on the link and make a purchase.  Affiliate and product disclosure can be found here.


Tuesday, January 29, 2019

Valentine's Day Handmade Cards Using Iron-on Flowers

I love Valentine cards, an super simple ones that look amazing are even better.  I added an iron on flower to the front of these cards for an elegant set of card perfect for that special someone in your life!!

This post also contains affiliate links and I will be compensated if you make a purchase after clicking on my links.  Various companies provided me with some product to create this project.  The opinions I share are solely my own.


Check out how to make thees cards in the video below.


To stick the iron on embellishment to the card I used Supertite All Purpose Adhesive, it worked like a charm!


Coupon for 10% off your Supertite order of $5 or more 

Supplies Used

Interested in the supplies I used in this project?  Most are listed below and some are affiliate links, which generates a me little commission (at not extra cost to you at all) when you click on the link and make a purchase.  Affiliate and product disclosure can be found here.

Brightech - Lightview Magnifer Lamp - Video Set Up
Shop at:
O
Xyron Tape Runner Refil
Shop at:
AZ
Logitech Camera
Logitech Camera
Shop at:
AZ
Fiskars Scissors
Fiskars Scissors
Shop at:
AZ | LFL (UK)
Joy Iron On  - Baby Letters
Joy Iron On - Baby Letters
Shop at:
AZ
Xyron Mega Runner
Xyron Mega Runner
Shop at:
SB
Fiskars Scissors 8
Fiskars Scissors 8"
Shop at:
AZ
Jute Twine
Jute Twine
Shop at:
AZ
Cardstock 8.5x11 Card Paper
Shop at:
SB | AZ
Neenah A2 scored card paper
Shop at:
SB
Fiskars Paper Trimmer
Shop at:
SB | AZ
Black Craft Mat
Black Craft Mat
Shop at:
AZ
Supertite Glue
Supertite Glue
Shop at:
O
Supertite All Purpose Univseral Glue
Shop at:
O
SB.com Ink
SB.com Ink
Shop at:
SB
Stazon Midi Ink Pad Ganache
Shop at:
AZ
Joy Iron Rose
Joy Iron Rose
Shop at:
AZ


Wednesday, November 28, 2018

Etched Glass Noel Ornament & Paper Weaving Christmas Cards

I love to make a couple of this every Christmas, one is Christmas cards and the other is ornaments.  I love to make as many as I can and every year I make them all a little different that the year previous.  This year is an etched glass ball ornament with gold swirls and some woven paper Christmas cards.  Let's start with the ornament first.

I was compensated for this post. This post also contains affiliate links and I will be compensated if you make a purchase after clicking on my links.  Various companies provided me with some product to create this project.  The opinions I share are solely my own.


Check out the video to see how I made this fun ornament plus the cards!


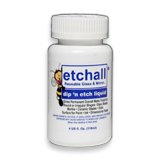
I started off with a plain glass ball ornament and adding Etchall Resist Creme to it.  I let it dry until it was clear and then placed the ball into the Etchall Dip n Etch solution for 15 minute to etch the parts that did not have the dried resist gel.


Once the ball had fully etched I pulled it out of the etching liquid, rinsed it off in the sink with water and patted it dry.  I then pealed off all the resist gel.


The etching looked really cool the way it was, but I decided to add gold along all the swirls.  The gold marker does not wipe off on the areas where it is etched so it has a look of both etched, glass, and gold!


The gold letters I had originally picked out did not work against all the gold on the ball, so I switched gears and used black letters instead.  They are fabric ones so they wrap around the ball when glued down.


The black letters really pop on this ornament and with the gold bow at the top it looks amazing!!


So now that I did not use the gold letters on the ball, I decided to use them for my Christmas card.  I used the same design on both cards, just changed up the center of the word NOEL with a sticker.  


I really like the look of the iron on letters on the card, it makes it look a little more elegant!  Here is the sticker version that I also added a few holly stamps around the sticker for a little more interest.


Both cards look good, which do you like better?

Supplies Used
Interested in the supplies I used in this project?  Most are listed below and some are affiliate links, which generates a me little commission (at not extra cost to you at all) when you click on the link and make a purchase.  Affiliate and product disclosure can be found here.


Brightech Lamp - Video Set Up
Shop at:
O
Shareasale
Shareasale
Shop at:
O
Tailwind
Tailwind
Shop at:
O
Xyron Mega Runner Refil
Shop at:
SB | AZ
Rinea Foiled Paper
Rinea Foiled Paper
Shop at:
O
Joy Iron On - Gold Leters
Shop at:
AZ
Xyron Mega Runner
Xyron Mega Runner
Shop at:
SB
Fiskars Paper Trimmer
Shop at:
SB | AZ
Etchall Dip n Etch
Etchall Dip n Etch
Shop at:
AZ | O
Kraft A2 Cards
Kraft A2 Cards
Shop at:
SB
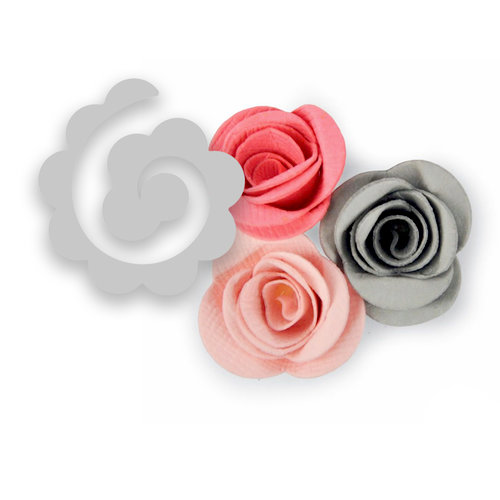
Sizzix Rolled Flower Die
Shop at:
SB
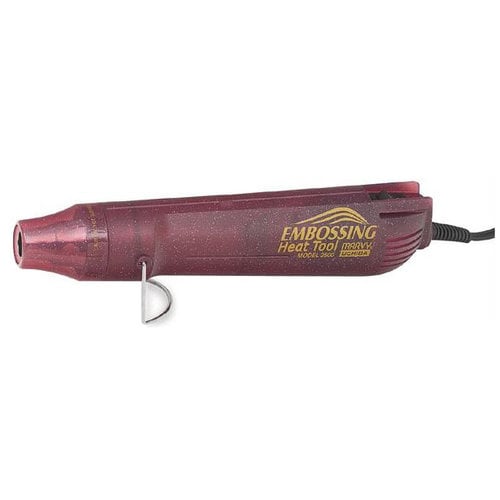
Heat Tool
Heat Tool
Shop at:
SB
Joy Iron On 1 inch Letters
Shop at:
AZ
Etchall Resist Gel
Etchall Resist Gel
Shop at:
AZ | O
Black Craft Mat
Black Craft Mat
Shop at:
AZ
Supertite Glue
Supertite Glue
Shop at:
O
Supertite All Purpose Univseral Glue
Shop at:
O
Doodlebug Crafting Pin
Shop at:
SB
Round Stamp Block
Round Stamp Block
Shop at:
O
Adornit Christmas Stickers
Shop at:
AZ
Adornit Christmas 12x12 Papers
Shop at:
O
Stazon Midi Ink Pad Ganache
Shop at:
AZ
Glass Ball Ornaments
Shop at:
AZ
Zig Metallic Gold Pen
Shop at:
AZ


Share This

Related Posts Plugin for WordPress, Blogger...