Do you need a quick and easy card for your kids to make for dad this Father's Day? This is a fast and simple card that all for all ages that is so cute!! There is ever a FREE printable to make it even easier!!
Here is a video tutorial on how to make these fun card, along with my 4 year old daughter making one along side me.
All my kids made a card from ages 4 up to 11 both boys and girls and they all had a ton of fun!. Here is my 4 year old daughters card. I had to help her a bit on the folding and tracing, but the cutting she did all on her own!
I added a little pen lined border around my card to add a little extra touch.
Now for the FREE printable!! Just click HERE or on the image below to get the printable for the tie stencils.
This card would work also for a back to work, grandfather, first day on the job, really there are so many uses for this card, even a graduation card!!
Thanks for stopping on by!!
Supplies Used
Interested
in the supplies I used in this project? Most are listed below and some
are affiliate links, which generates a me little commission (at not
extra cost to you at all) when you click on the link and make a
purchase. Affiliate and product disclosure can be found here.
I belong to a paper craft group where we swap embellishments every month. The number in the group varies between 6-10, but never more than 10. This mean if there are 10 people in the group, I create 10 embellishments send away 9, and keep one for myself. I then in return get up to 9 embellishments back all from different people, and they are all a little different!
Making embellishments is really fun, you can try out new techniques, and if you mess up on one, just make another!! Here is the first video of the embellishments I received for Jan and Feb of 2017. There were lots of fun idea for holidays such as Valentines Day and St Patrick's day, plus some everyday embellishments too.
I made two of the embellishments in this swap, the clay hearts and the steampunk wings made from Styrofoam. That is part of the beauty of making these fun little pices of art, you can make them from anything!!! Here is an up close picture of the embellishments and the video on how to make them.
Steampunk Clay Hearts
Steampunk Styrofoam Wings
Now what can you do with these embellishments when they are done being made? So many ideas, here is one example of the use on an ATC set I created. I used the steampunk Styrofoam wings as the focal point on these ATCs.
Here are a few other fun embellishments I received in this batch. To see the rest, please view the video here - https://youtu.be/DW77Prd5G50
I got another batch of embellishments in for March and April, so fun things for spring and Easter!! Here is a little run down of the amazing embellishments I got for these 2 months.
I made two of the embellishments for this swap, again a bit different then before. This time it was a little stamped image on a clip, and then some inches with clay embellishments on them. Below is an up close image of these embellishments and also the video on how I created them.
Mixed Media Inchies with Clay 3D painted Objects
Stamped Planner Clips
Here are some of the amazing embellishments I got from the other crafty ladies in the group. To see all the other embellishments please see my video here - https://youtu.be/HQdHiN45g94
Thanks for stopping on by!!
Supplies Used
Interested
in the supplies I used in this project? Most are listed below and some
are affiliate links, which generates a me little commission (at not
extra cost to you at all) when you click on the link and make a
purchase. Affiliate and product disclosure can be found here.
I found an amazing ETSY planner sticker company called The Twin Mermaids that make some super cute and amazing planner stickers. Carrie has over 150 different planner sticker sheets to choose from (with more being added all the time), in all different types of styles, colors, and sizes. She sent me a few sheets, and I bought a few more to play with, but instead of just sticking them in my planner as stickers, I made some fun embellishments for my planner.
I used the stickers as the focal point with layers of Rinea foiled paper under the sticker all on top of a punched out kraft paper circle with a stamped image in it. Here is a video on how I made these fun little embellishments.
Carrie, the owner of The Twin Mermaids, has a coupon code to use at her store for all my subbies. It is worth 20% off your entire order!!!
These fun little embellishments are so easy, and they are a fun way to spruce up your planner with everyday stickers such as getting groceries, taking your meds, doing laundry, etc.
All you need to do is add a few layers and pop the sticker on top, so easy!!!
Now here is the best part, Carrie has a gift certificate to give away to one lucky winner!! The gift certificate is worth $15.
That is it! Giveaway closes on June 25, 2017 at midnight CST. I will announce the winner on my YouTube channel on June 27, 2017. Open to everyone worldwide.
You could even make thee embellishments smaller but leaving out the circle punched paper, then they fit every planner!!
Thanks for stopping on by!!
Supplies Used
Interested
in the supplies I used in this project? Most are listed below and some
are affiliate links, which generates a me little commission (at not
extra cost to you at all) when you click on the link and make a
purchase. Affiliate and product disclosure can be found here.
Detail Ink - Raven - 2x2 - Brutus Monroe
Shop at: SB | BM | AZ
Brutus|Monroe Craft Glue -2.0 oz
Shop at: SB | BM | AZ
I wanted to make some fun and EASY card for the summer season, so I made a blend of patriotic and luau theme for a fun summer set of cards to pass our for birthday's, thank you notes, or a thinking of you card. I love to had a few cards on hand for a just in case and these cards are gender neutral, and perfect for all ages!!!
Here is video on how easy these are card to make.
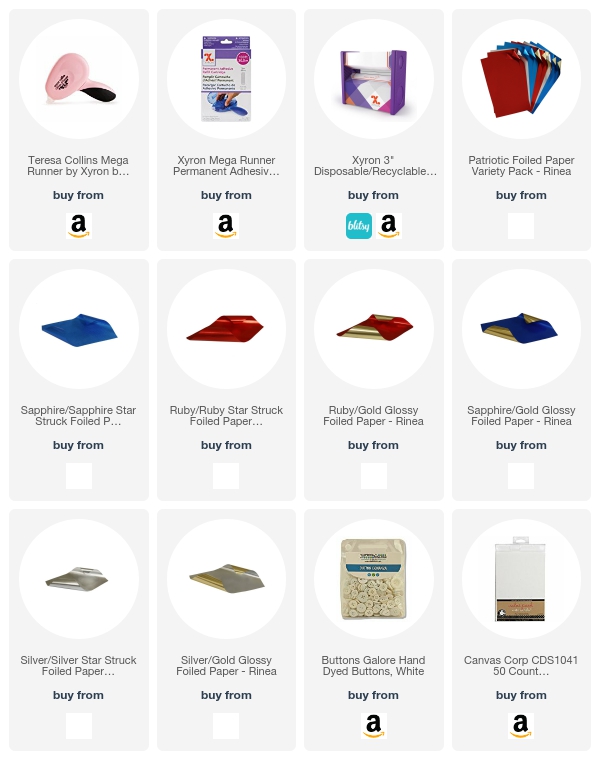
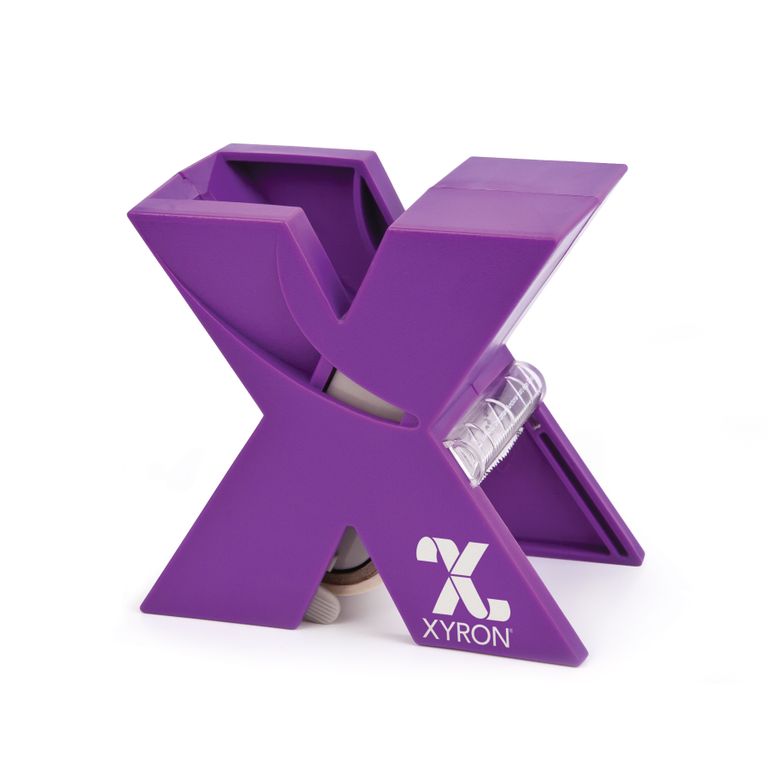
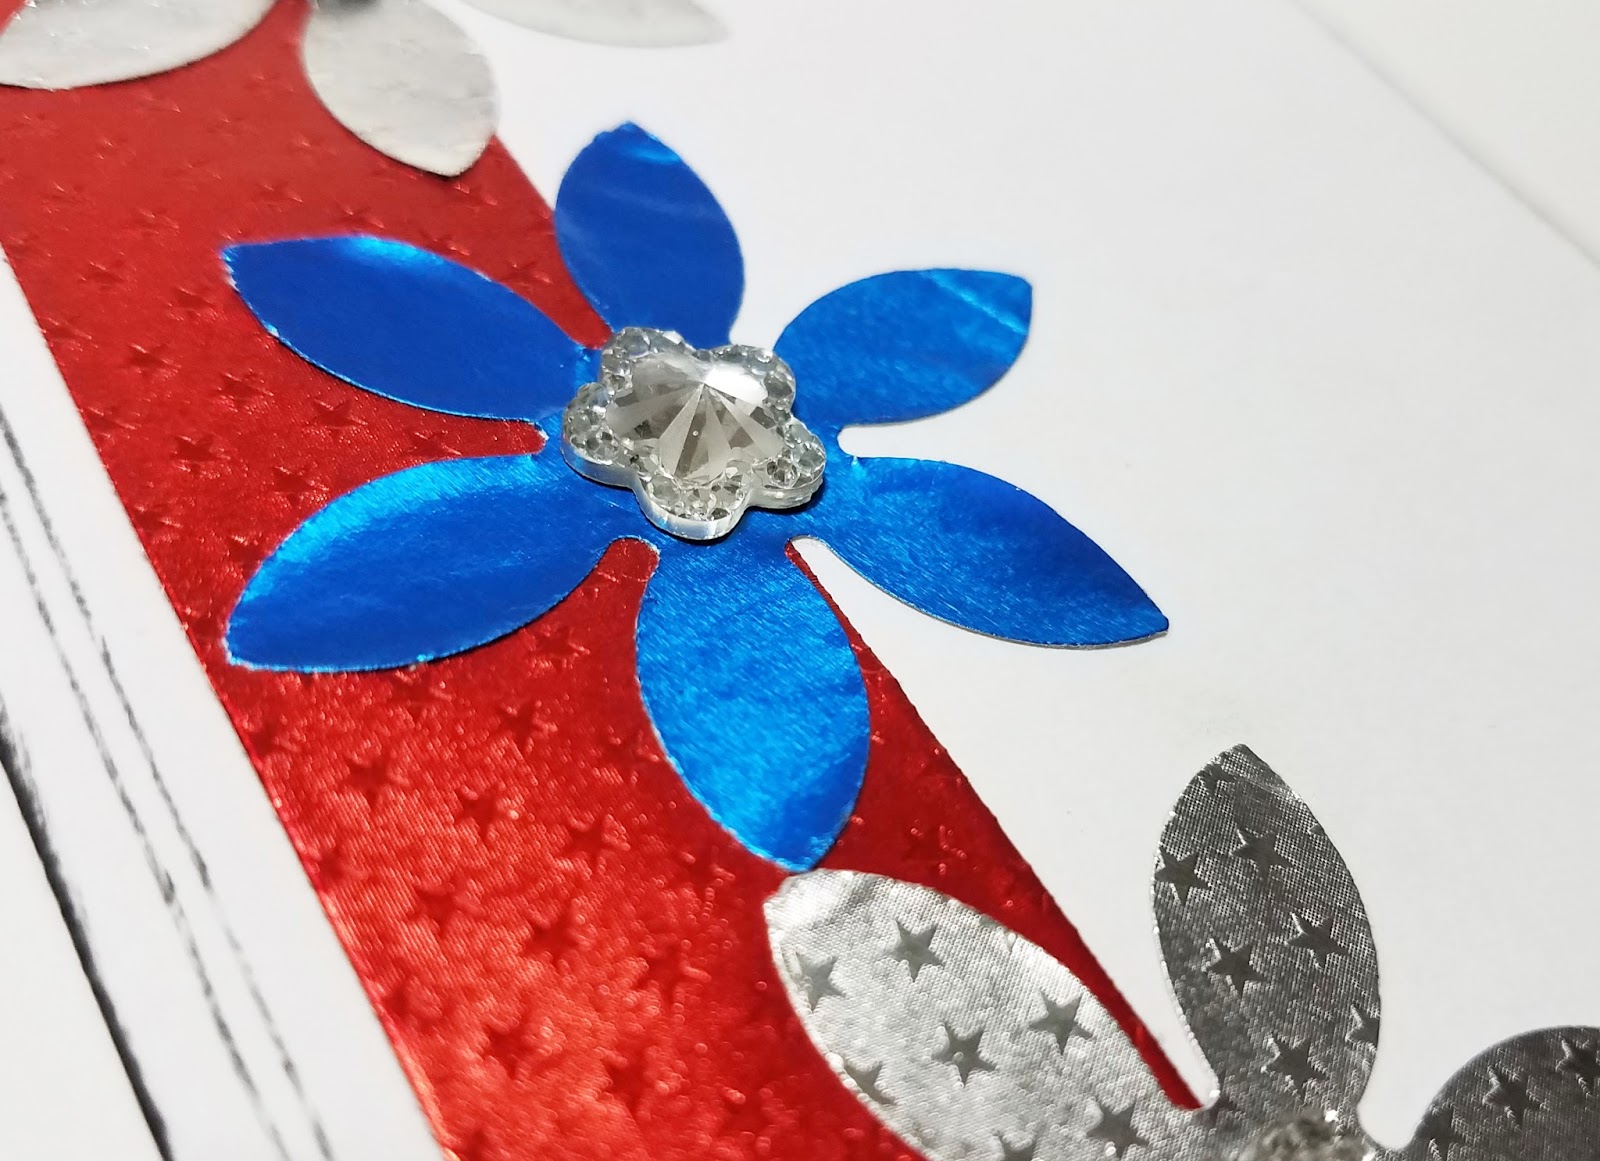
The Xyron Creative Station Lite made adding the Rinea foiled paper super easy to each card. All I had to do punch out the flowers from the foiled paper, and run then through the Creative Station and stick them to the cards, so easy!!!
I even had a few of my clear bling crystals that lost their sticky on the back, so I ran them through my Xyron 3" sticker to get them sticky again!!!
The foiled paper from Rinea made these cards just shine and paired with the Brutus Monroe stamps and ink, they are amazing!!!
Thanks for stopping on by!!
Supplies Used
Interested
in the supplies I used in this project? Most are listed below and some
are affiliate links, which generates a me little commission (at not
extra cost to you at all) when you click on the link and make a
purchase. Affiliate and product disclosure can be found here.