Showing posts with label father's day. Show all posts

Thursday, June 15, 2017

Quick & EASY Kids Father's Day Tie Cards w/ FREE Printable

Do you need a quick and easy card for your kids to make for dad this Father's Day?  This is a fast and simple card that all for all ages that is so cute!!  There is ever a FREE printable to make it even easier!!


Supplies Needed
1) A2 size card
4) Pen or Pencil
5) Scissors
7) Buttons

Here is a video tutorial on how to make these fun card, along with my 4 year old daughter making one along side me.


All my kids made a card from ages 4 up to 11 both boys and girls and they all had a ton of fun!.  Here is my 4 year old daughters card.  I had to help her a bit on the folding and tracing, but the cutting she did all on her own!


I added a little pen lined border around my card to add a little extra touch.


Now for the FREE printable!!  Just click HERE or on the image below to get the printable for the tie stencils.

https://drive.google.com/open?id=0B7IleFFhwCSCV0xVcUJsLVNpYlU

This card would work also for a back to work, grandfather, first day on the job, really there are so many uses for this card, even a graduation card!!

Thanks for stopping on by!!


Supplies Used
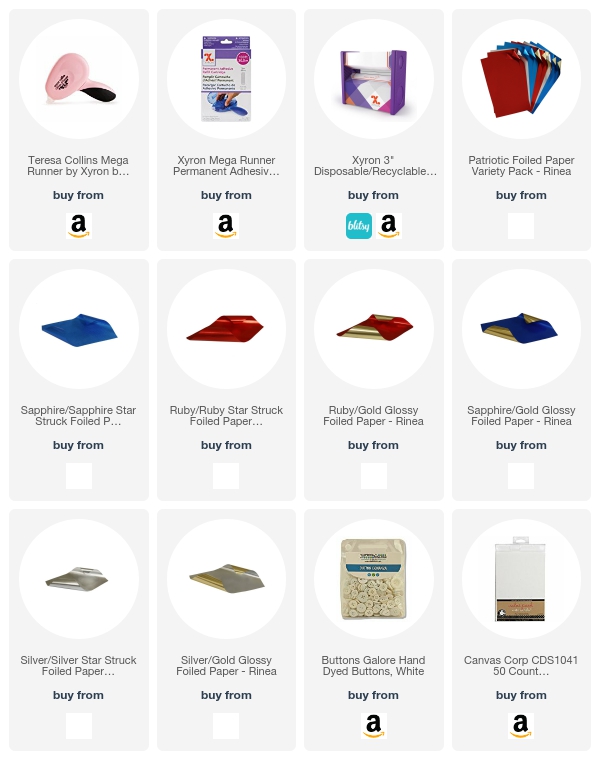
Interested in the supplies I used in this project?  Most are listed below and some are affiliate links, which generates a me little commission (at not extra cost to you at all) when you click on the link and make a purchase.  Affiliate and product disclosure can be found here.


Friday, June 19, 2015

Father's Day/Masculine Cards **Paper House & Die~Namites Dies & Xyron w/DCWV**

I wanted to create some fun but simple Father's day cards with the wonderful supplies from Paper House, Die~Namites Dies and the NEW Project Stack Stencils from DCWV and the Xyron tools to hold it all together.  I ended creating 4 cards with the same technique with 2 Father's Day cards and 2 masculine cards that I ended up giving to my son's baseball coaches as "thank you" cards.


I used the Paper House "Dad Tags" 12 x 12 paper cutting out 4 tags and the centers for my cards, but look at all those other amazing tags you can use for pocket pages, scrapbook pages, mini books, or more cards!!  I used the companion page of Paper House "Dad's Plaid" in the grey tons as the back ground for my cards.  I then used 2 Rub-On Transfers in "Happy Moment" and "Make Today" as the titles on 2 of the blank "Dad Tag" cards.  The Paper House Rub-On Transfers work with so many projects, they are just amazing!!!

http://www.paperhouseproductions.com/

I used the wonderful Die~Namites Die in "Spring Doily' as a backing to the tags on the card.  This die can be used in so many ways, even masculine cards!!  I used the DCWV Stencils Project Stack papers to add to the layers in kraft cardstock, green zig-zag, and orange stripe.  I then used 4 of the card size stencils from the back in "x's", dots, diagonal lines, and horizontal lines. 

http://www.die-namites.com/

http://diecutswithaview.com/


To hold everything together I used the amazing Xyron adhesives - even making my stencils "sticky" using temporary adhesive with the Creative Station so they do not shift and slip when using them on paper.

https://www.xyron.com/en-US/

Below is a video tutorial about how I made one of the cards and how to make the "Sticky Stencils".


Here are some close up pictures of the cards.


Don't forget to thank the men in your life, even if they are not father's!!

Supplies Used
Card Base - Canvas Home Basics
Patterned Papers - Paper House
Paper Pad - DCWV
Stencil - DCWV
Rub-Ons - Paper House
Pen - Copic
Ink - Prima
Die  - Die~Namites Dies
Die Machine - Cuttlebug
Adhesives - Xyron

Saturday, May 30, 2015

Personalized Water Bottle **Xyron and CCB**

My husband recently got a metal water bottle for a course he is taking, and so did 80 other people who take this class.  He wanted to specialize his bottle so he would not pick up the wrong one in future classes, but he also wanted it simple.  He is in the Signal Corps of the Army so the color is orange and a symbol is the fist of lightning, his very specific requests along with his name.


Here is the step by step instructions to create a personalized bottle:
1) Create a simple fist with lightning and add his name at the bottom as a JPeg file.

2) Print of image onto Canvas Home Basics orange cardstock and clean surface of the bottle.


3) Cut out design into a smaller size and run it though the Xyron Creative Station with the 5" Laminate refill.  Now it will be water resistant with the plastic coating on the paper.


4) Fussy cut out the design with good scissors.


5) Use a good tacky or strong glue of choice to stick the image to the bottle and clean up excess glue.


6) Enjoy your personalized water bottle!!  This cannot go into the dishwasher as the glue will not last, but it can get a bit wet when refilling or washing it out lightly. 

Supplies Used
Glue - Beacon
Metal Water Bottle
Scissors


Share This

Related Posts Plugin for WordPress, Blogger...